Confession Time
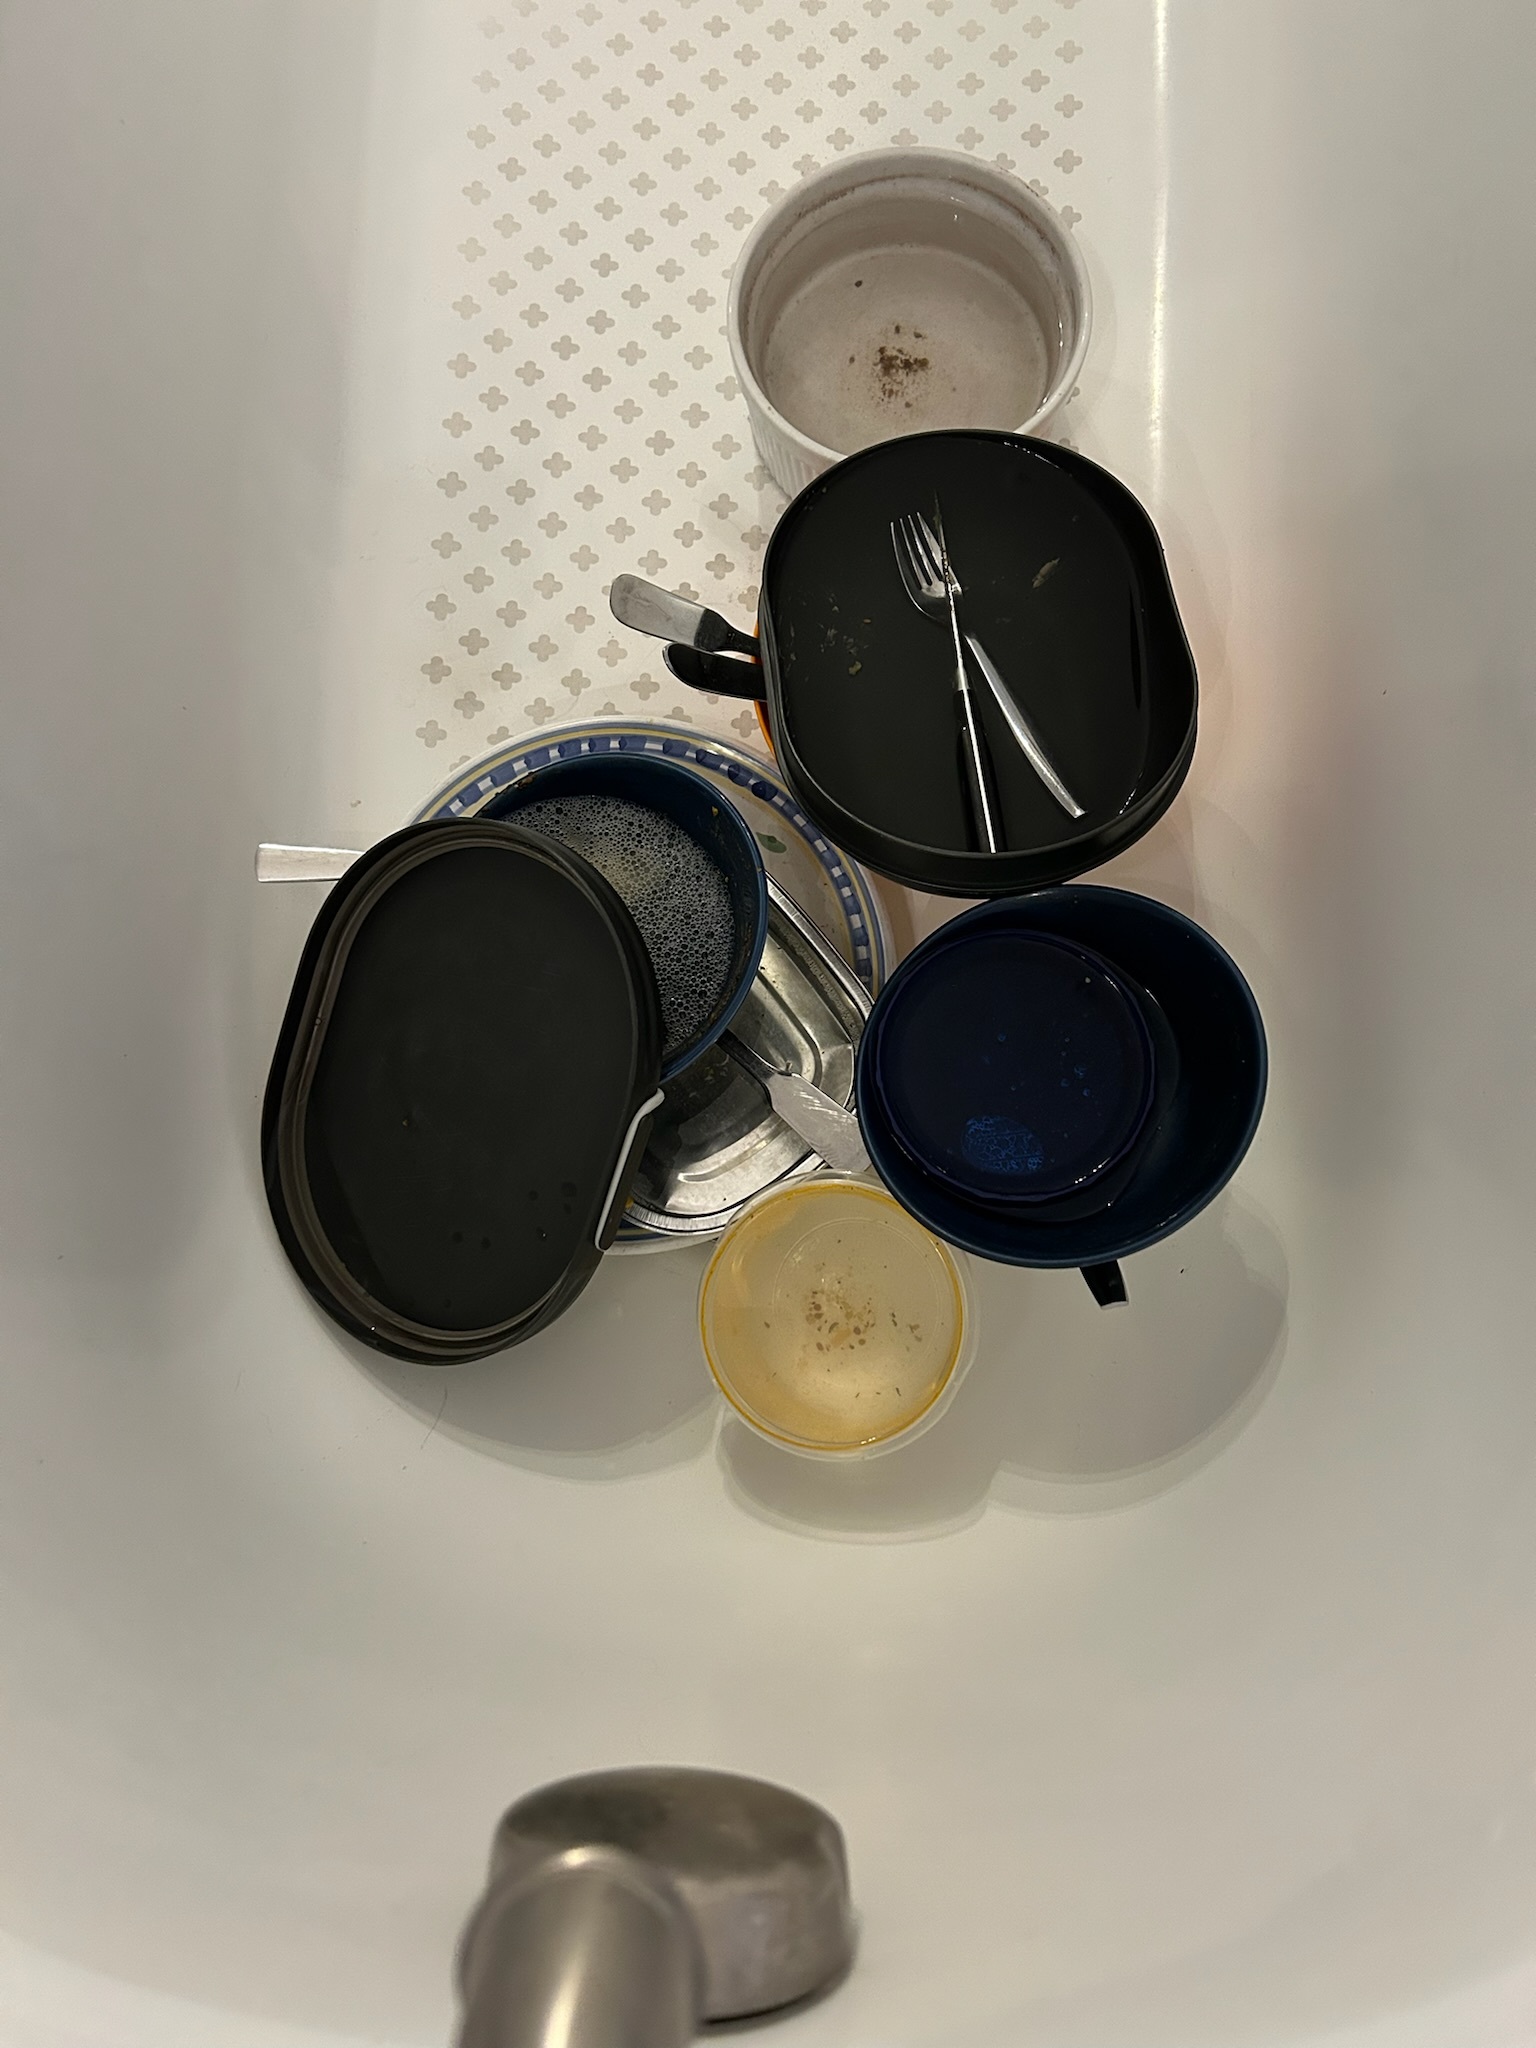
We bought our current home in 2005 (an 1816 Heritage home). The previous owners had spruced up the kitchen to sell the house by installing maple door cabinets and engineered veneer flooring layered on top of plywood layered on top of the original wide plank pine flooring. The kitchen was functional though not to our taste, but after two decades of daily use it was tired, appliances were failing, and the cabinets were really showing their age. In 2023 we realized that a full kitchen renovation was inevitable and imminent, although the thought of washing our dishes in our bathtub for months on end compounded by the memories of a previous renovation almost stopped us from taking this one on.
As you might have guessed by now, I have a confession to make - I suffer from emotional trauma caused by a prior kitchen renovation. This arose from a questionable decision made decades ago in order to save a few bucks when we had Home-Depot-designed kitchen cabinets installed in our previous house in Syracuse NY (a 1910 Tudor-style home). The cabinet installer was a tradesman whose sales pitch was “I will not accept a penny from you until the job is complete and you are fully satisfied”. He was a repeat no-show who somehow managed to damage one cabinet door and five drawers during the installation which then impacted electricians, plumbers, and painters who were also scheduled for the renovation. And after numerous sob stories as to why he could not show up and complete the work as announced, he did manage to show up unannounced on a Friday afternoon, reeking of alcohol, armed with yet another sob story (this time that his house would be repossessed unless he had cash by 5 pm, while his truck idled in our driveway with his female companion inside yelling at him to “make them” pay). I also recall we said we would never ever contemplate another kitchen renovation. Never. Ever.
As you might also have guessed by now, I have another confession to make - I recently agreed to proceed with another kitchen renovation. And let me tell you, spending your kids’ inheritance on a kitchen renovation is taxing in more ways than one. You have to deal with the mess, the noise, the dust, the inconvenience, the cost, and the stress, not to mention the reawakening of the ghosts of renovations past.
So, in the Spring of 2024, we settled on a contractor and cabinet maker and planned to commence with demolition in the Fall of 2024. Contracts were signed, a general timeline established, appliances ordered and certain upfront payments made, and renovations began within a few weeks of what we were told to expect in the Spring of 2024 (Sept. 26). This time we did our best to line up a contractor and established local trades and, knock on wood, things seem to be progressing much more smoothly than before. The trades have been punctual, personable, and professional, and the contractor overseeing the project has been a joy to work with. Construction is expected to be finished by the New Year.
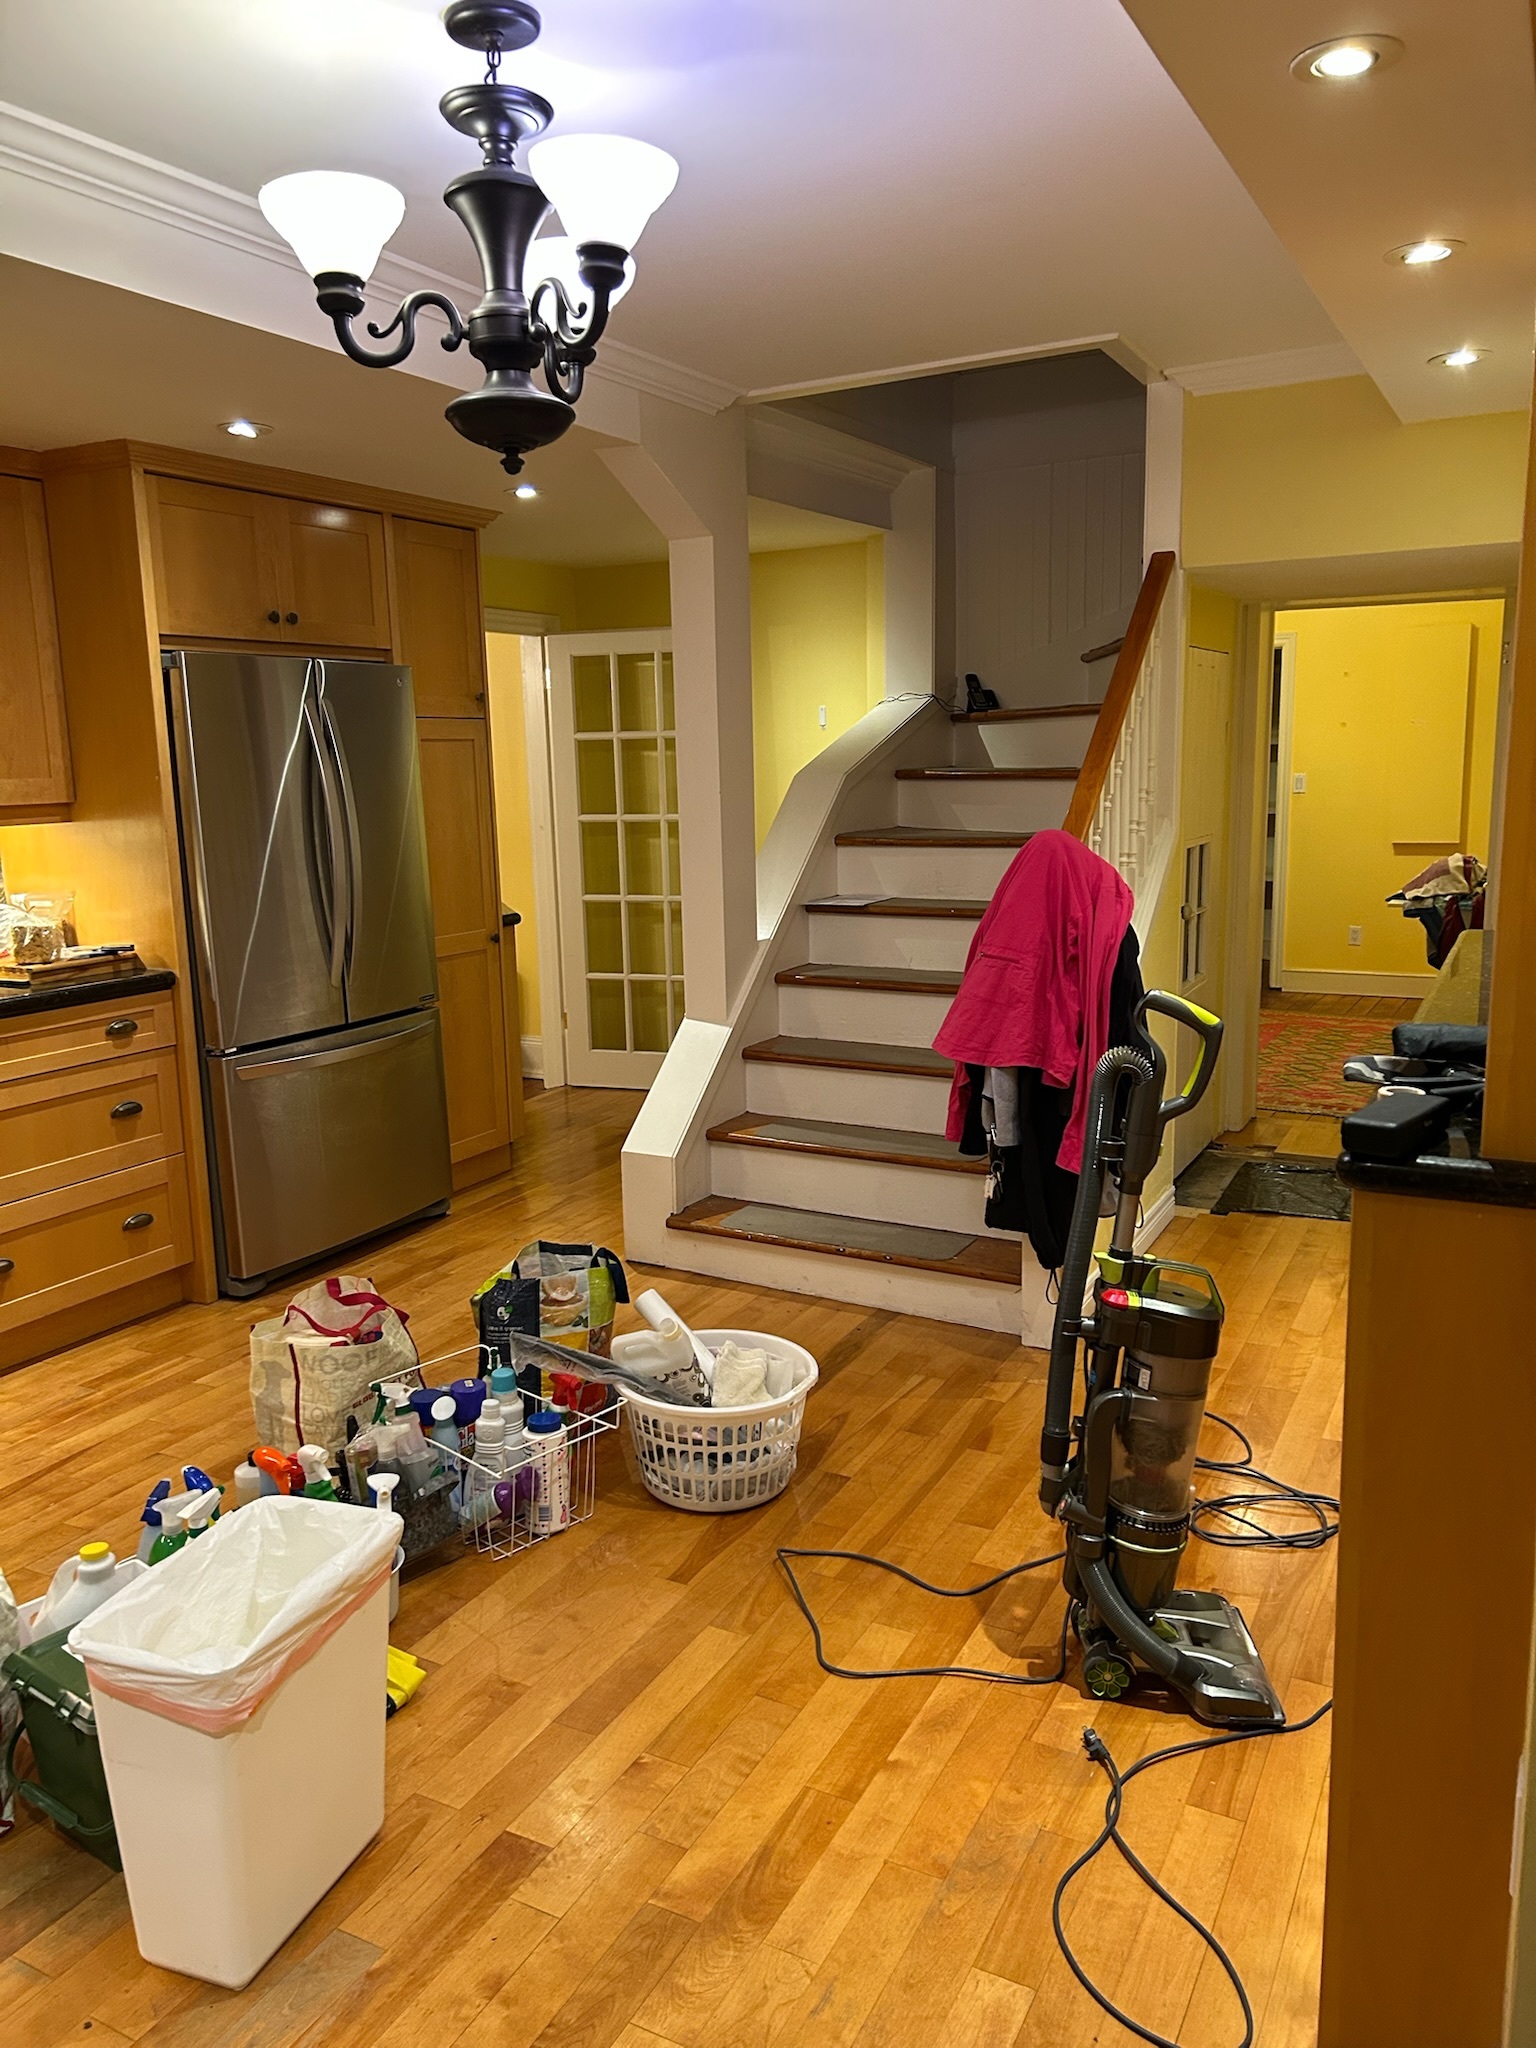
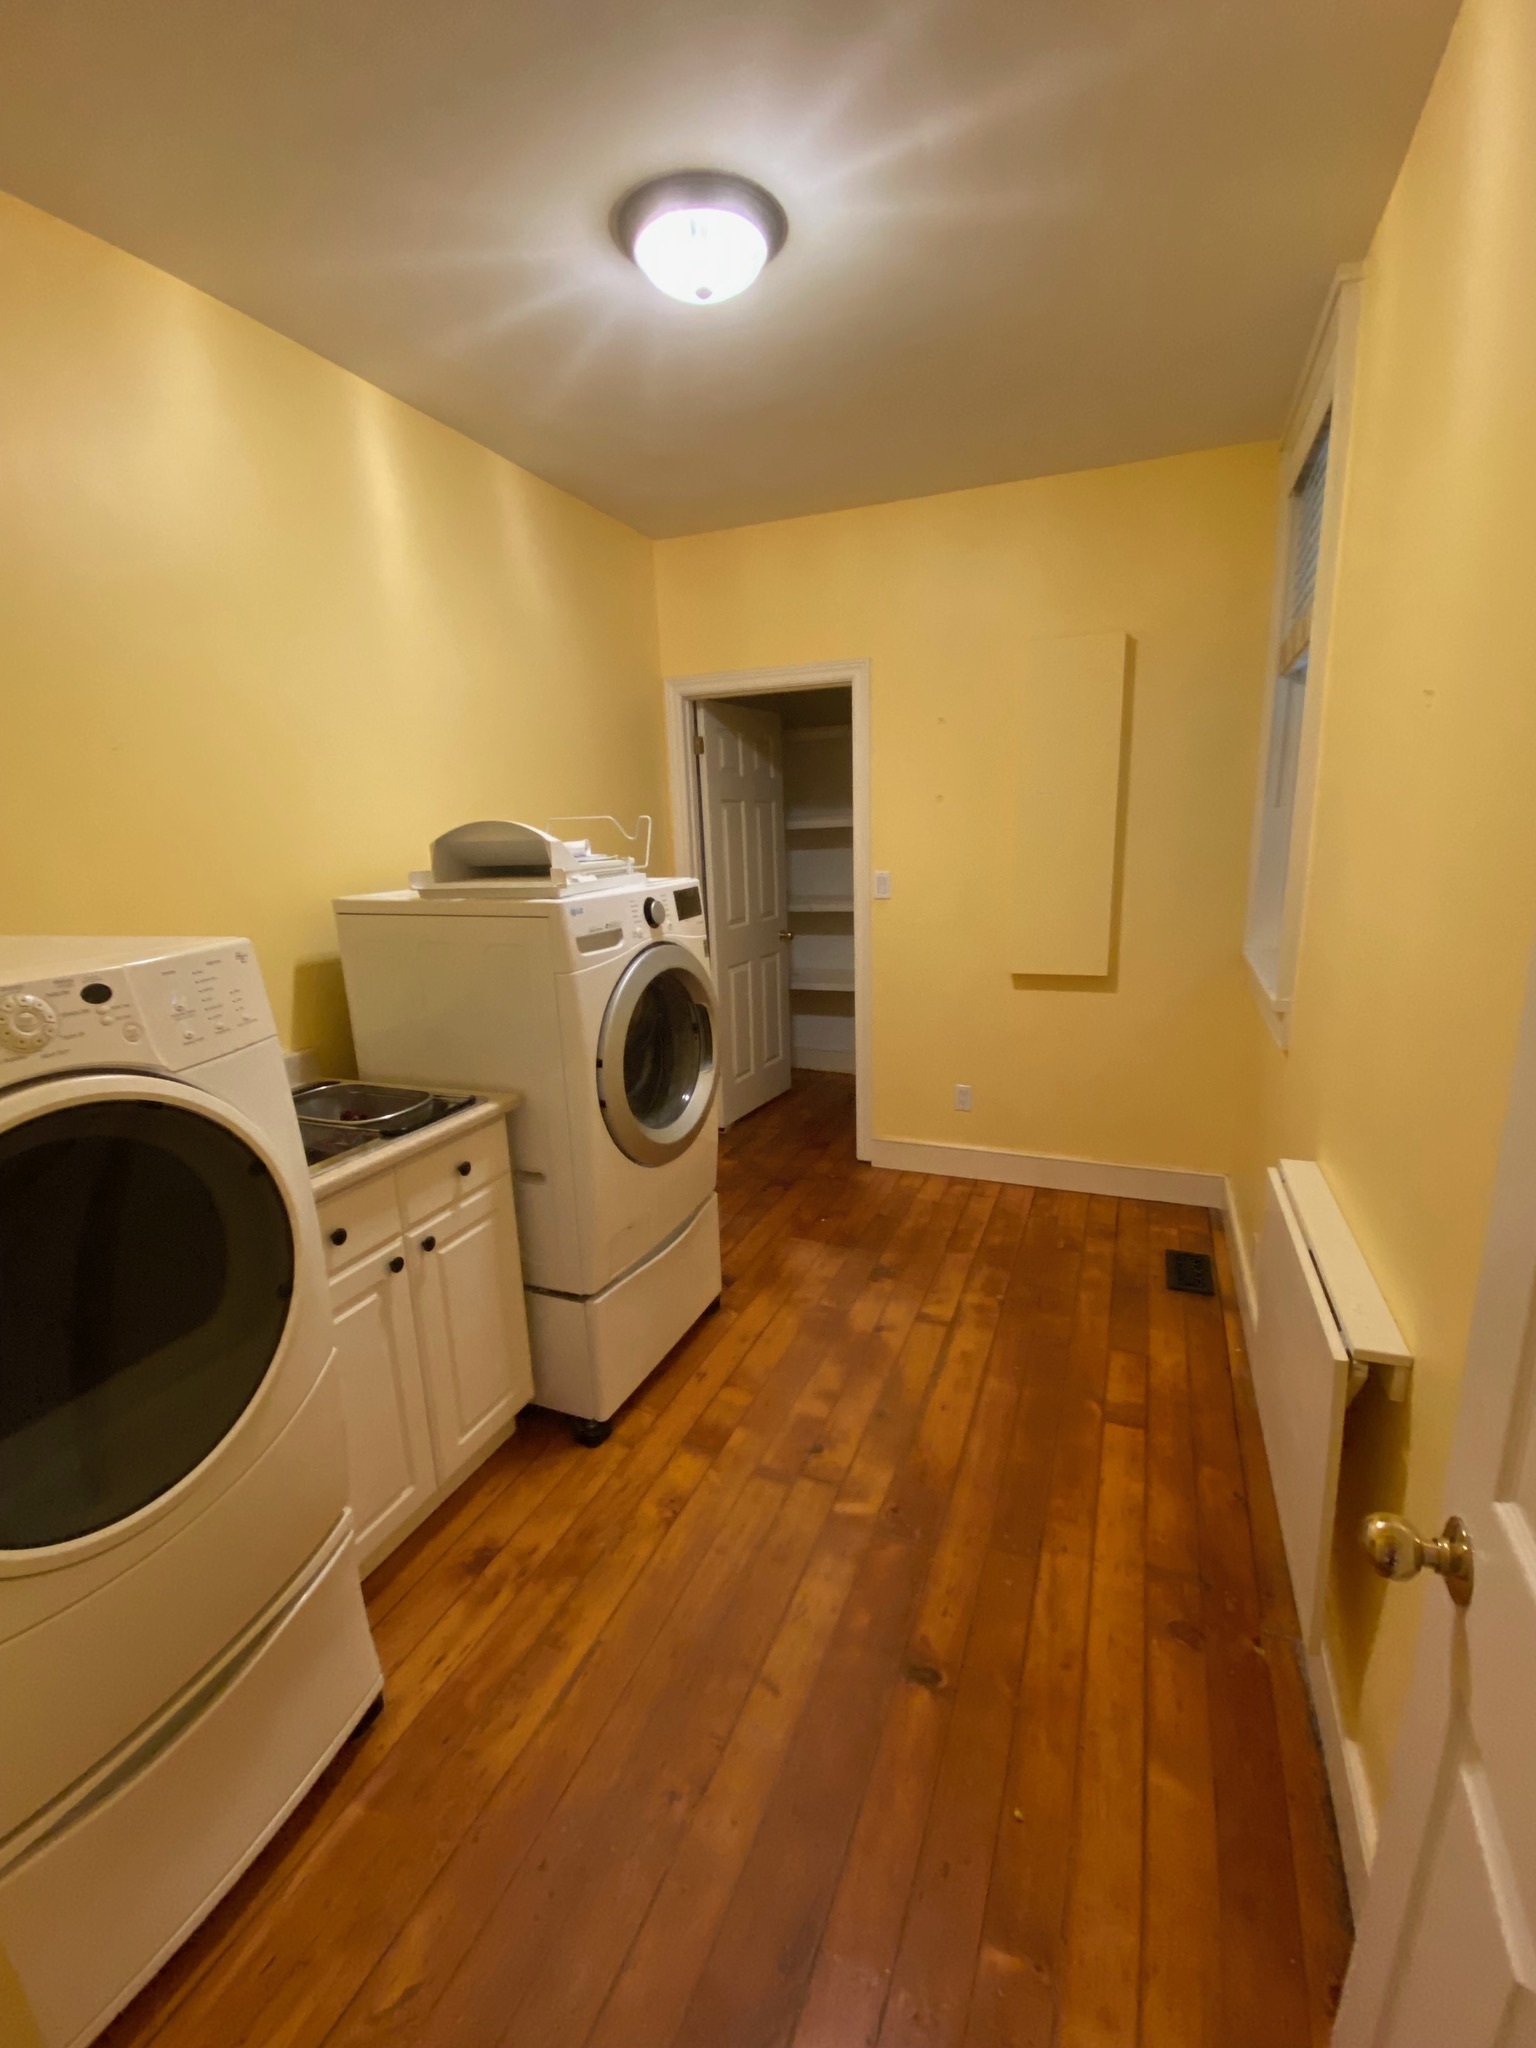
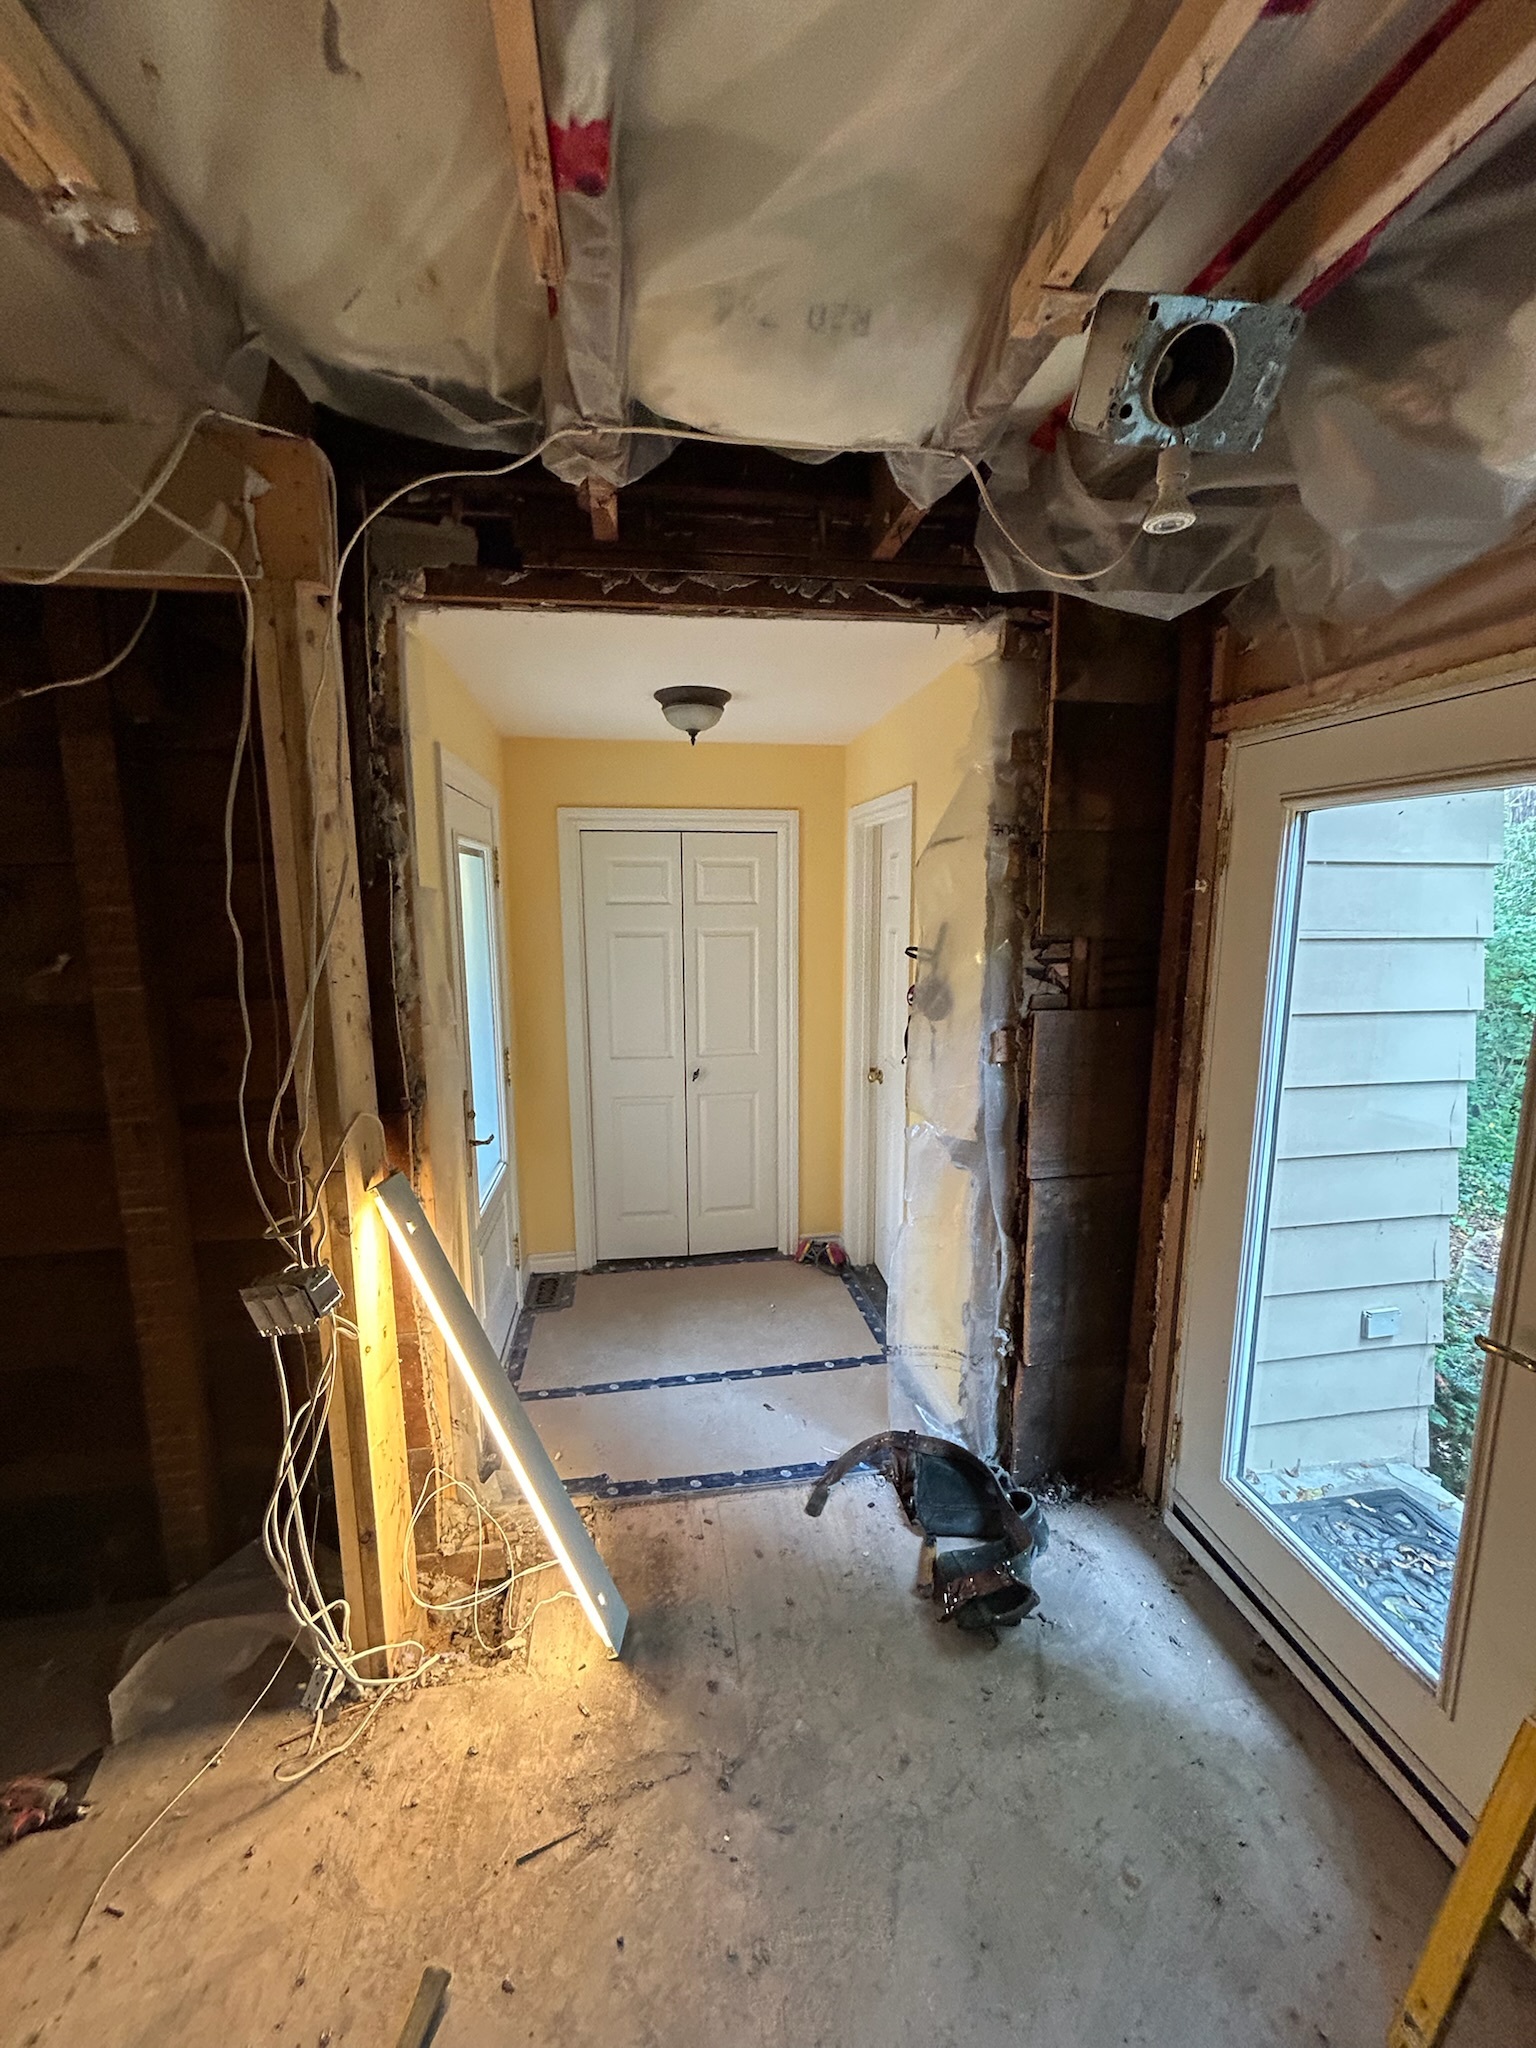
During this renovation, I logged progress with photos, and decided to share the story in this blog post. I think the pictures are pretty interesting, and the placement in each block of photos that follow makes it easy to track each area from start to finish. The scope of the project grew beyond just the kitchen, and we took the kitchen, pantry and laundry, and mudroom down to the studs, or more accurately, down to the lathe-and-plaster walls and knob-and-tube wiring. Note that, in the pictorial timeline below, the top left three pictures are of the same three objects throughout, namely 1) the main kitchen, 2) the pantry and laundry room, and 3) the mudroom, while other pics in each block appear for posterity in no particular order.
Pre-Renovation
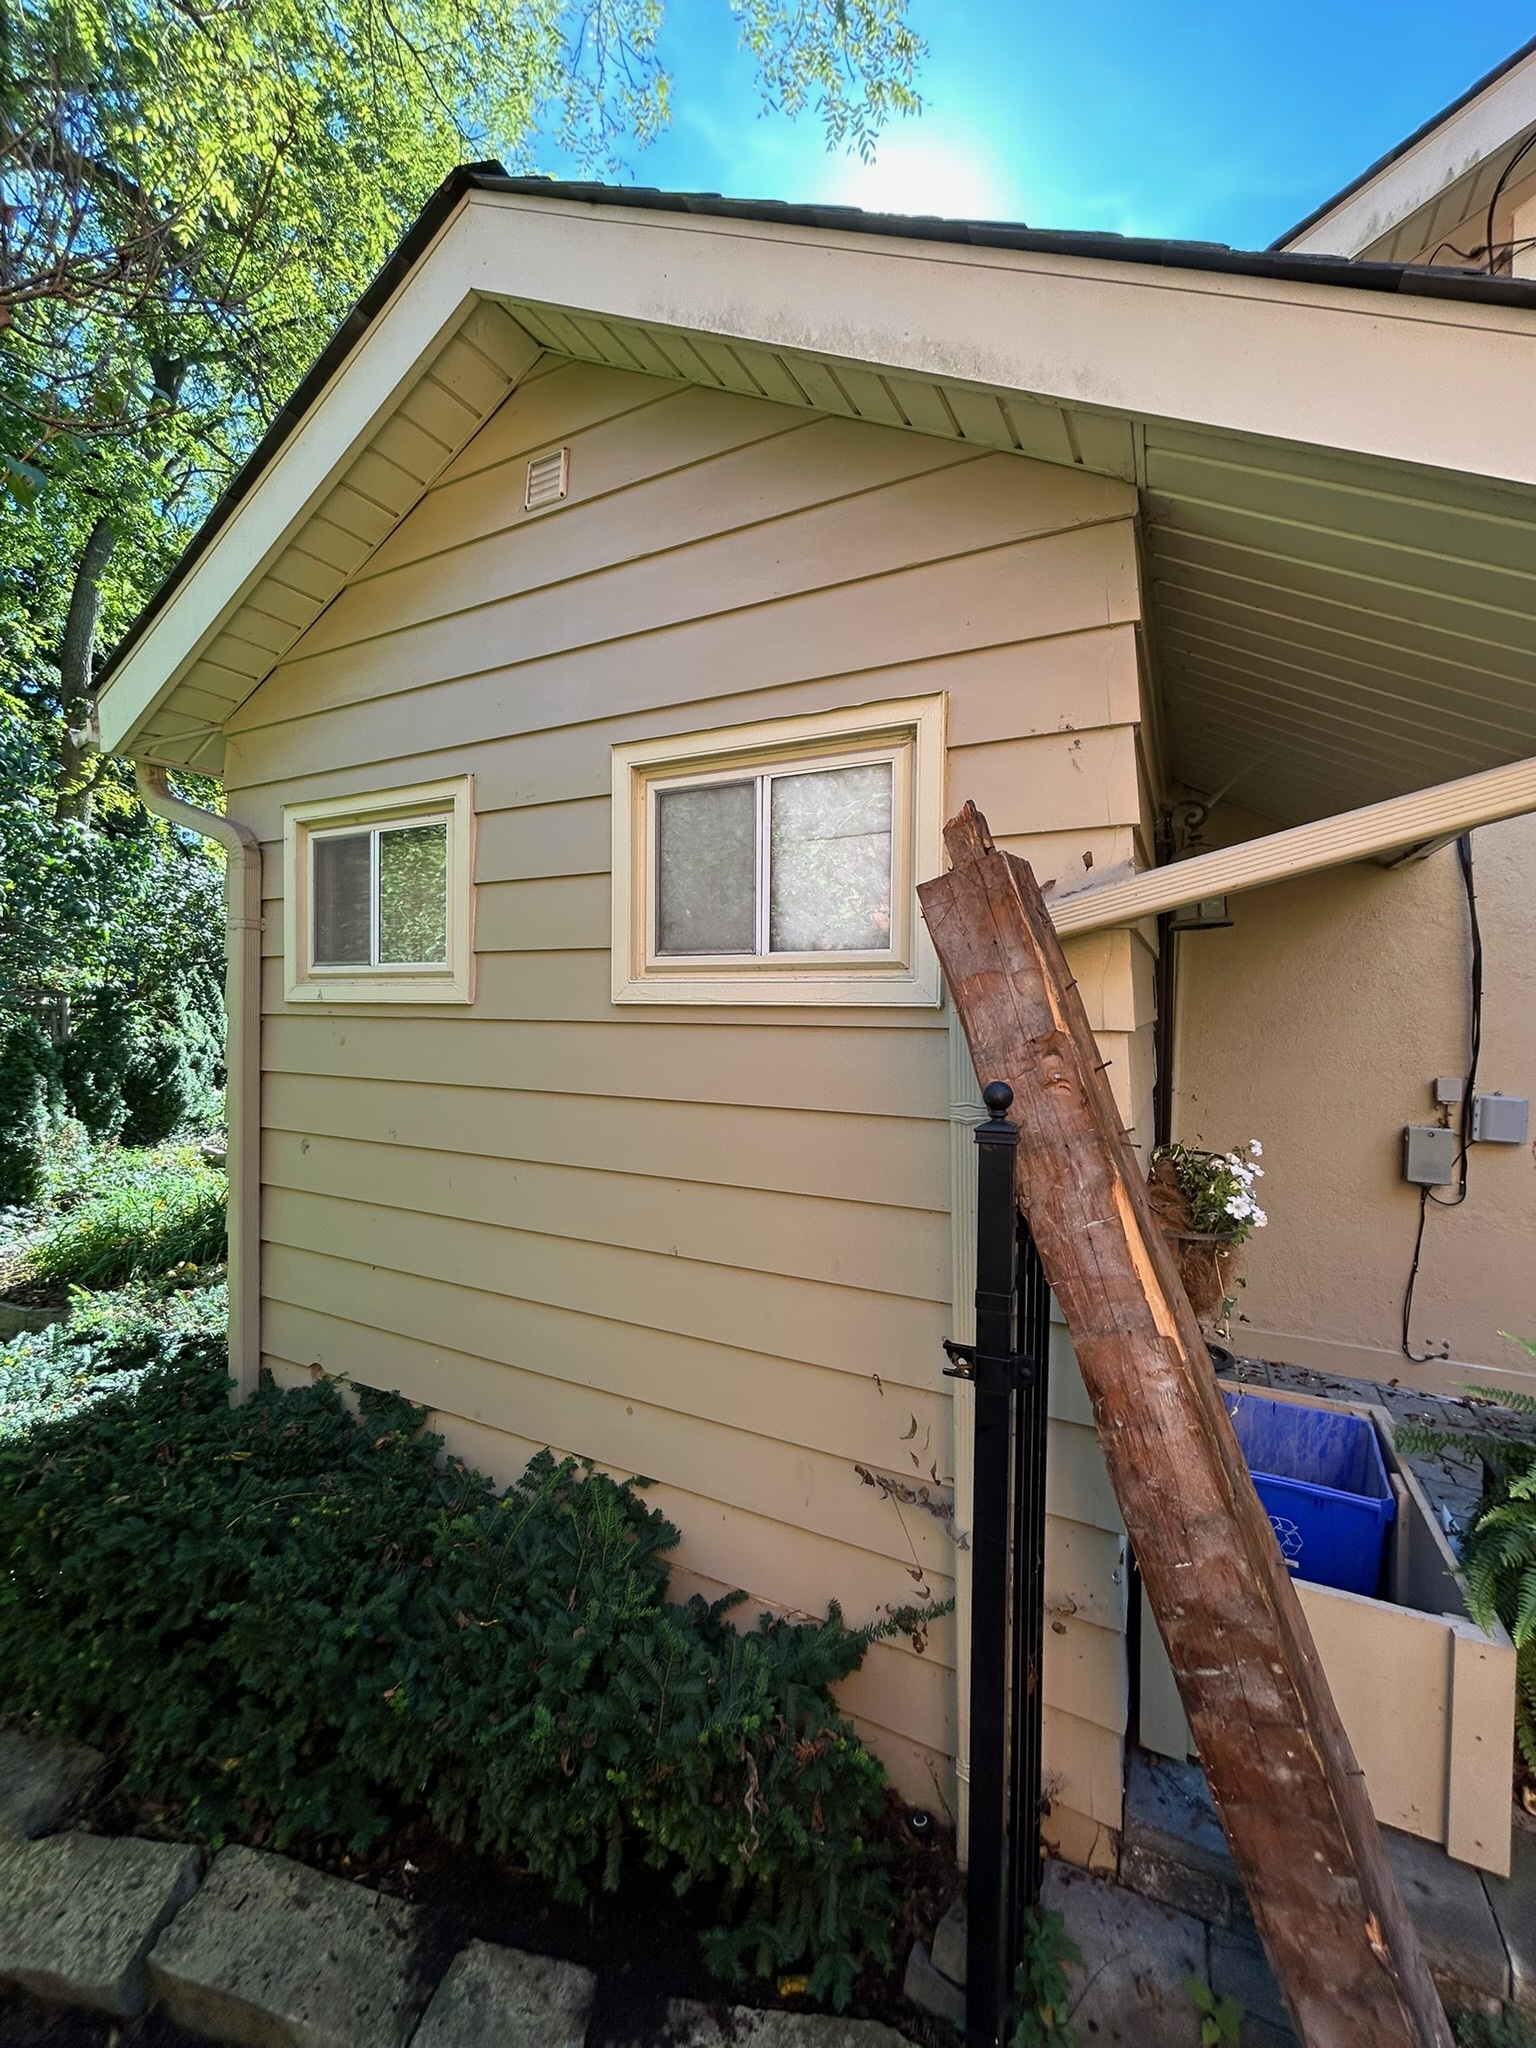
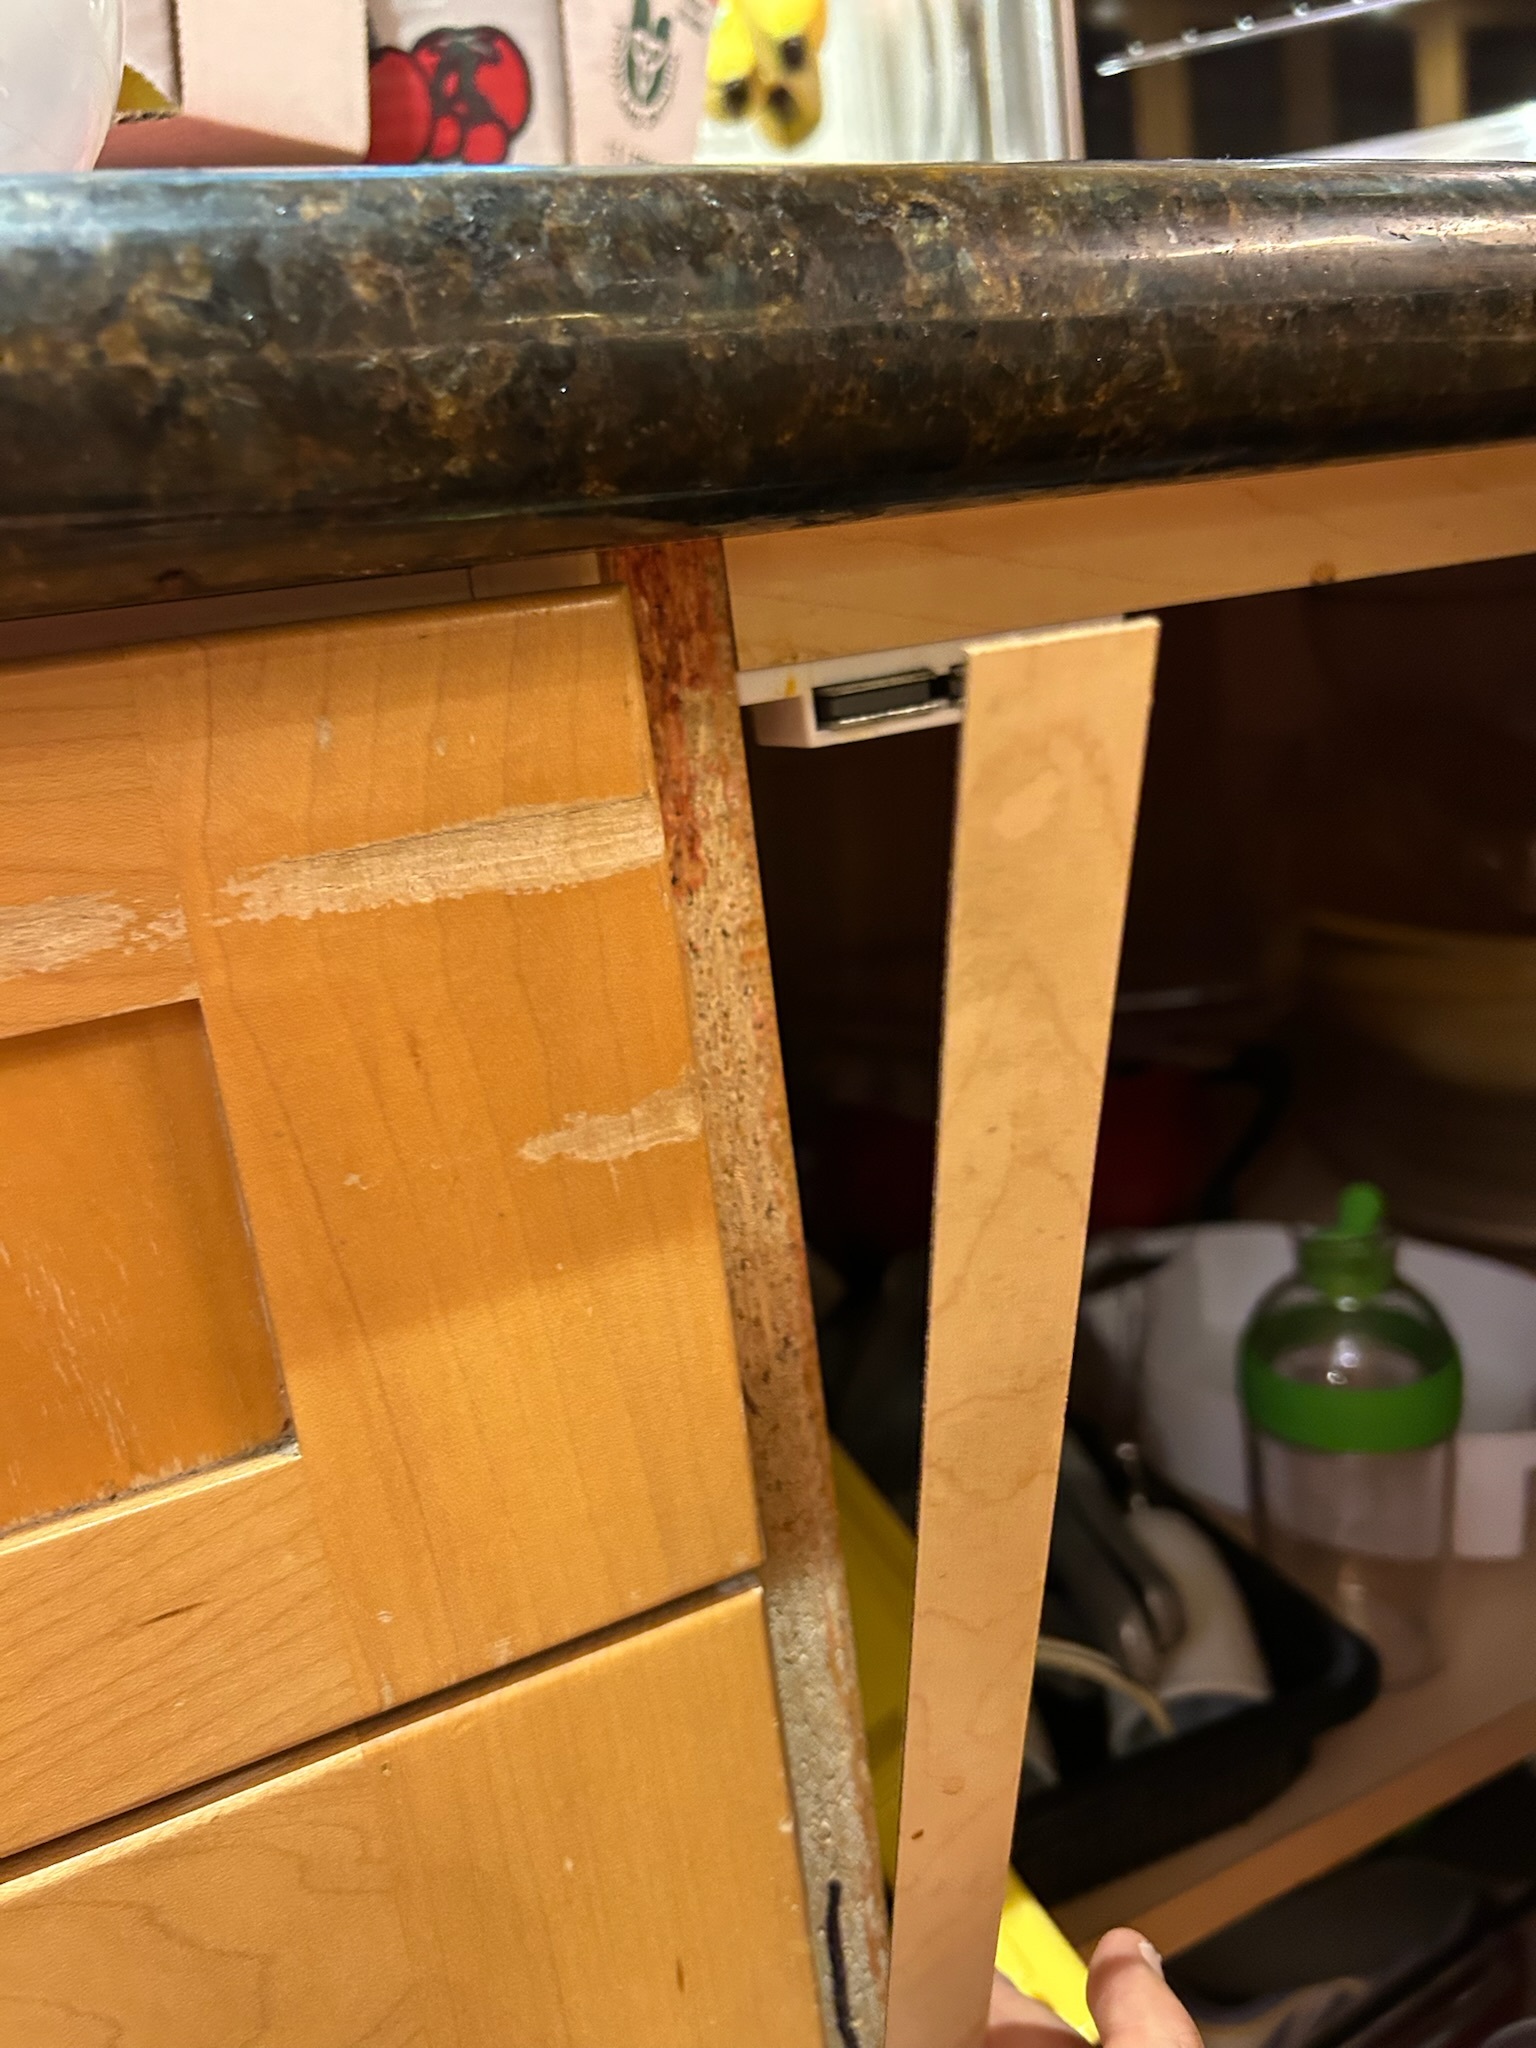
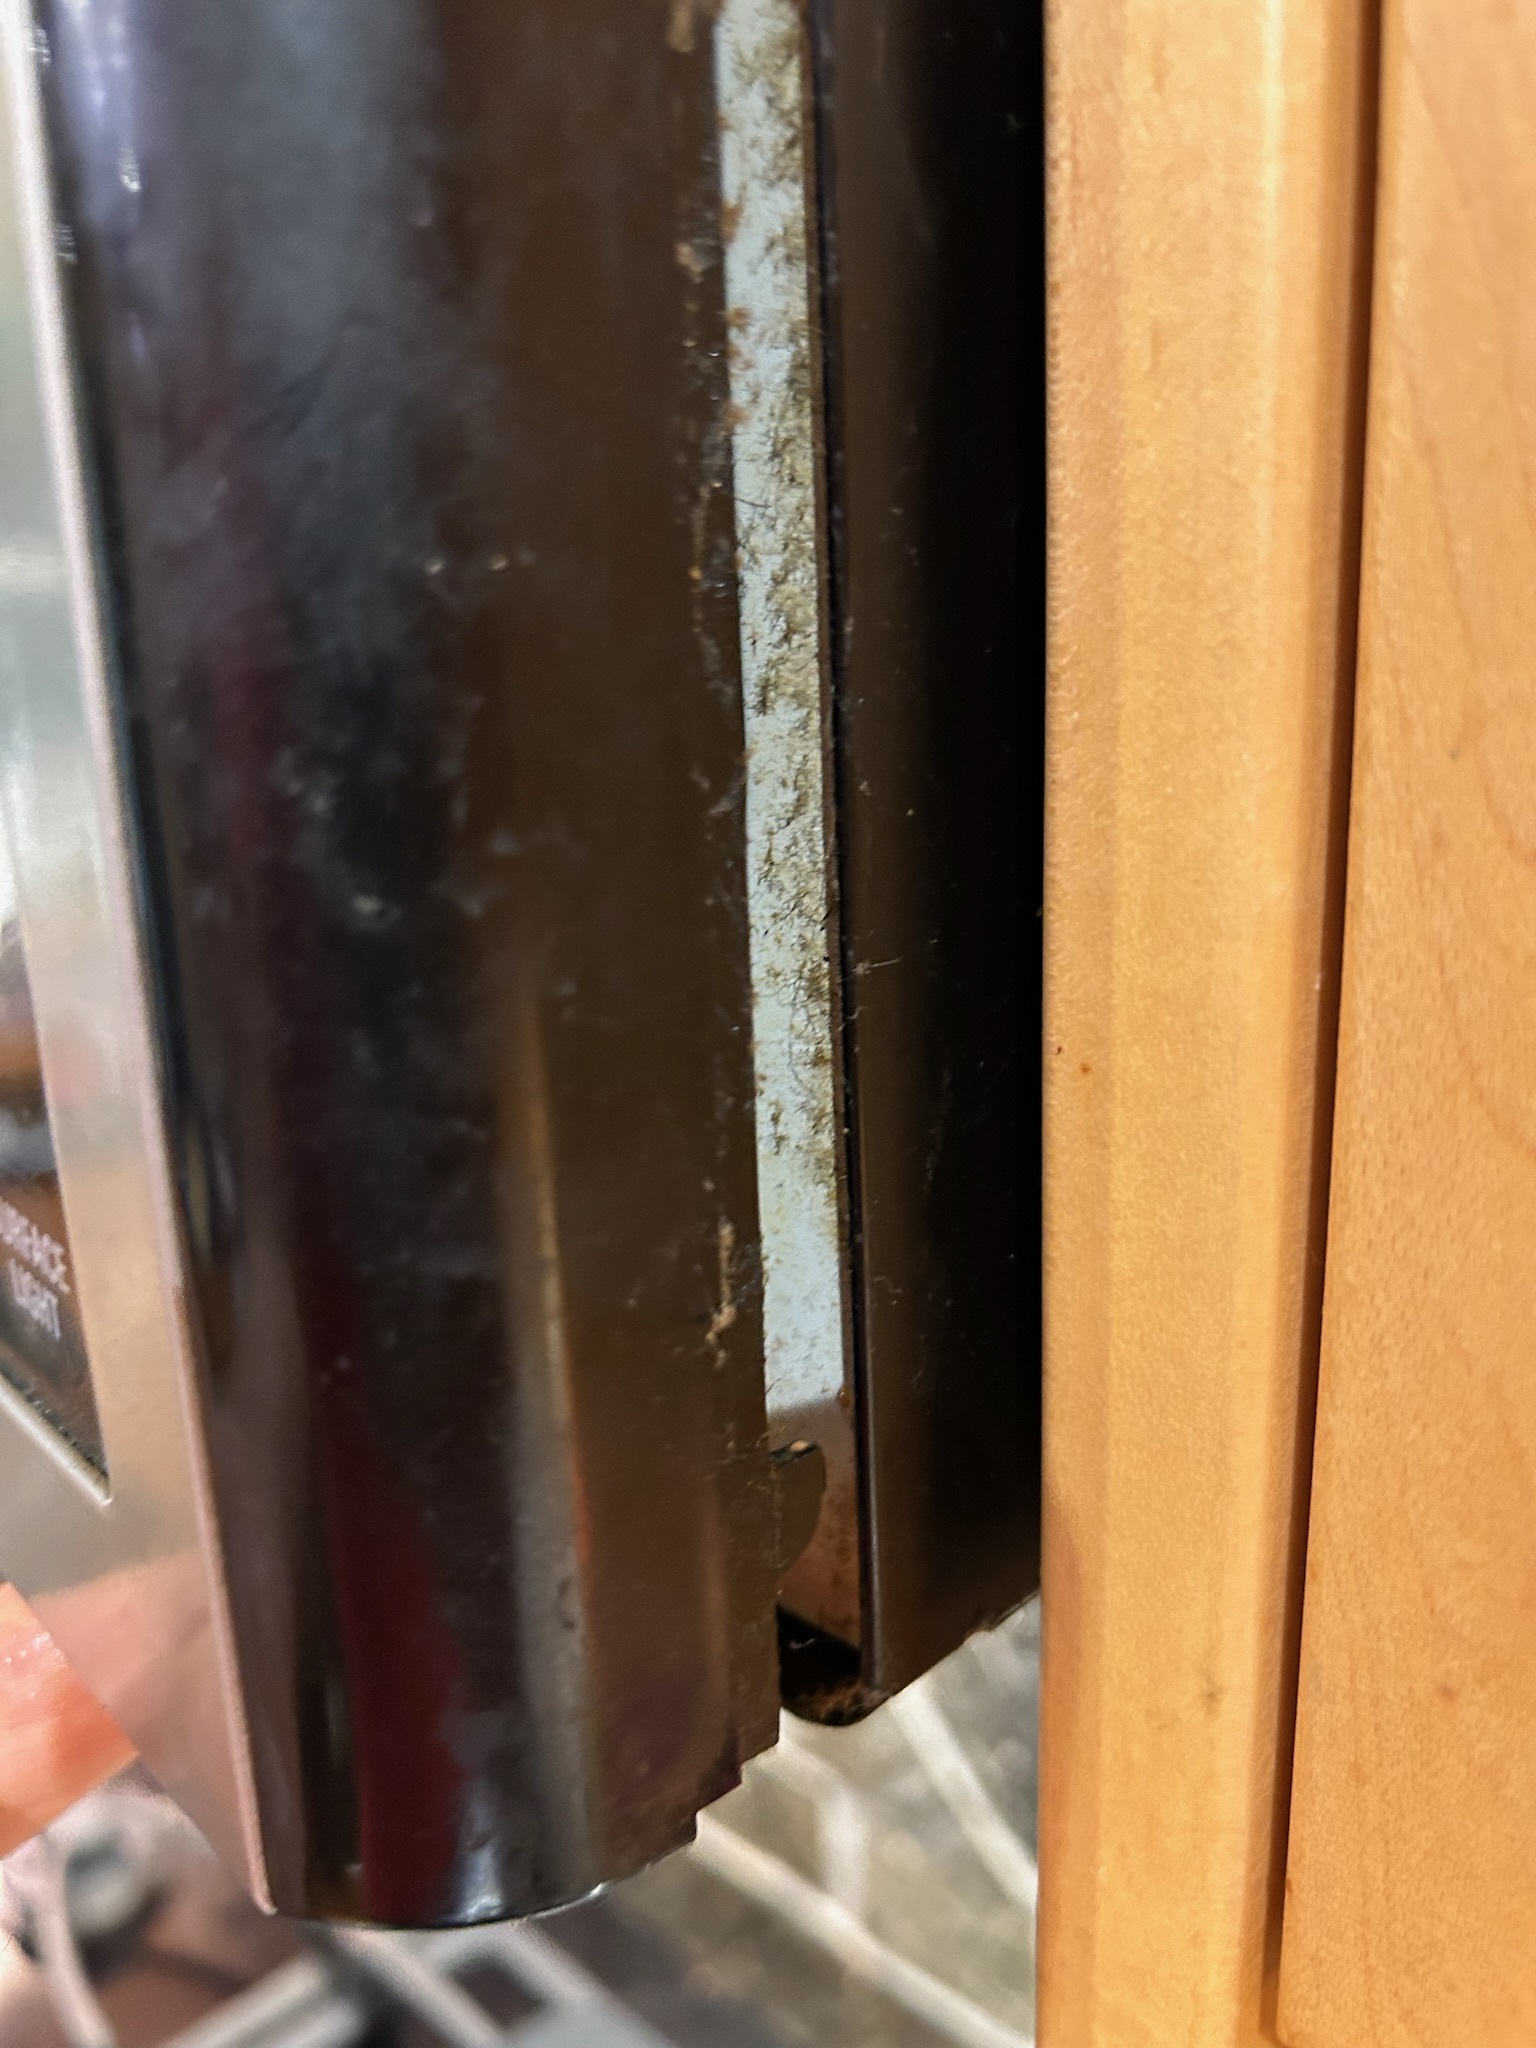
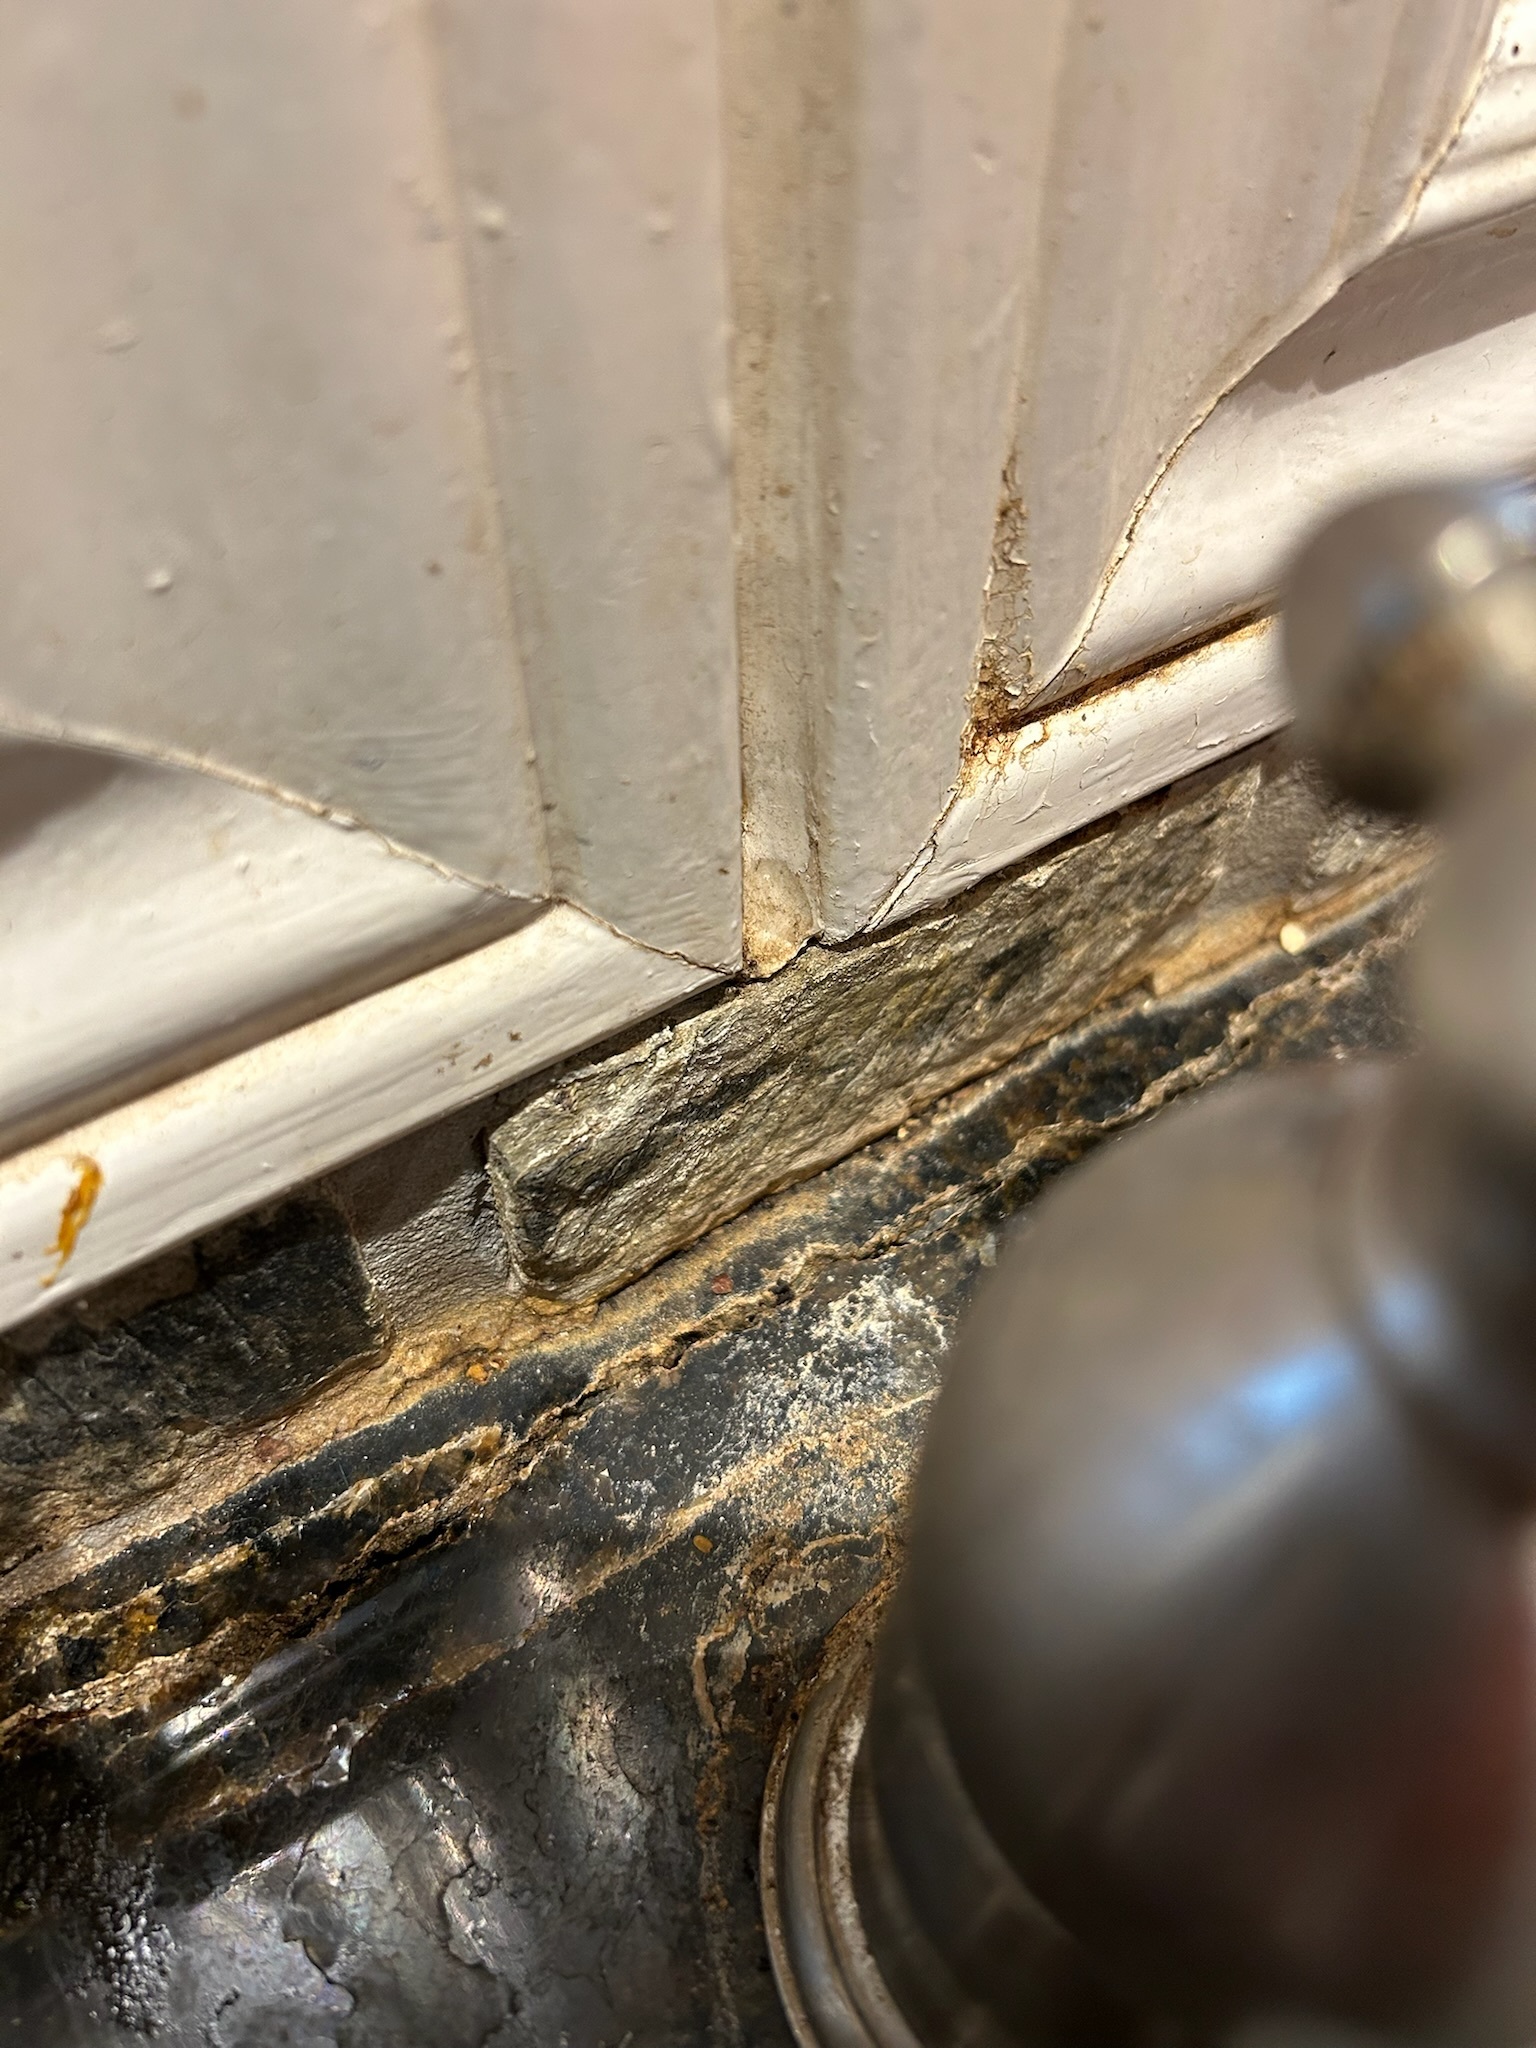
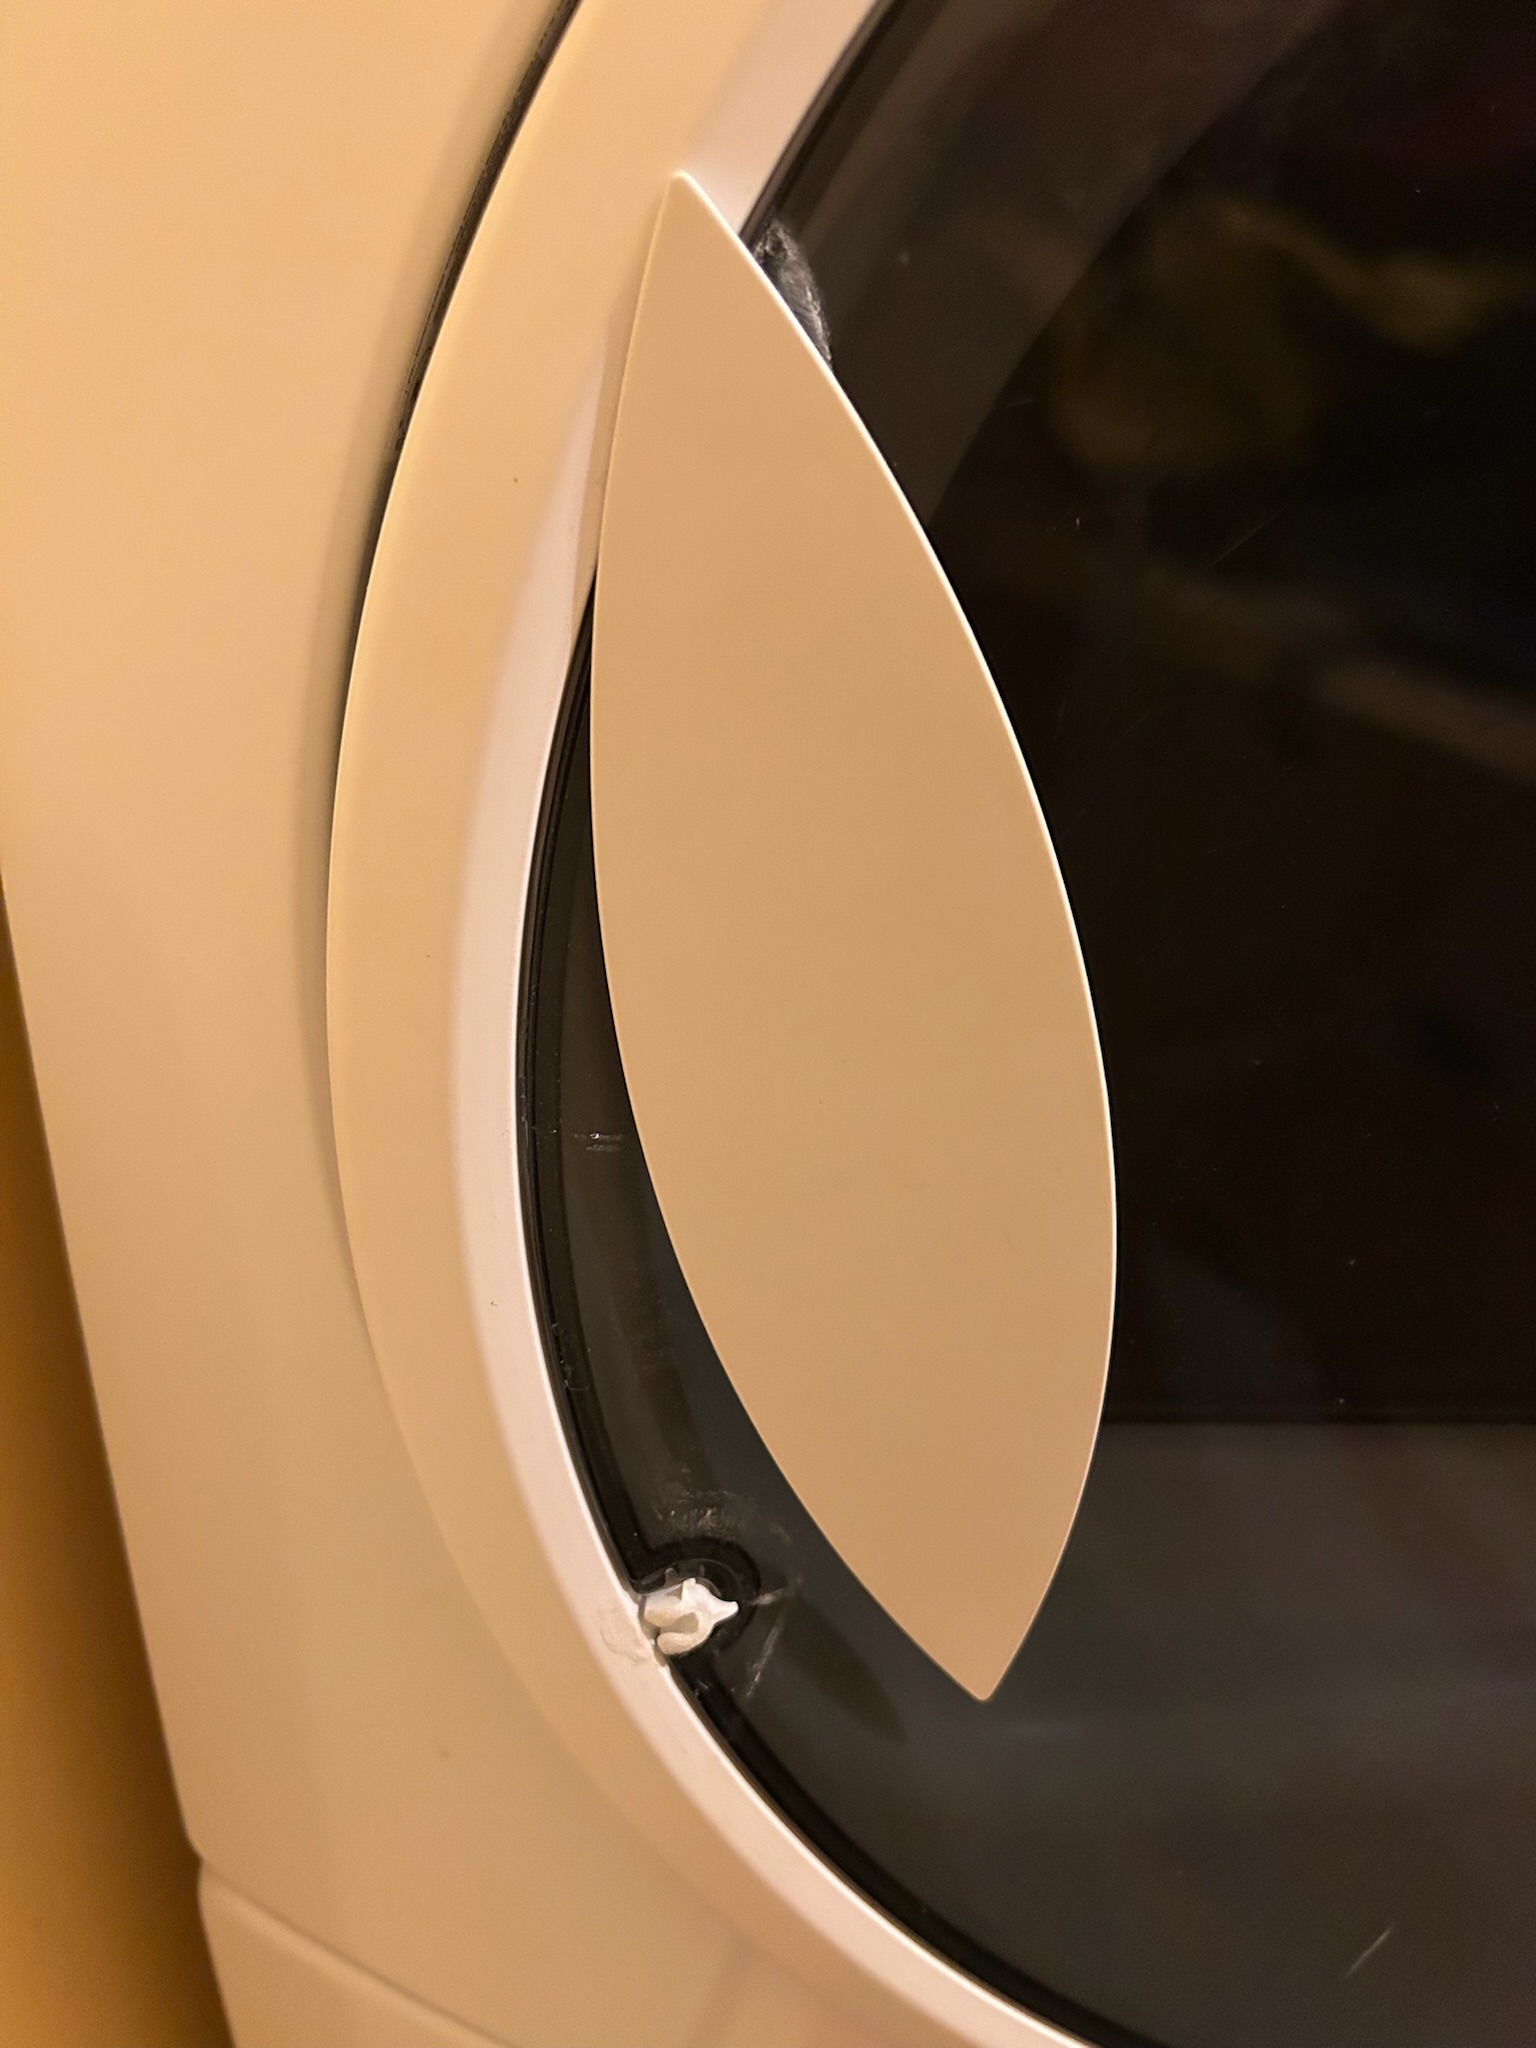
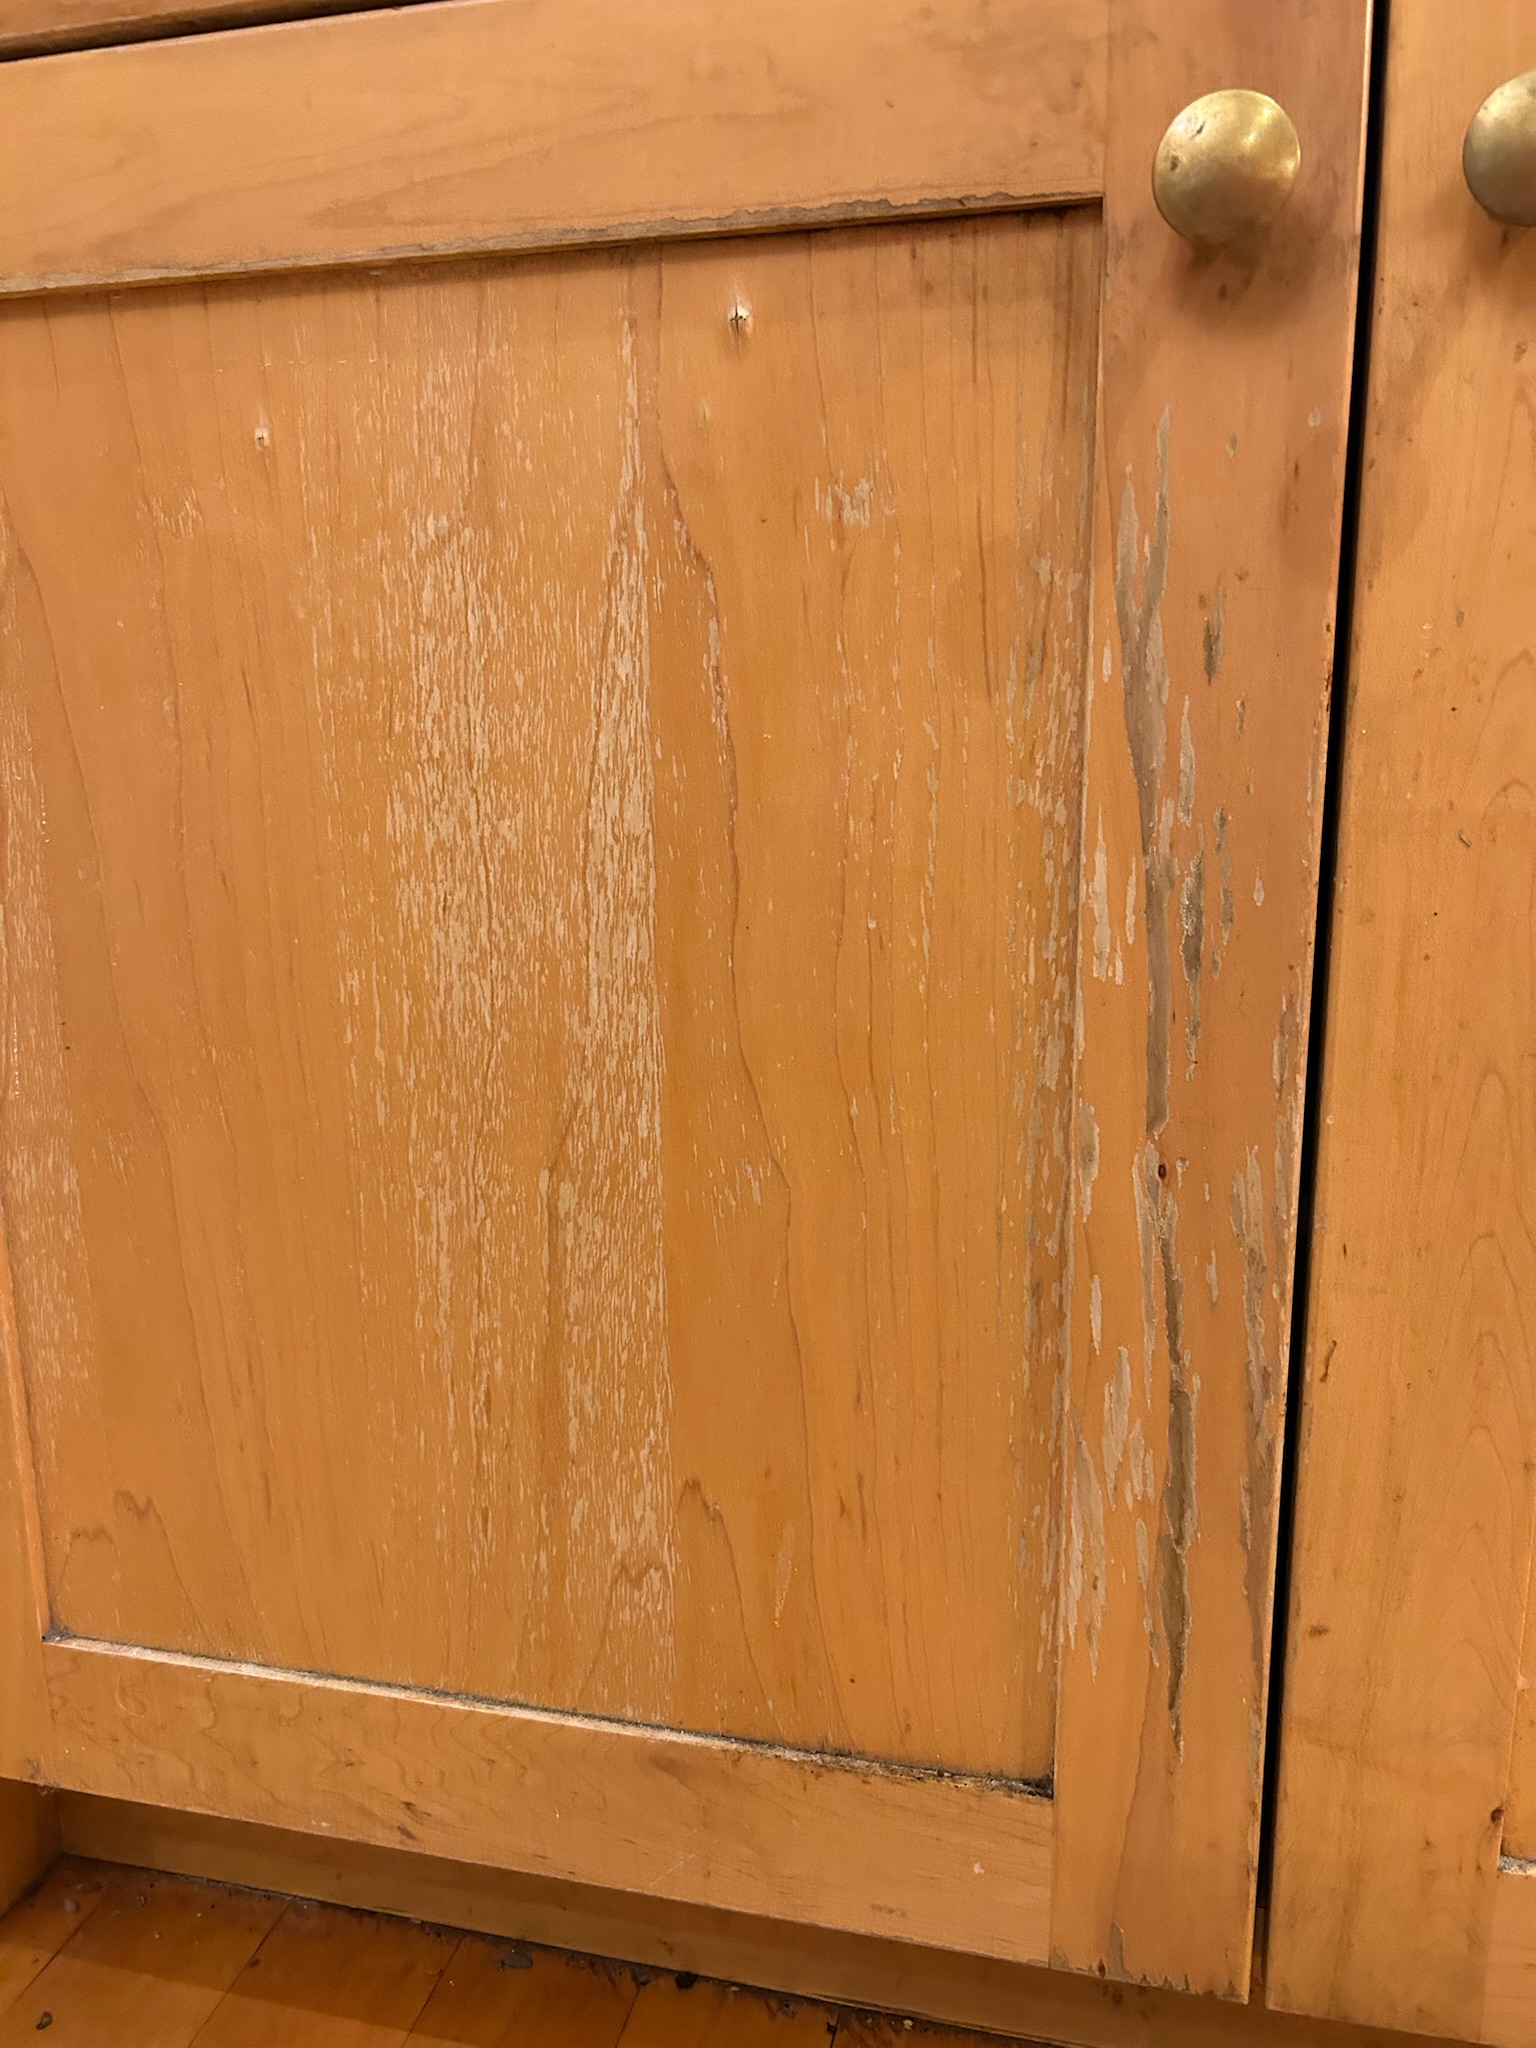
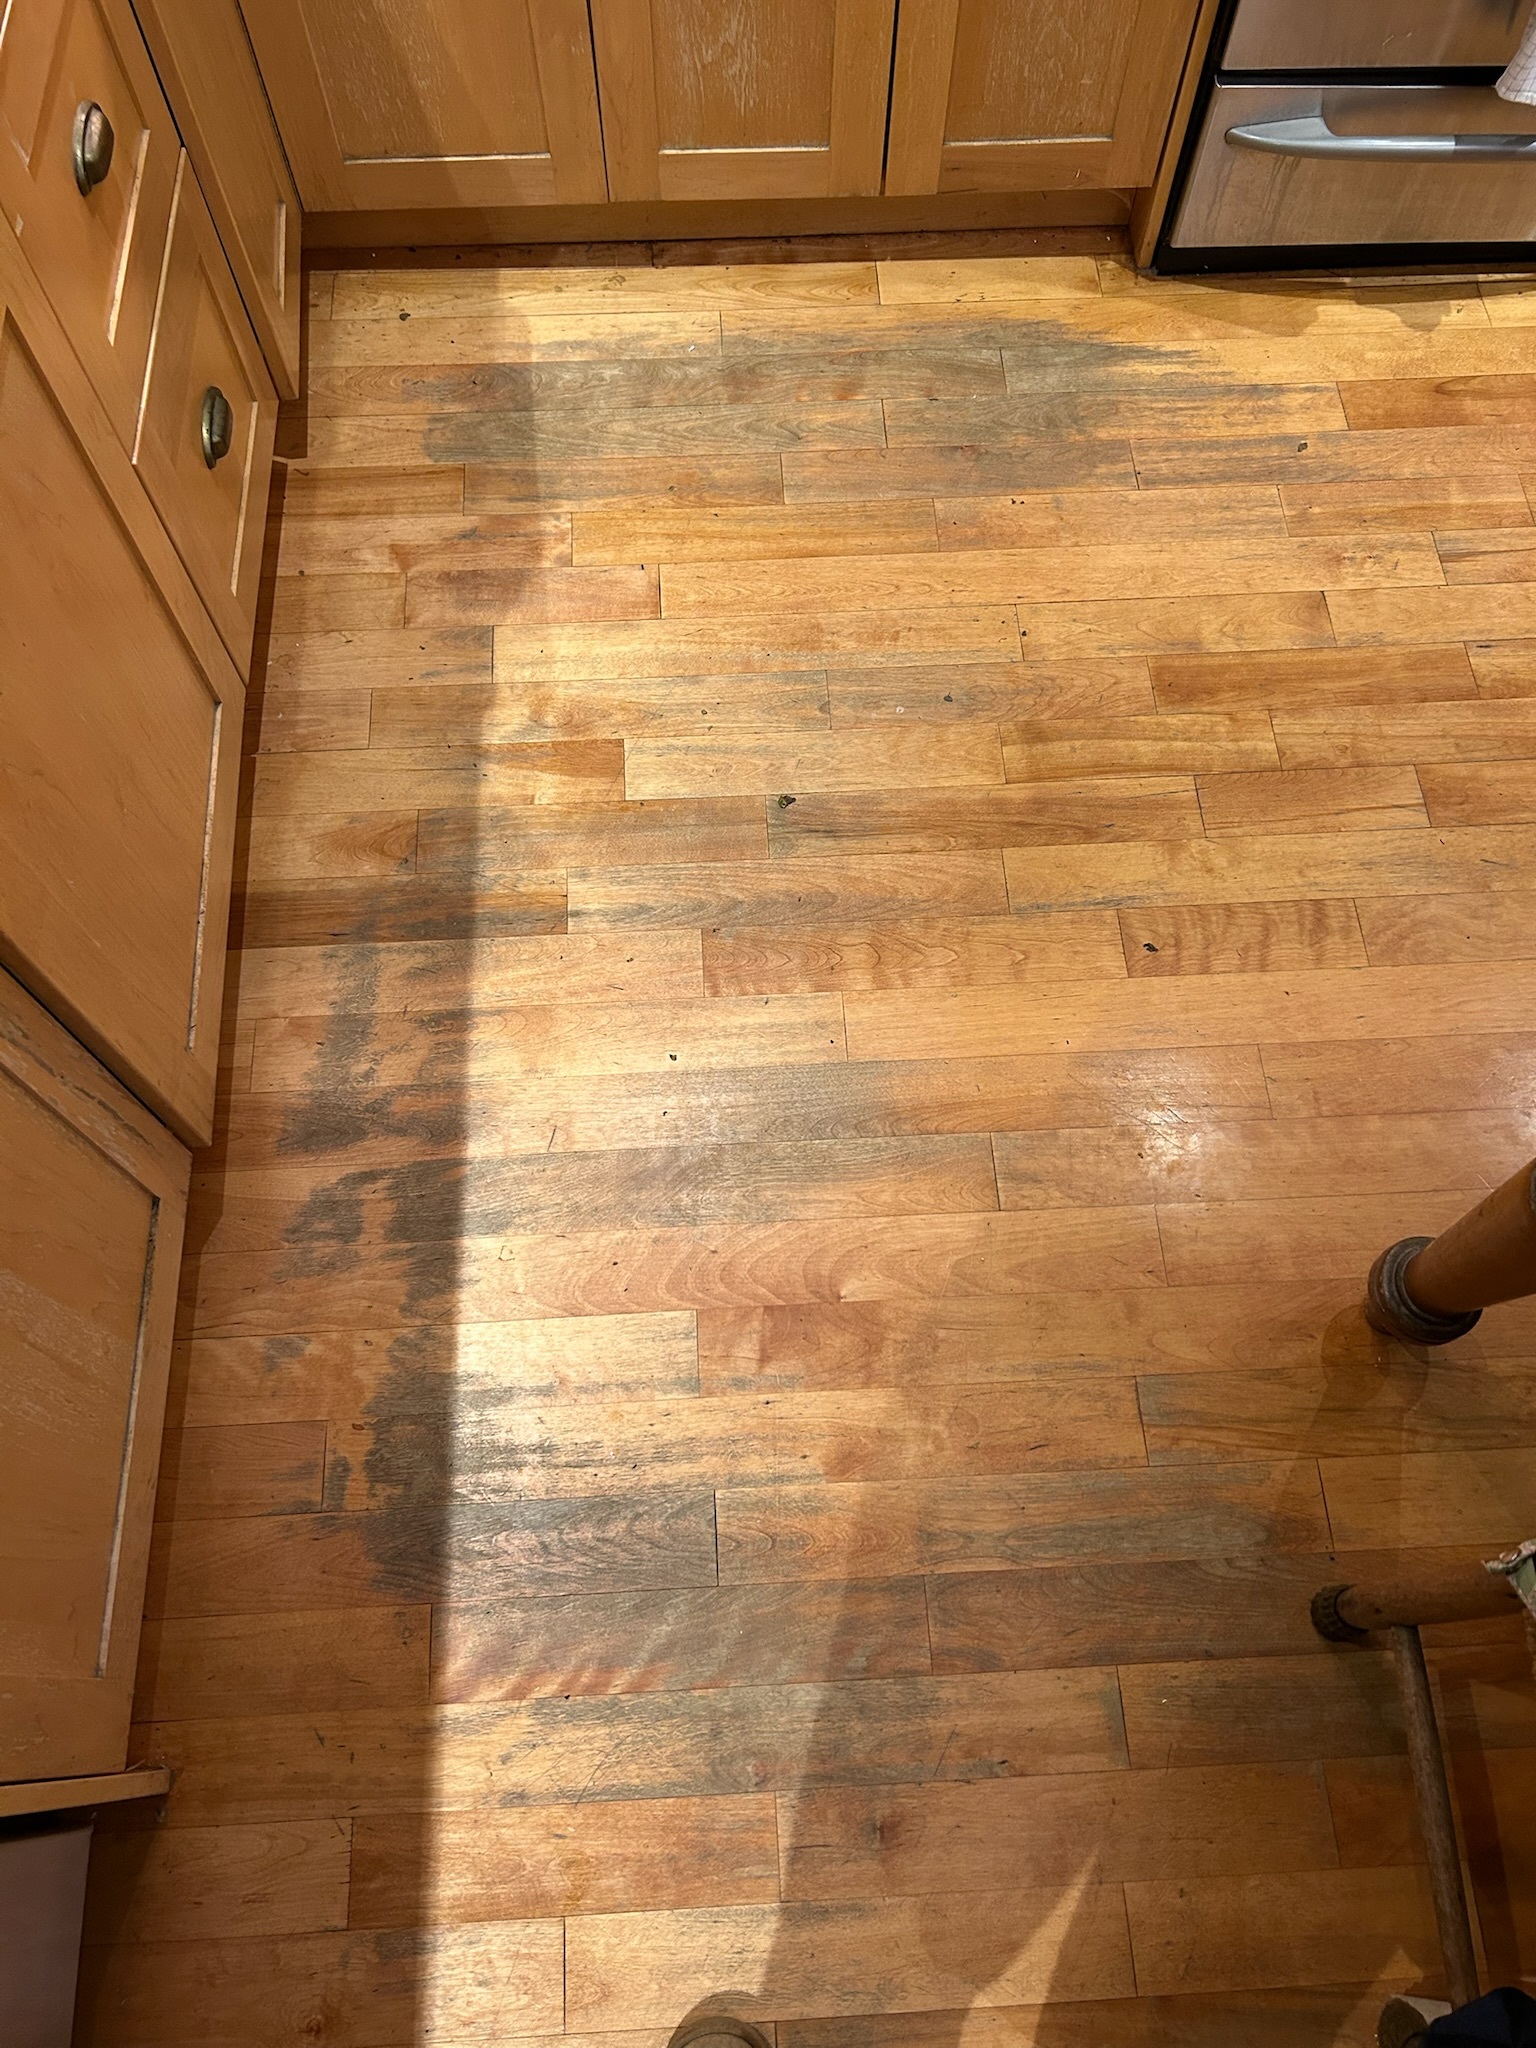
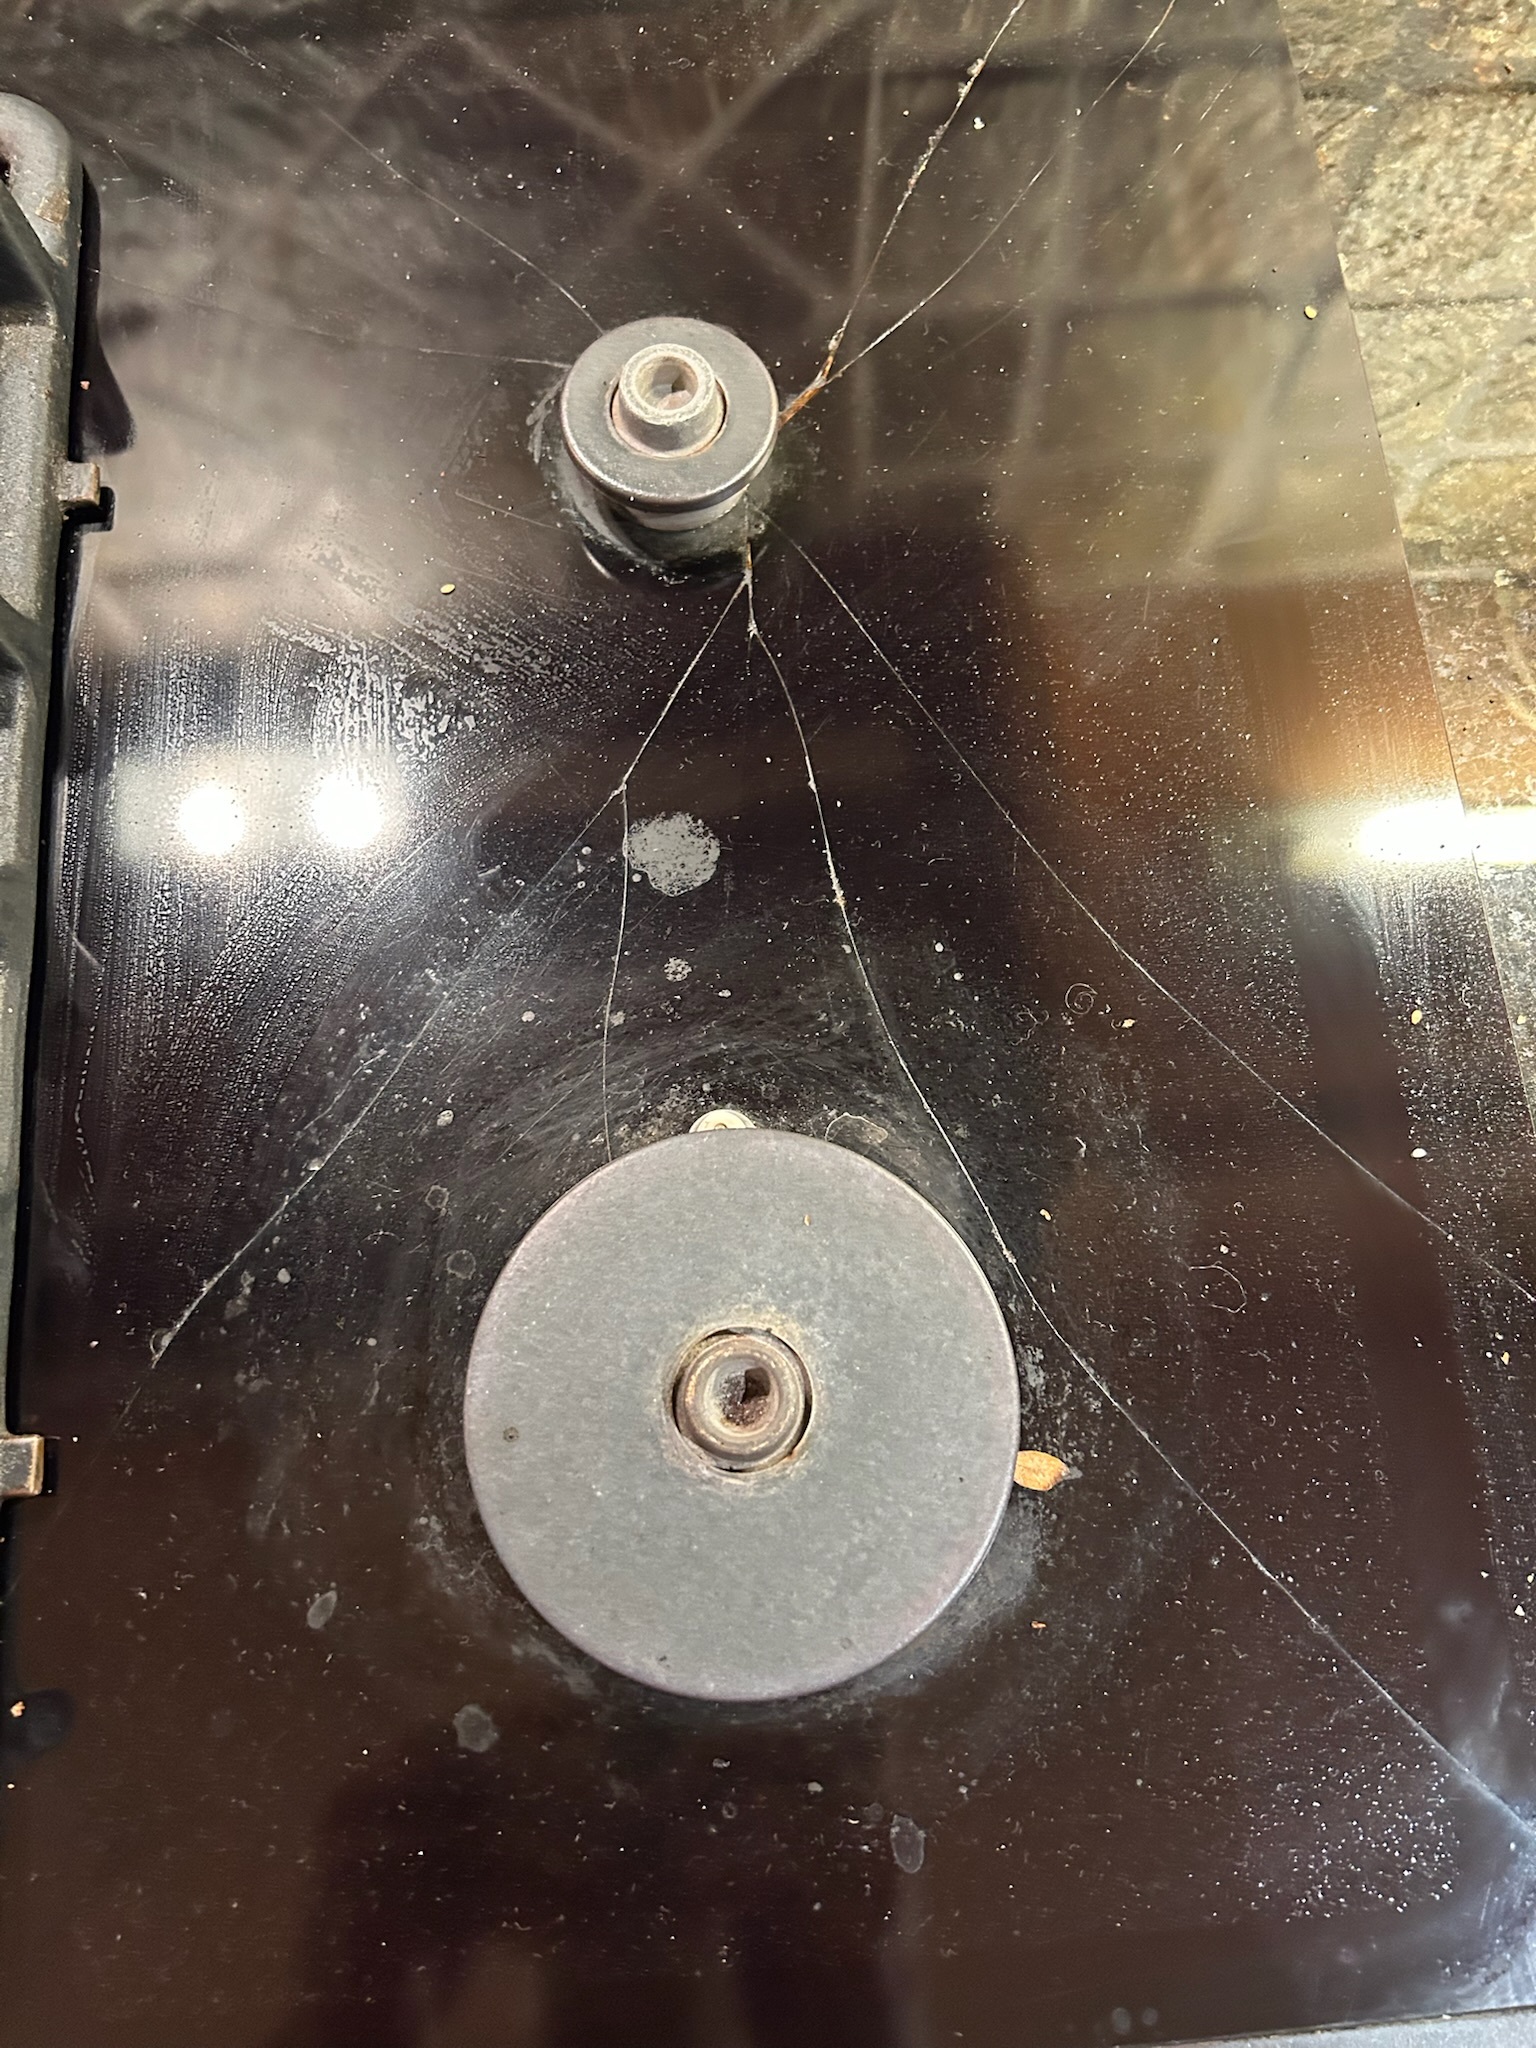
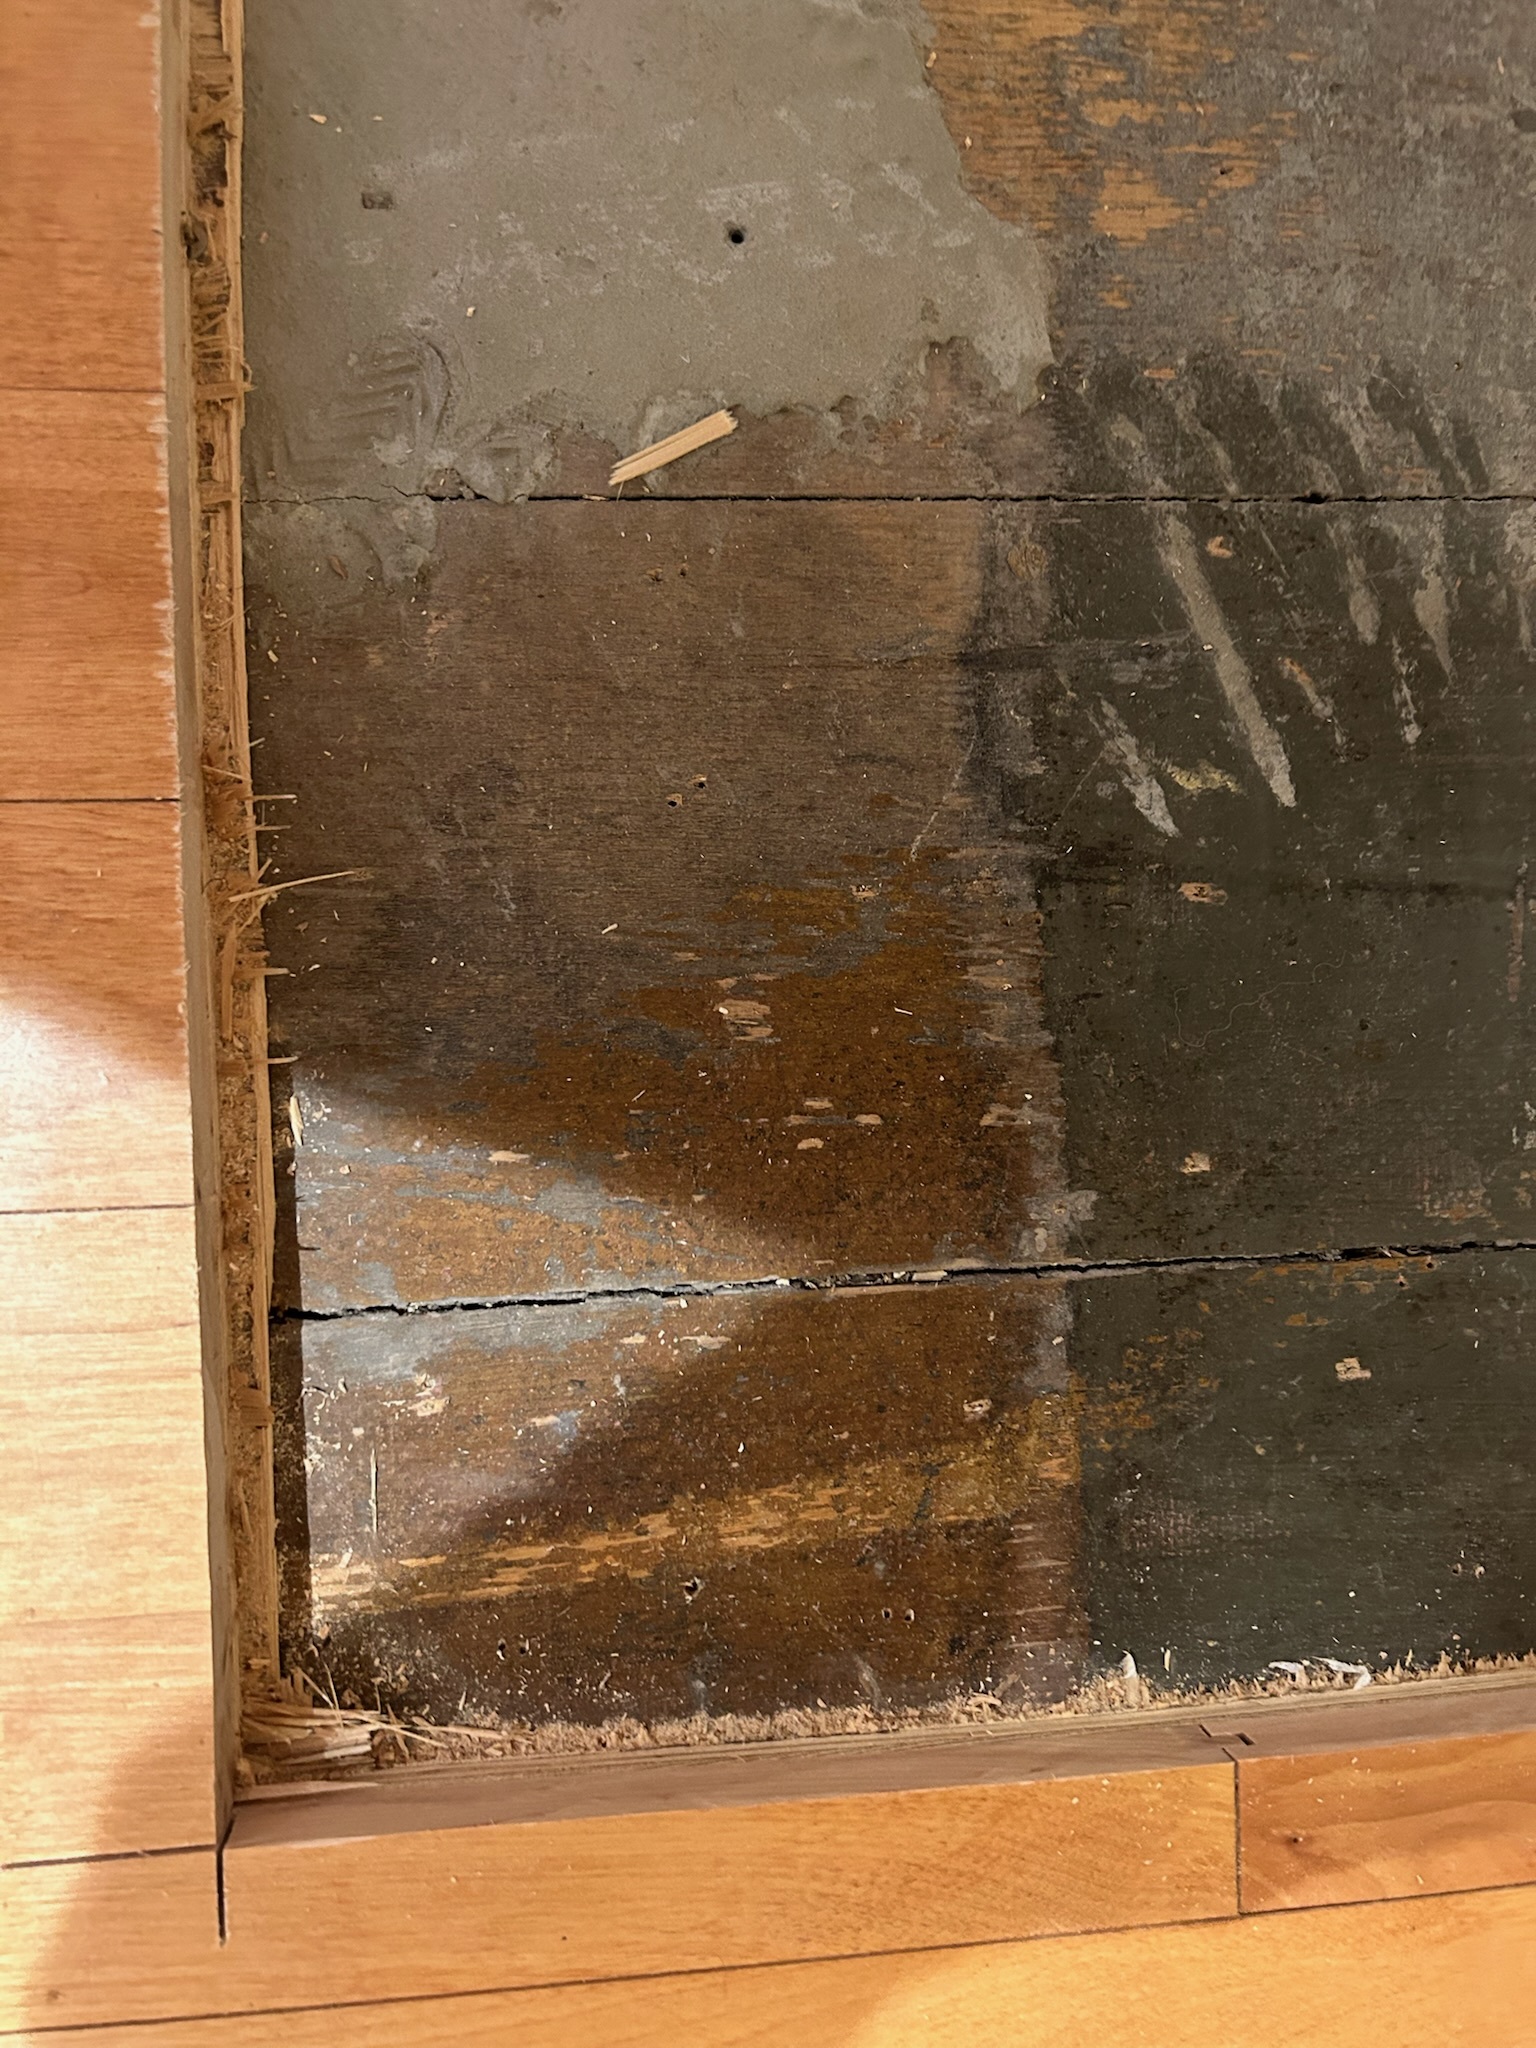
The areas most in need of attention were the main kitchen (top left below), the pantry and laundry off the main kitchen, the mudroom leading into the main kitchen, and the bathroom off the main kitchen. There was also a window hidden behind the mudroom closet, stuffed with insulation, that could be seen from the exterior of the house (top right below). The kitchen counters were unsightly, the cabinet box edge laminate was delaminating (middle left below), the engineered veneer flooring had worn through the top veneer layer and was discoloured, the kitchen sink cabinet door had suffered some water damage, the appliances were worn out, the stove top was cracked, the backsplash by the sink was studded with calcified deposits, while the wooden window jambs above the kitchen sink were cracked and in poor shape. The pantry had never functioned well for us, and the mudroom closet was poorly designed and poorly constructed. On the plus side, some pre-renovation floor excavation revealed original wide plank pine flooring in potentially salvageable condition buried beneath layers of engineered flooring, plywood, glue and leveling concrete (bottom right below).
Demolition And Structural Repairs
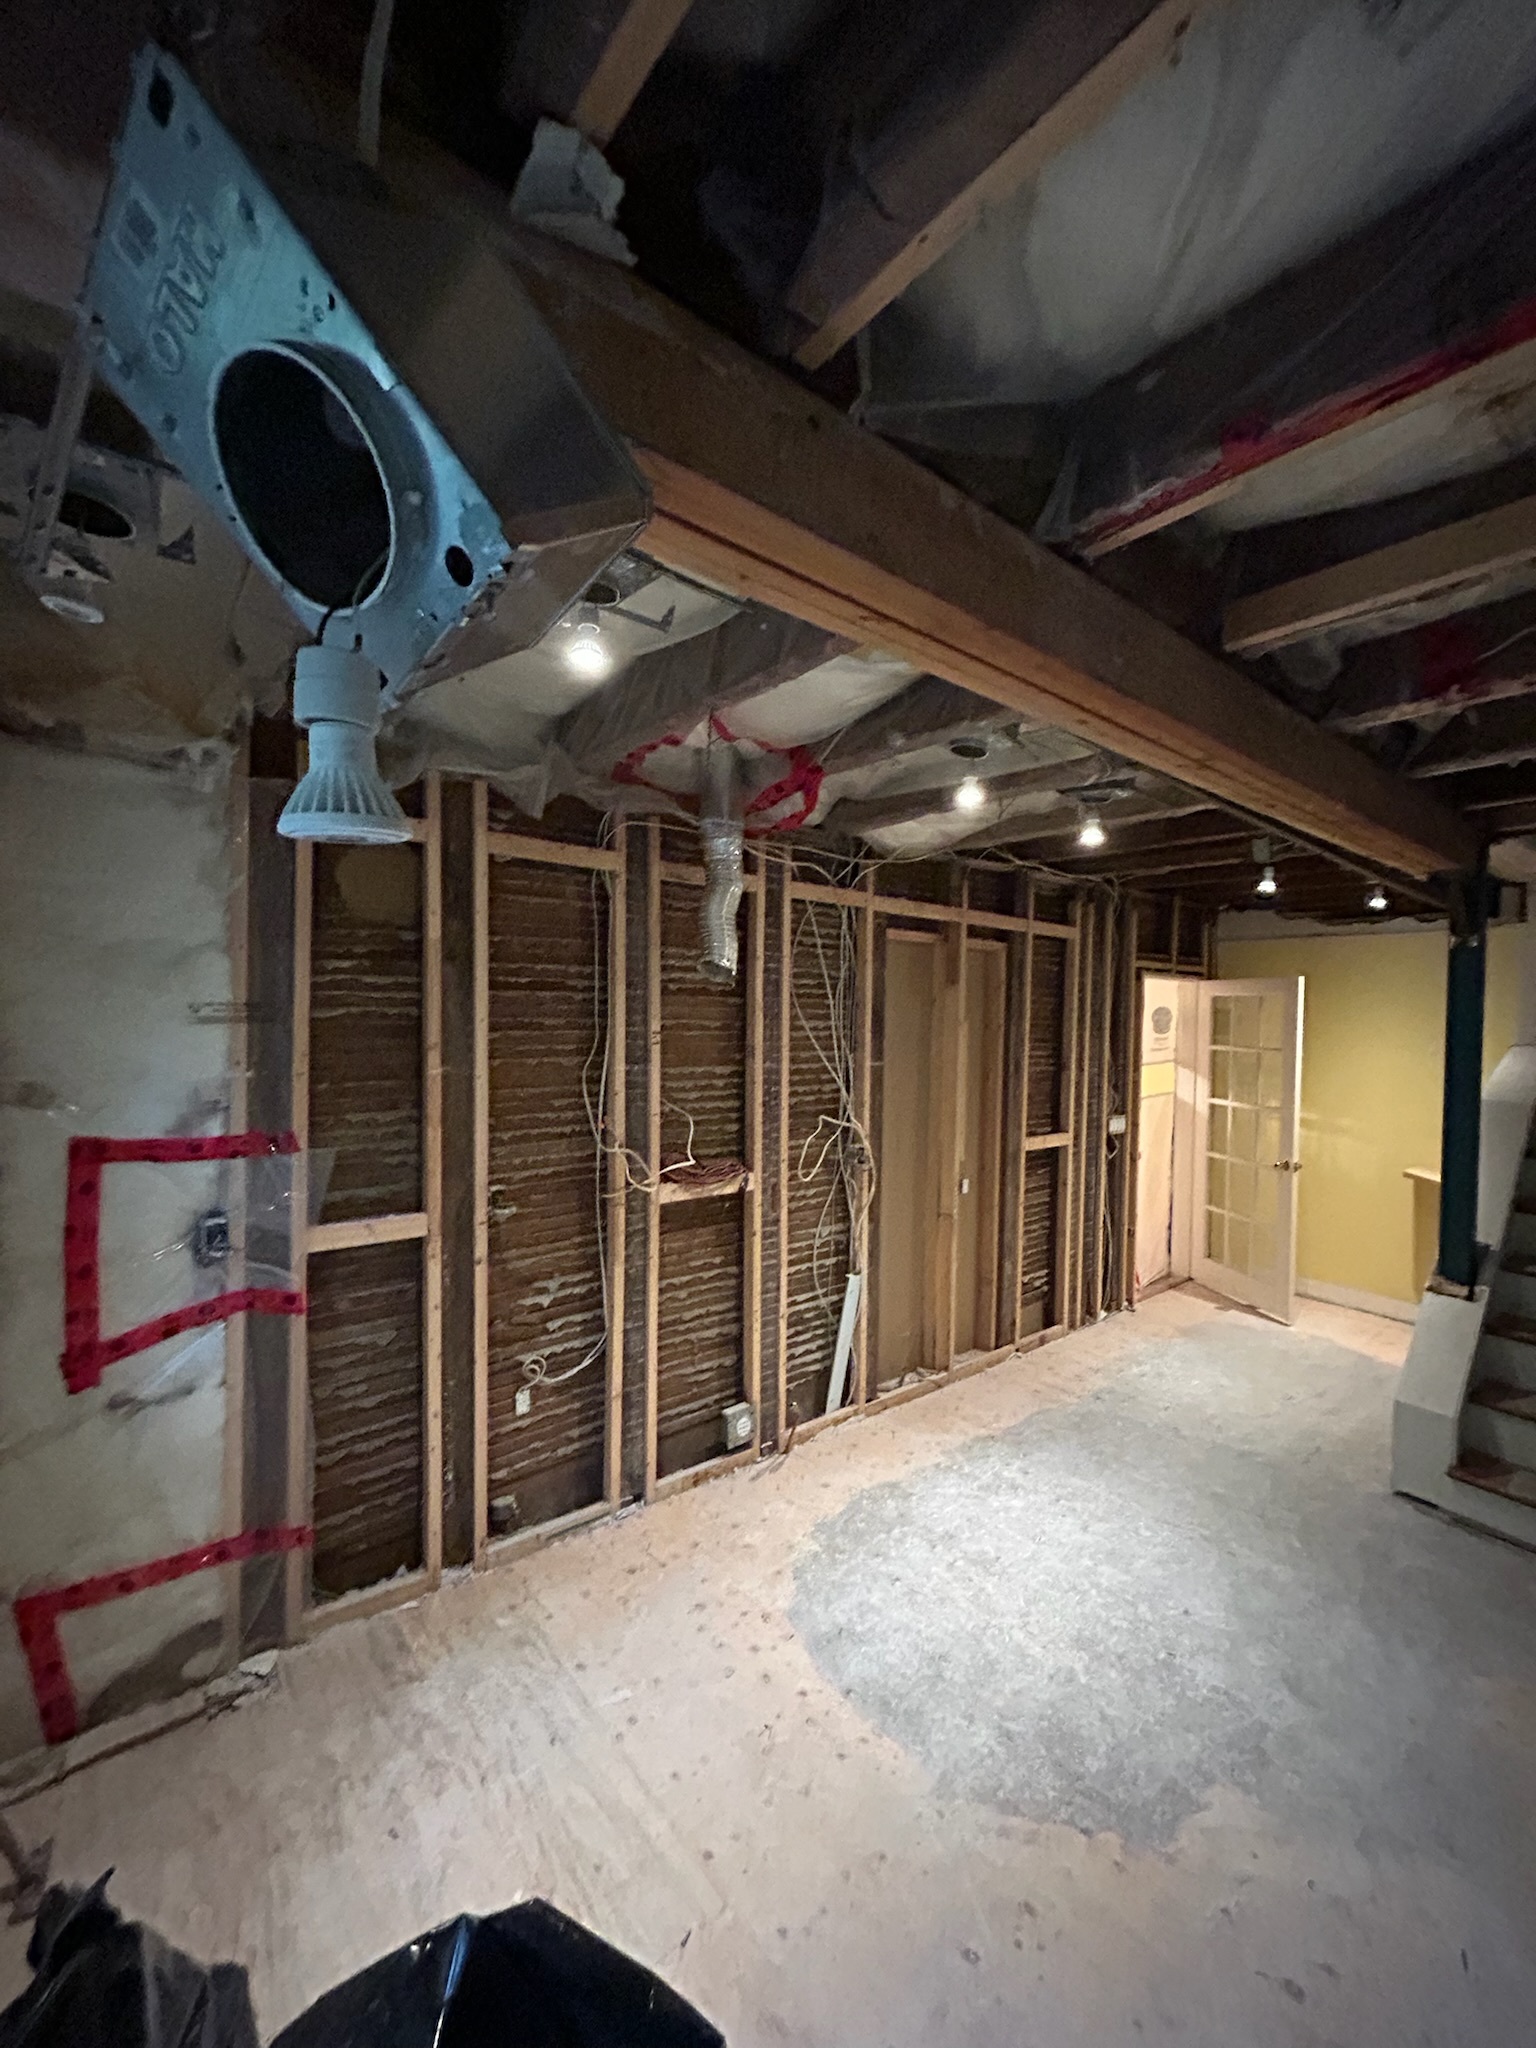
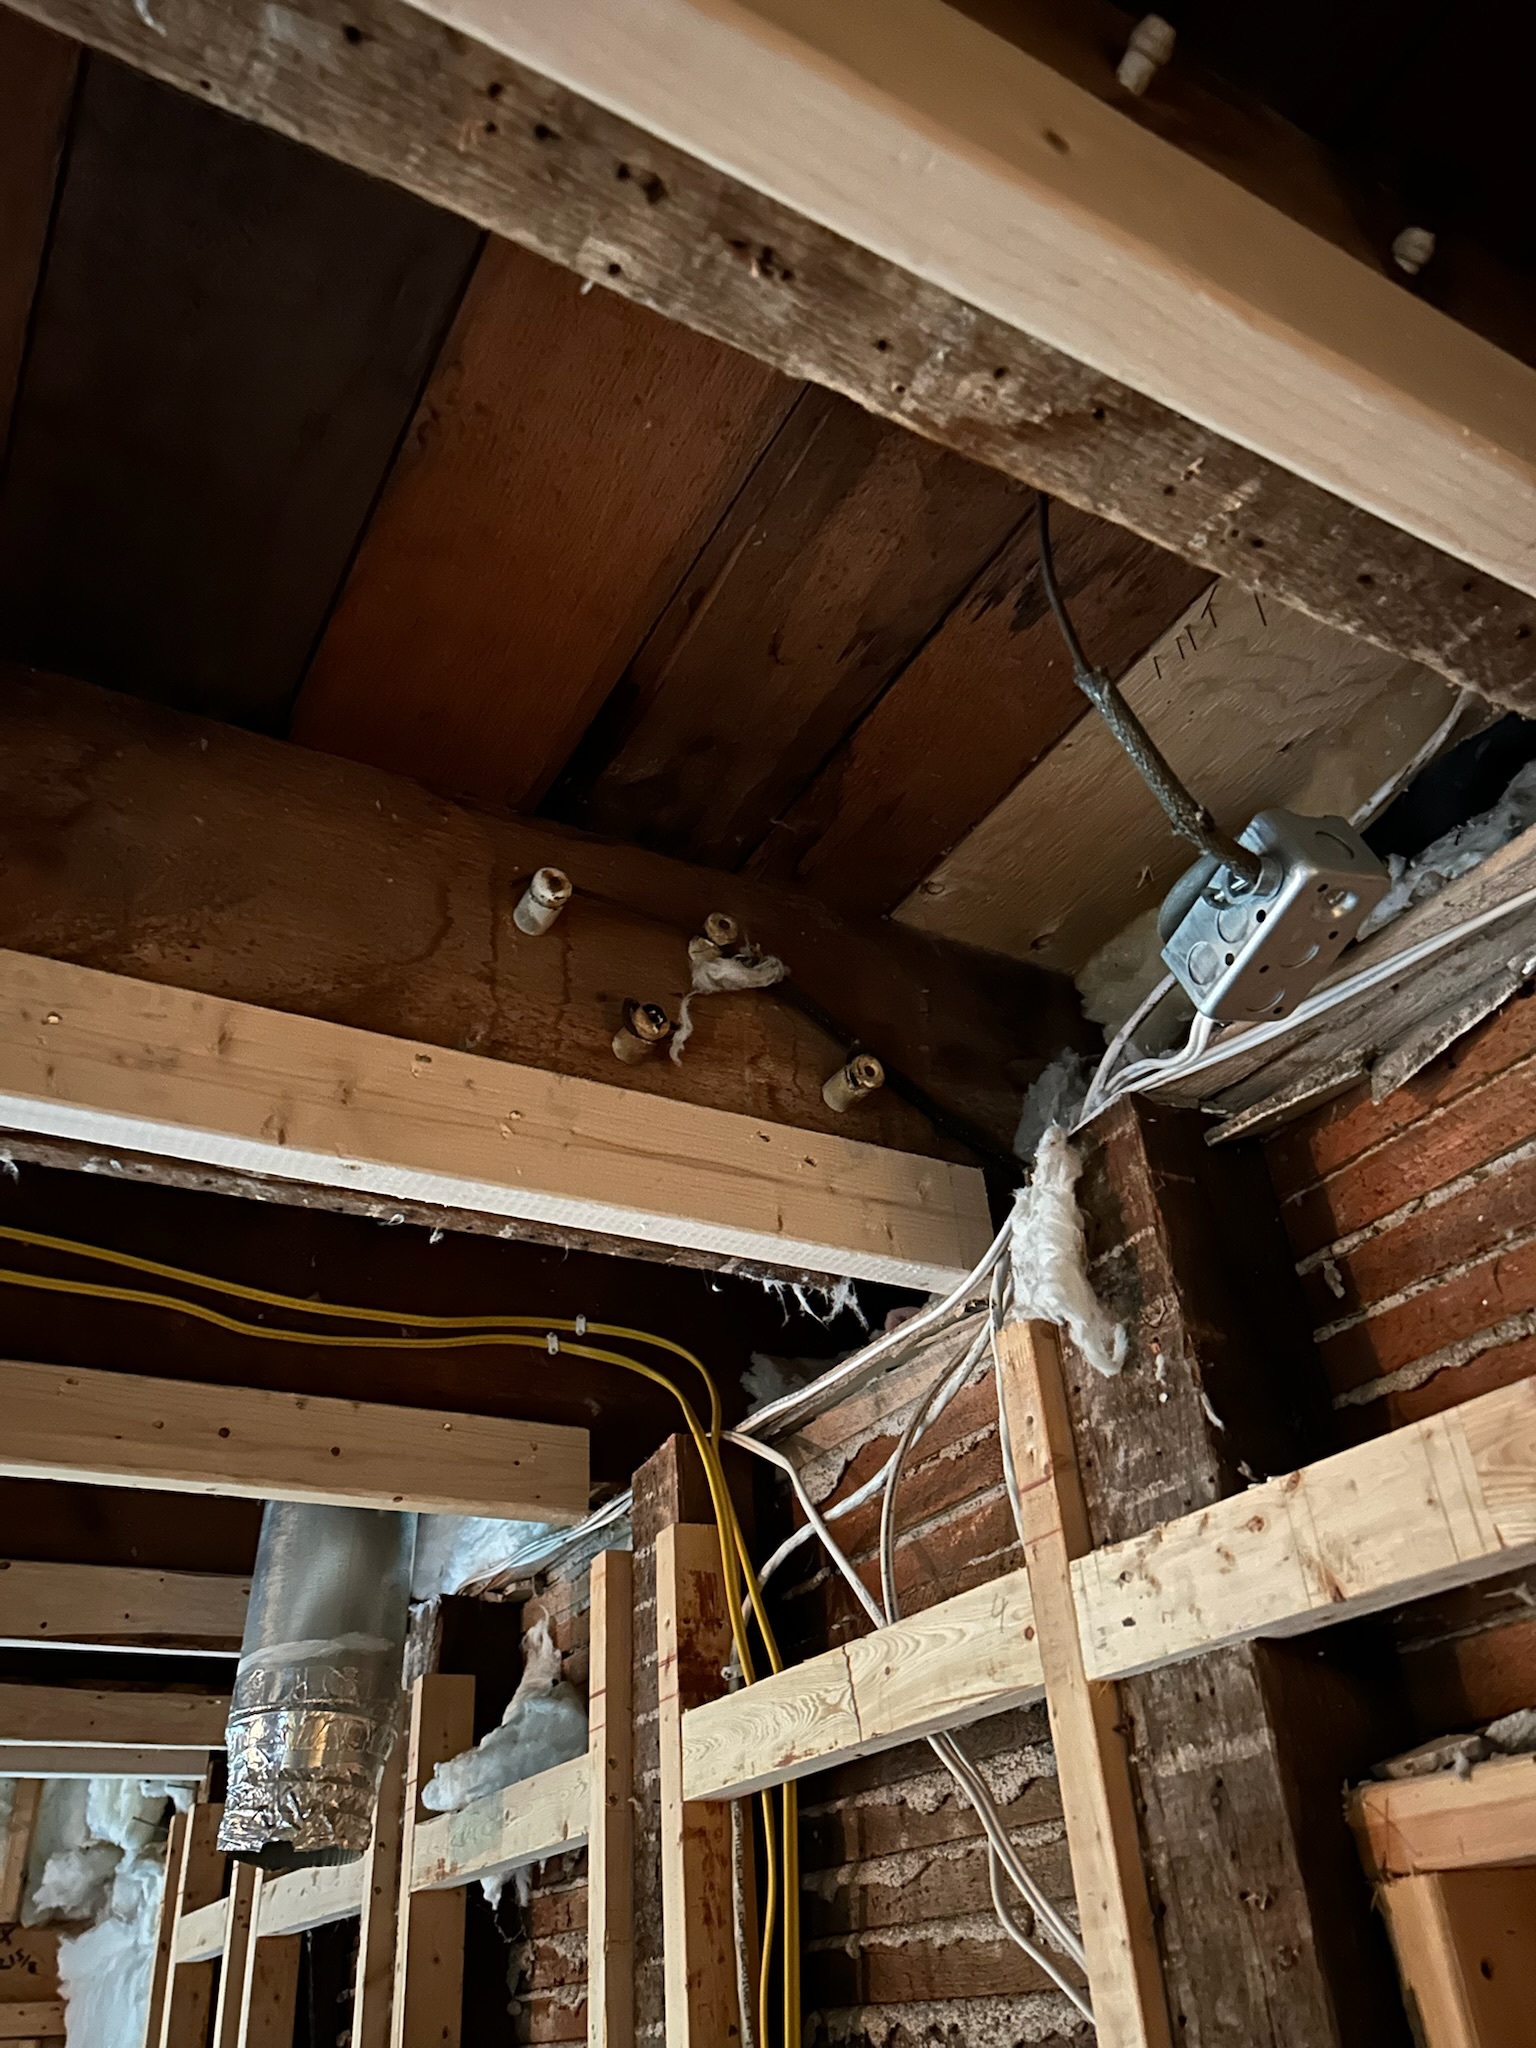
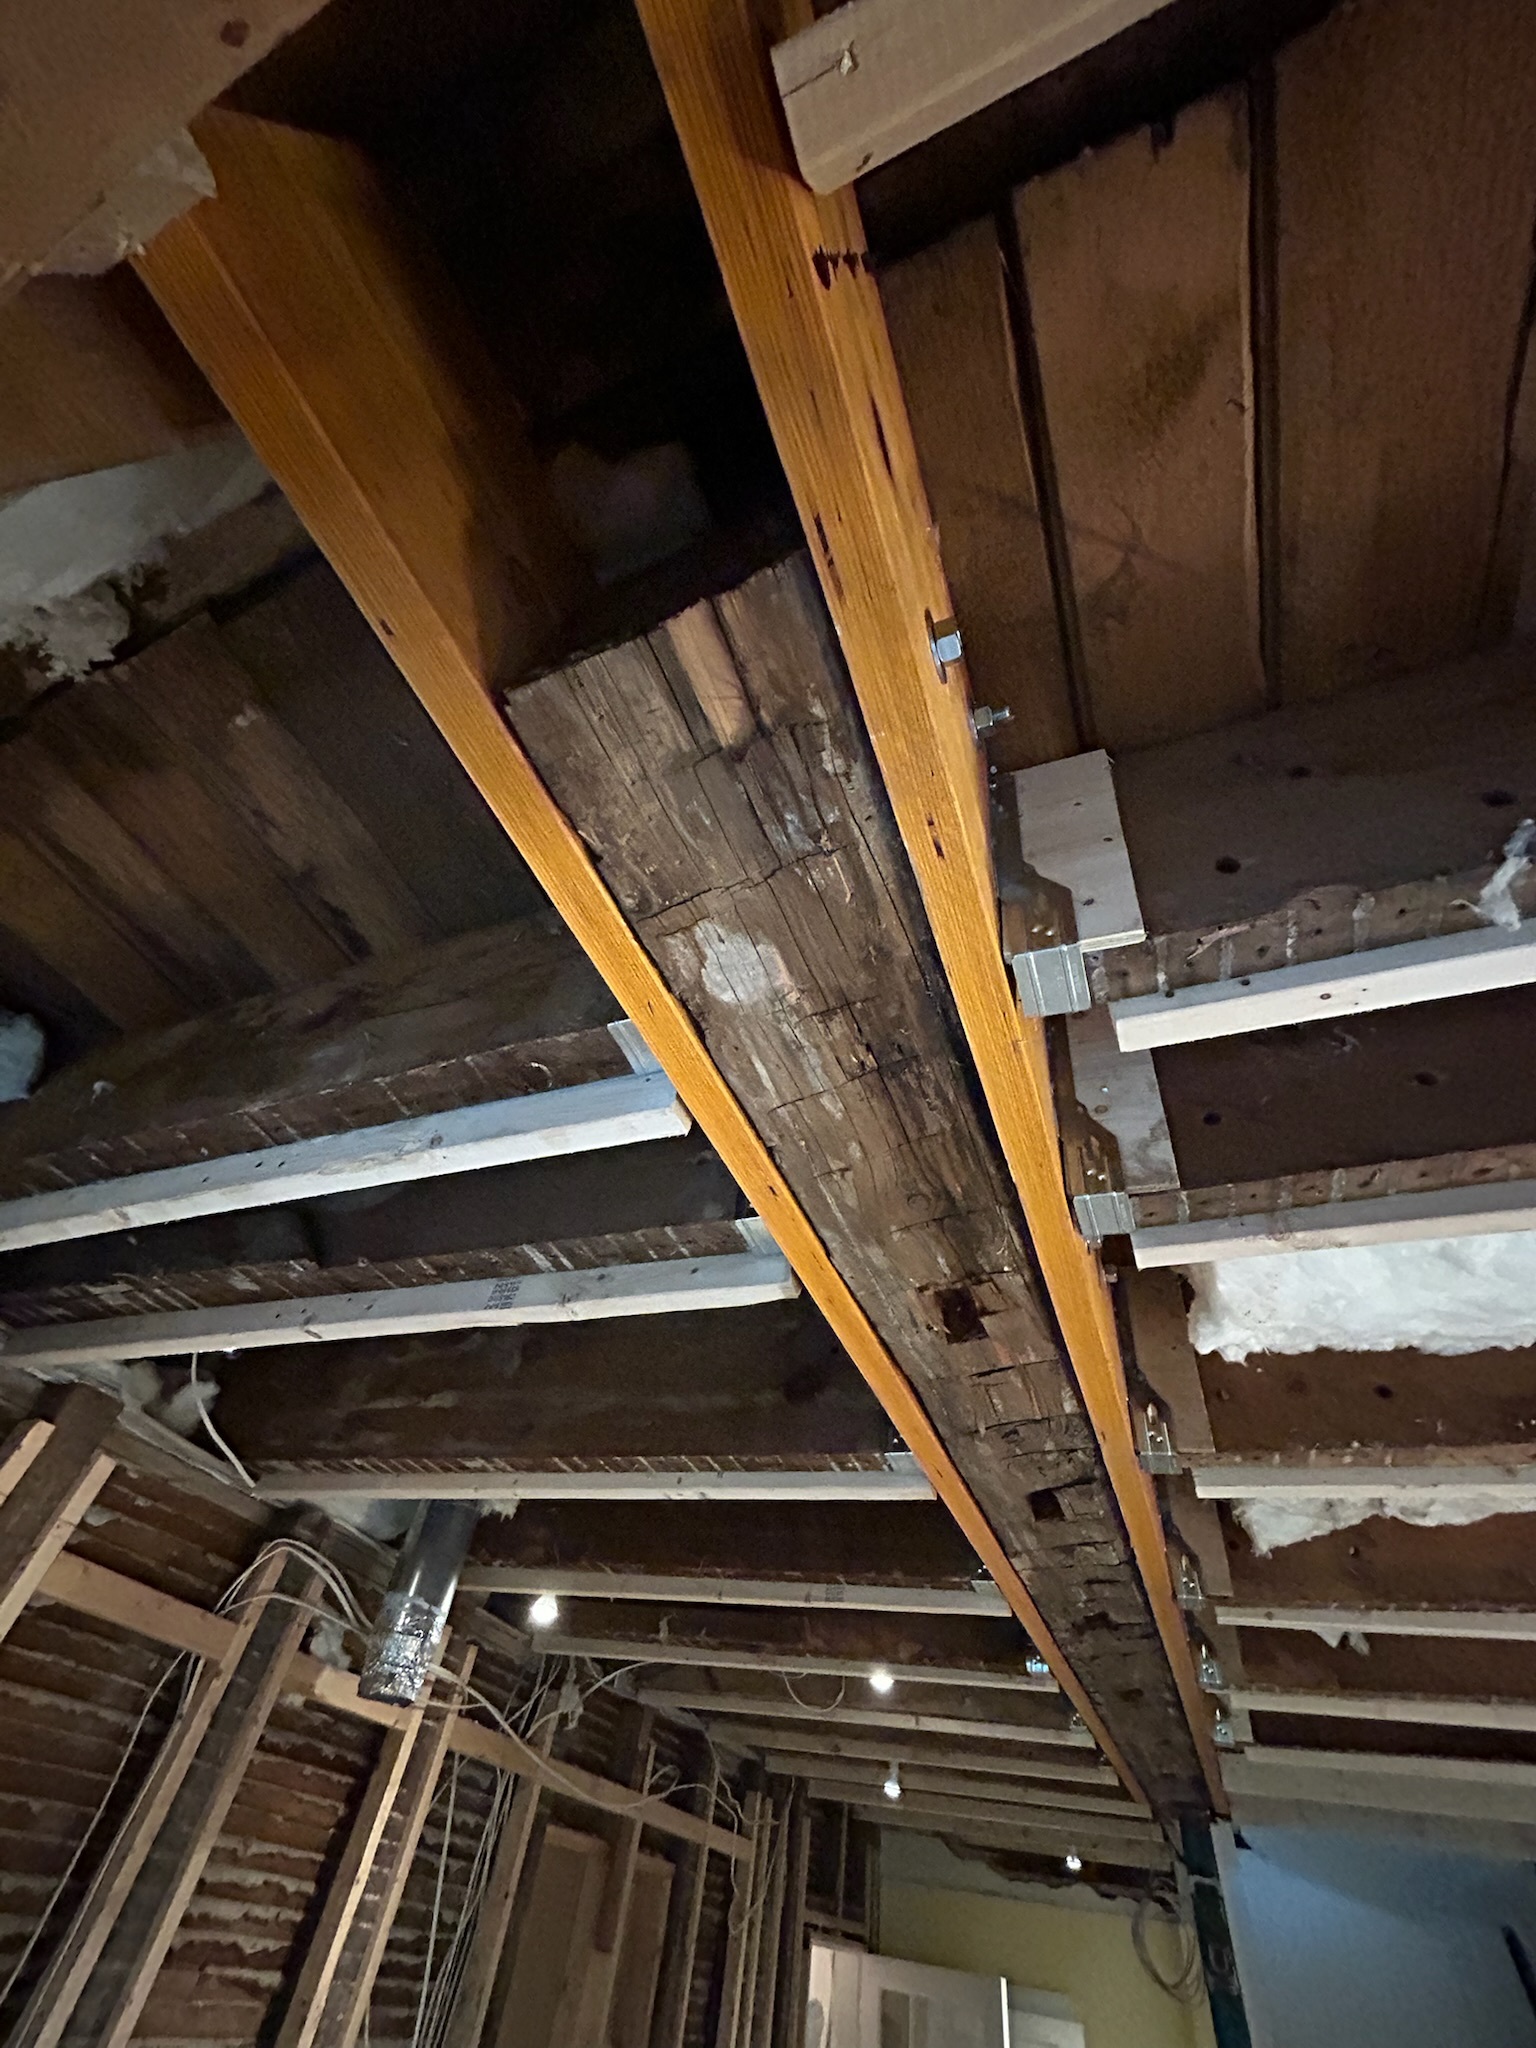
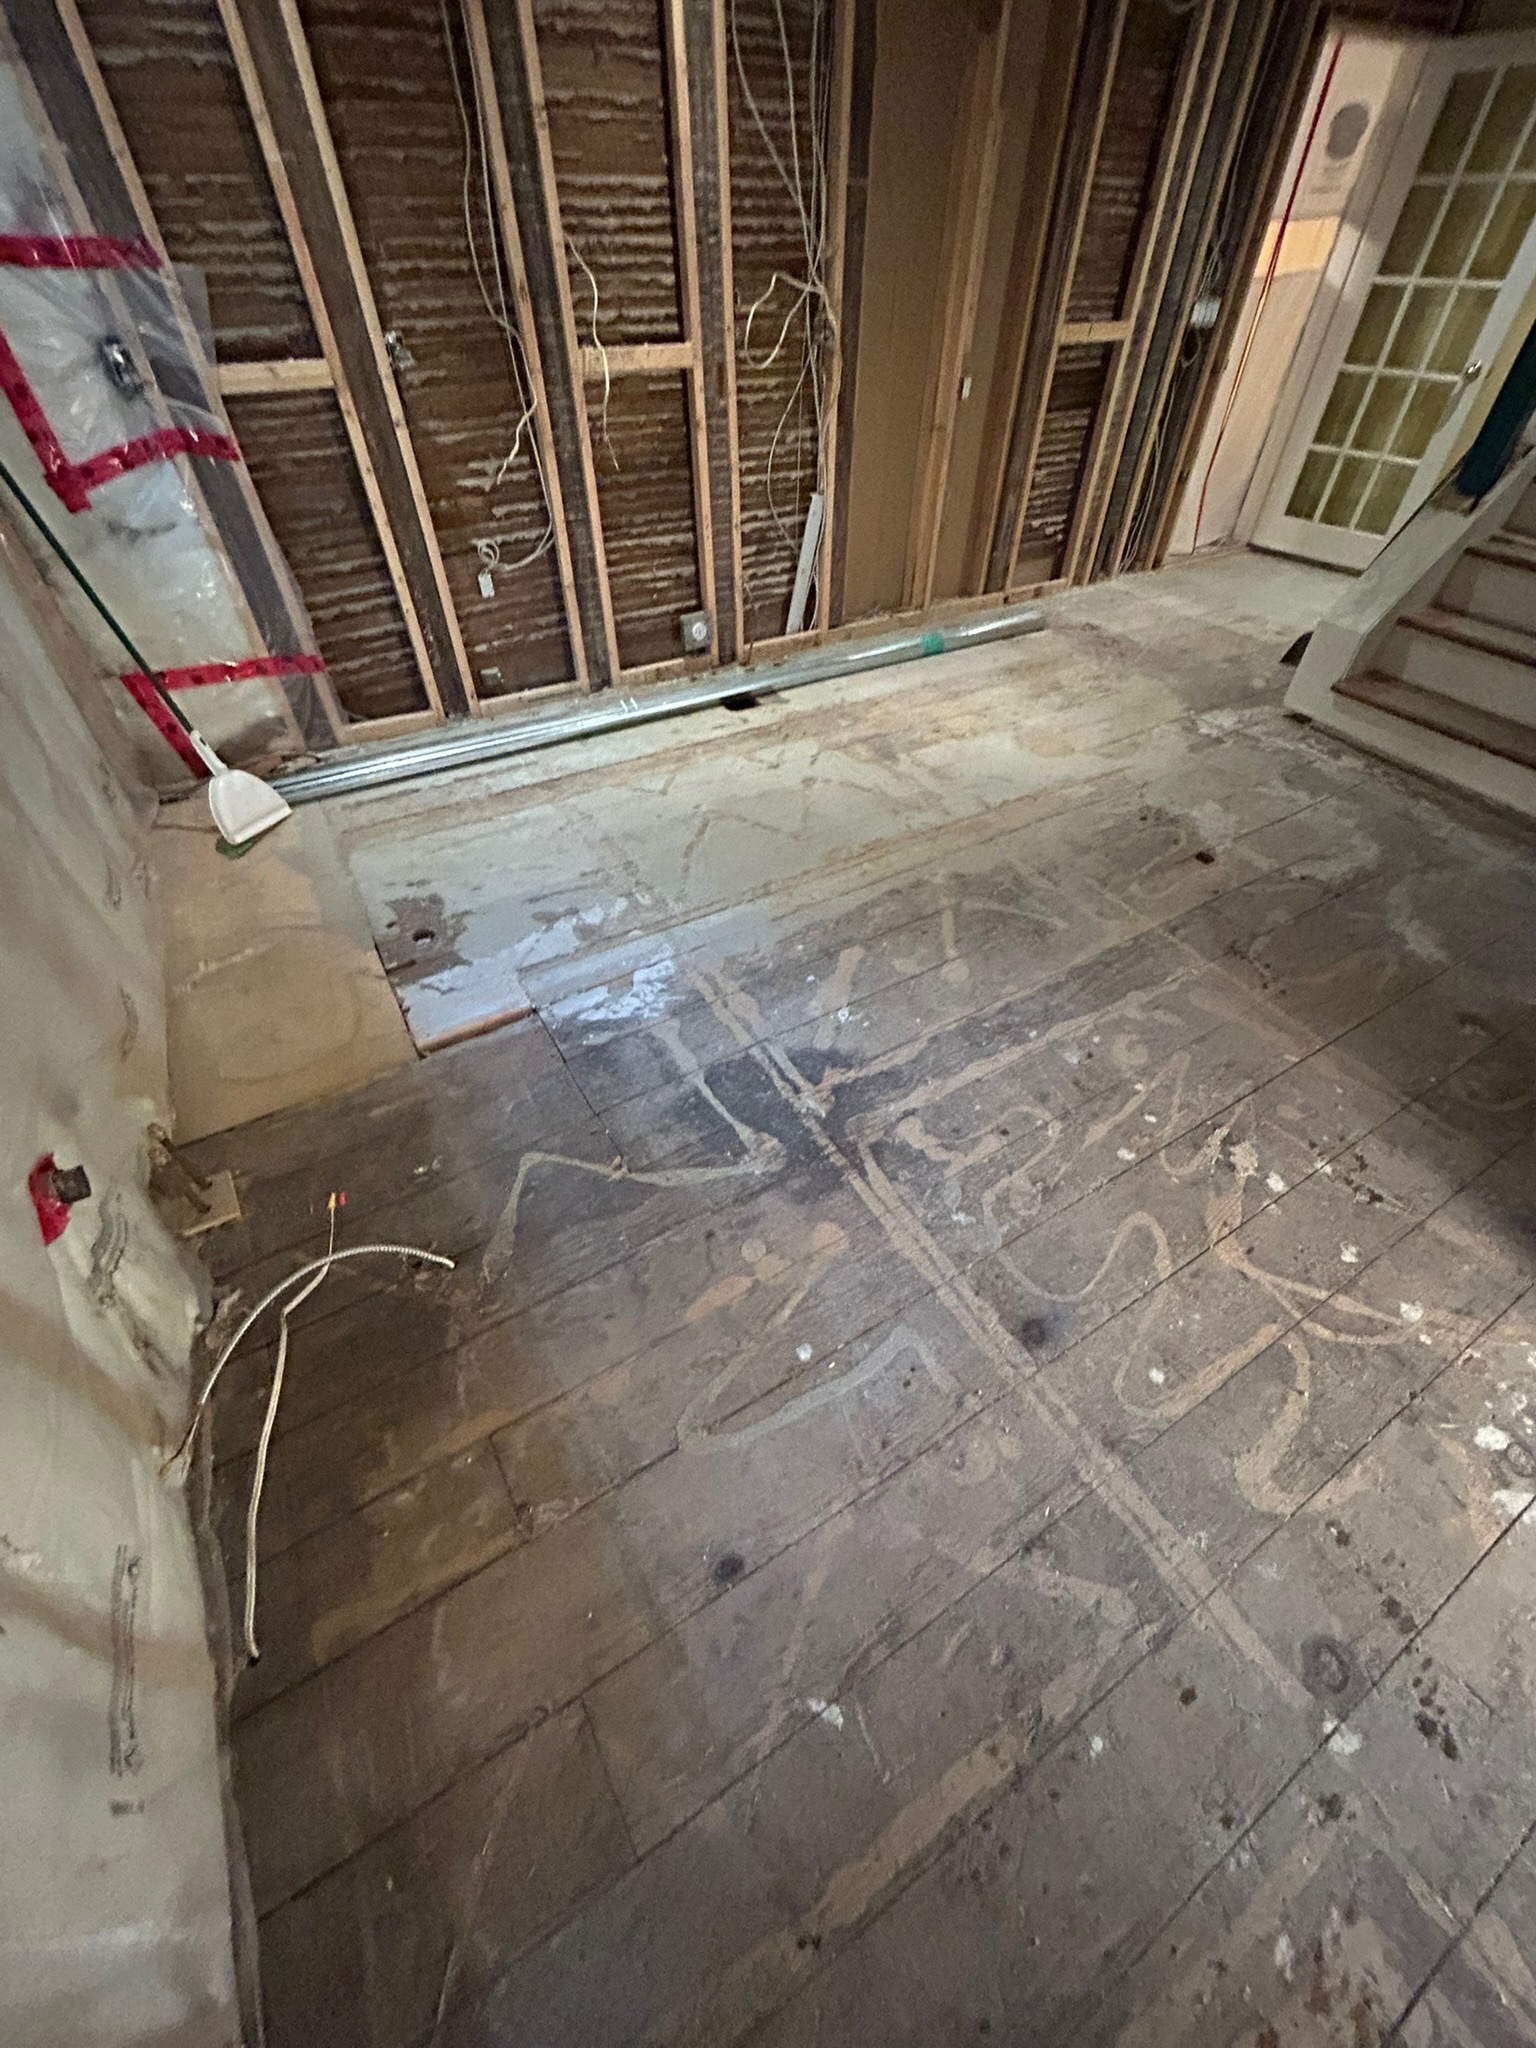
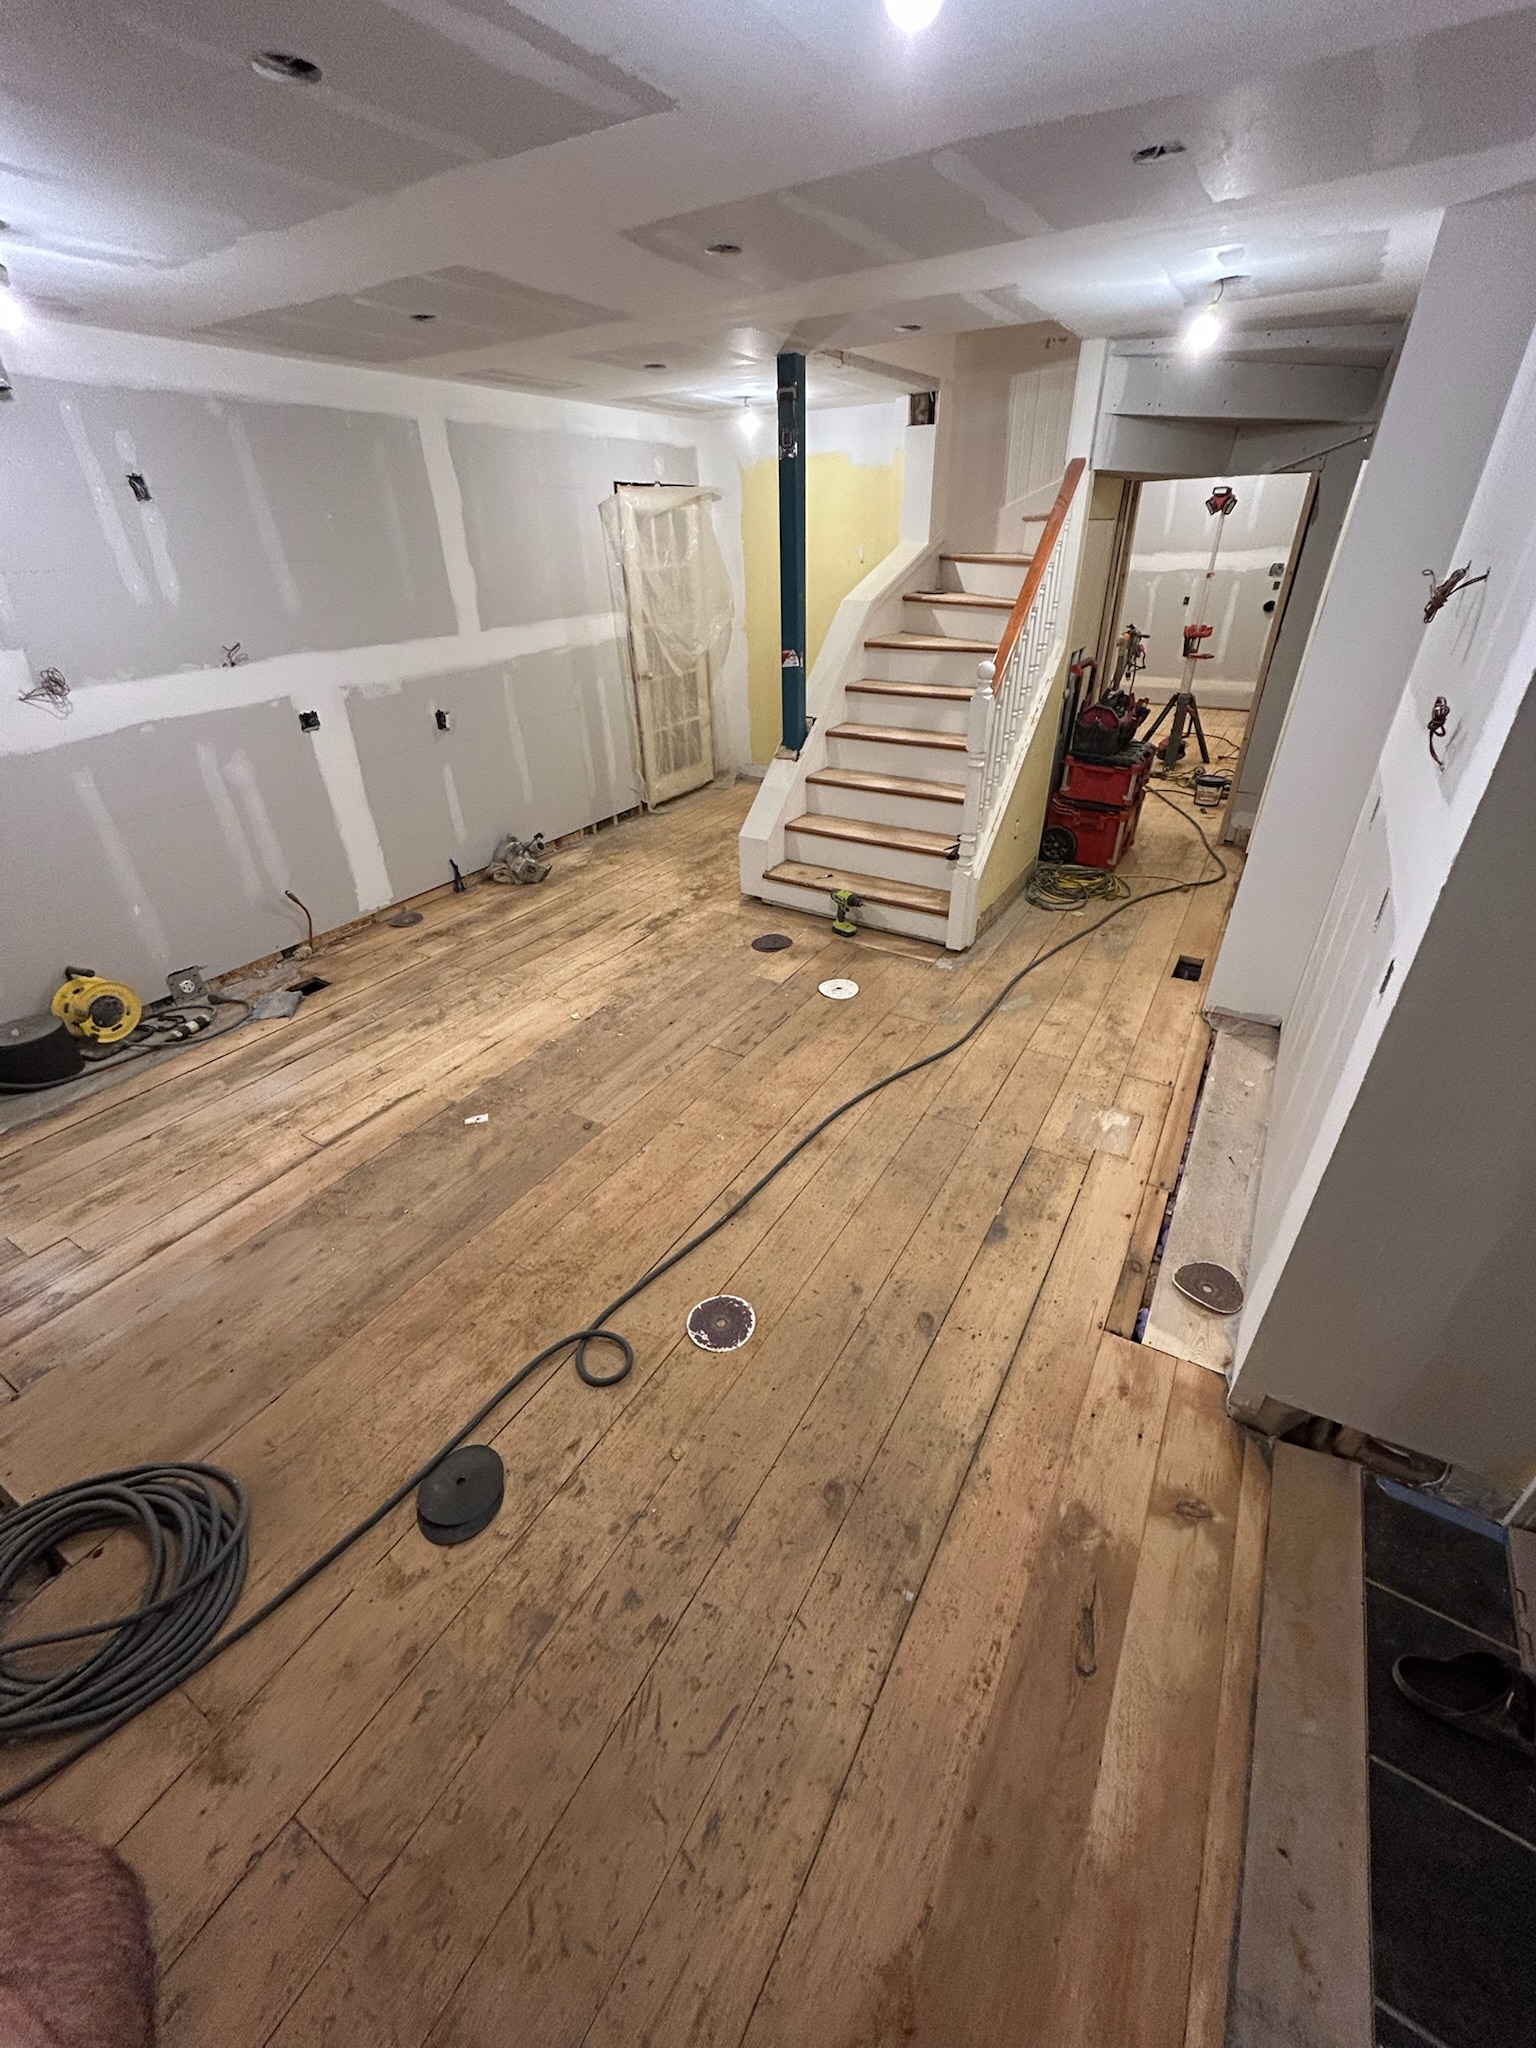
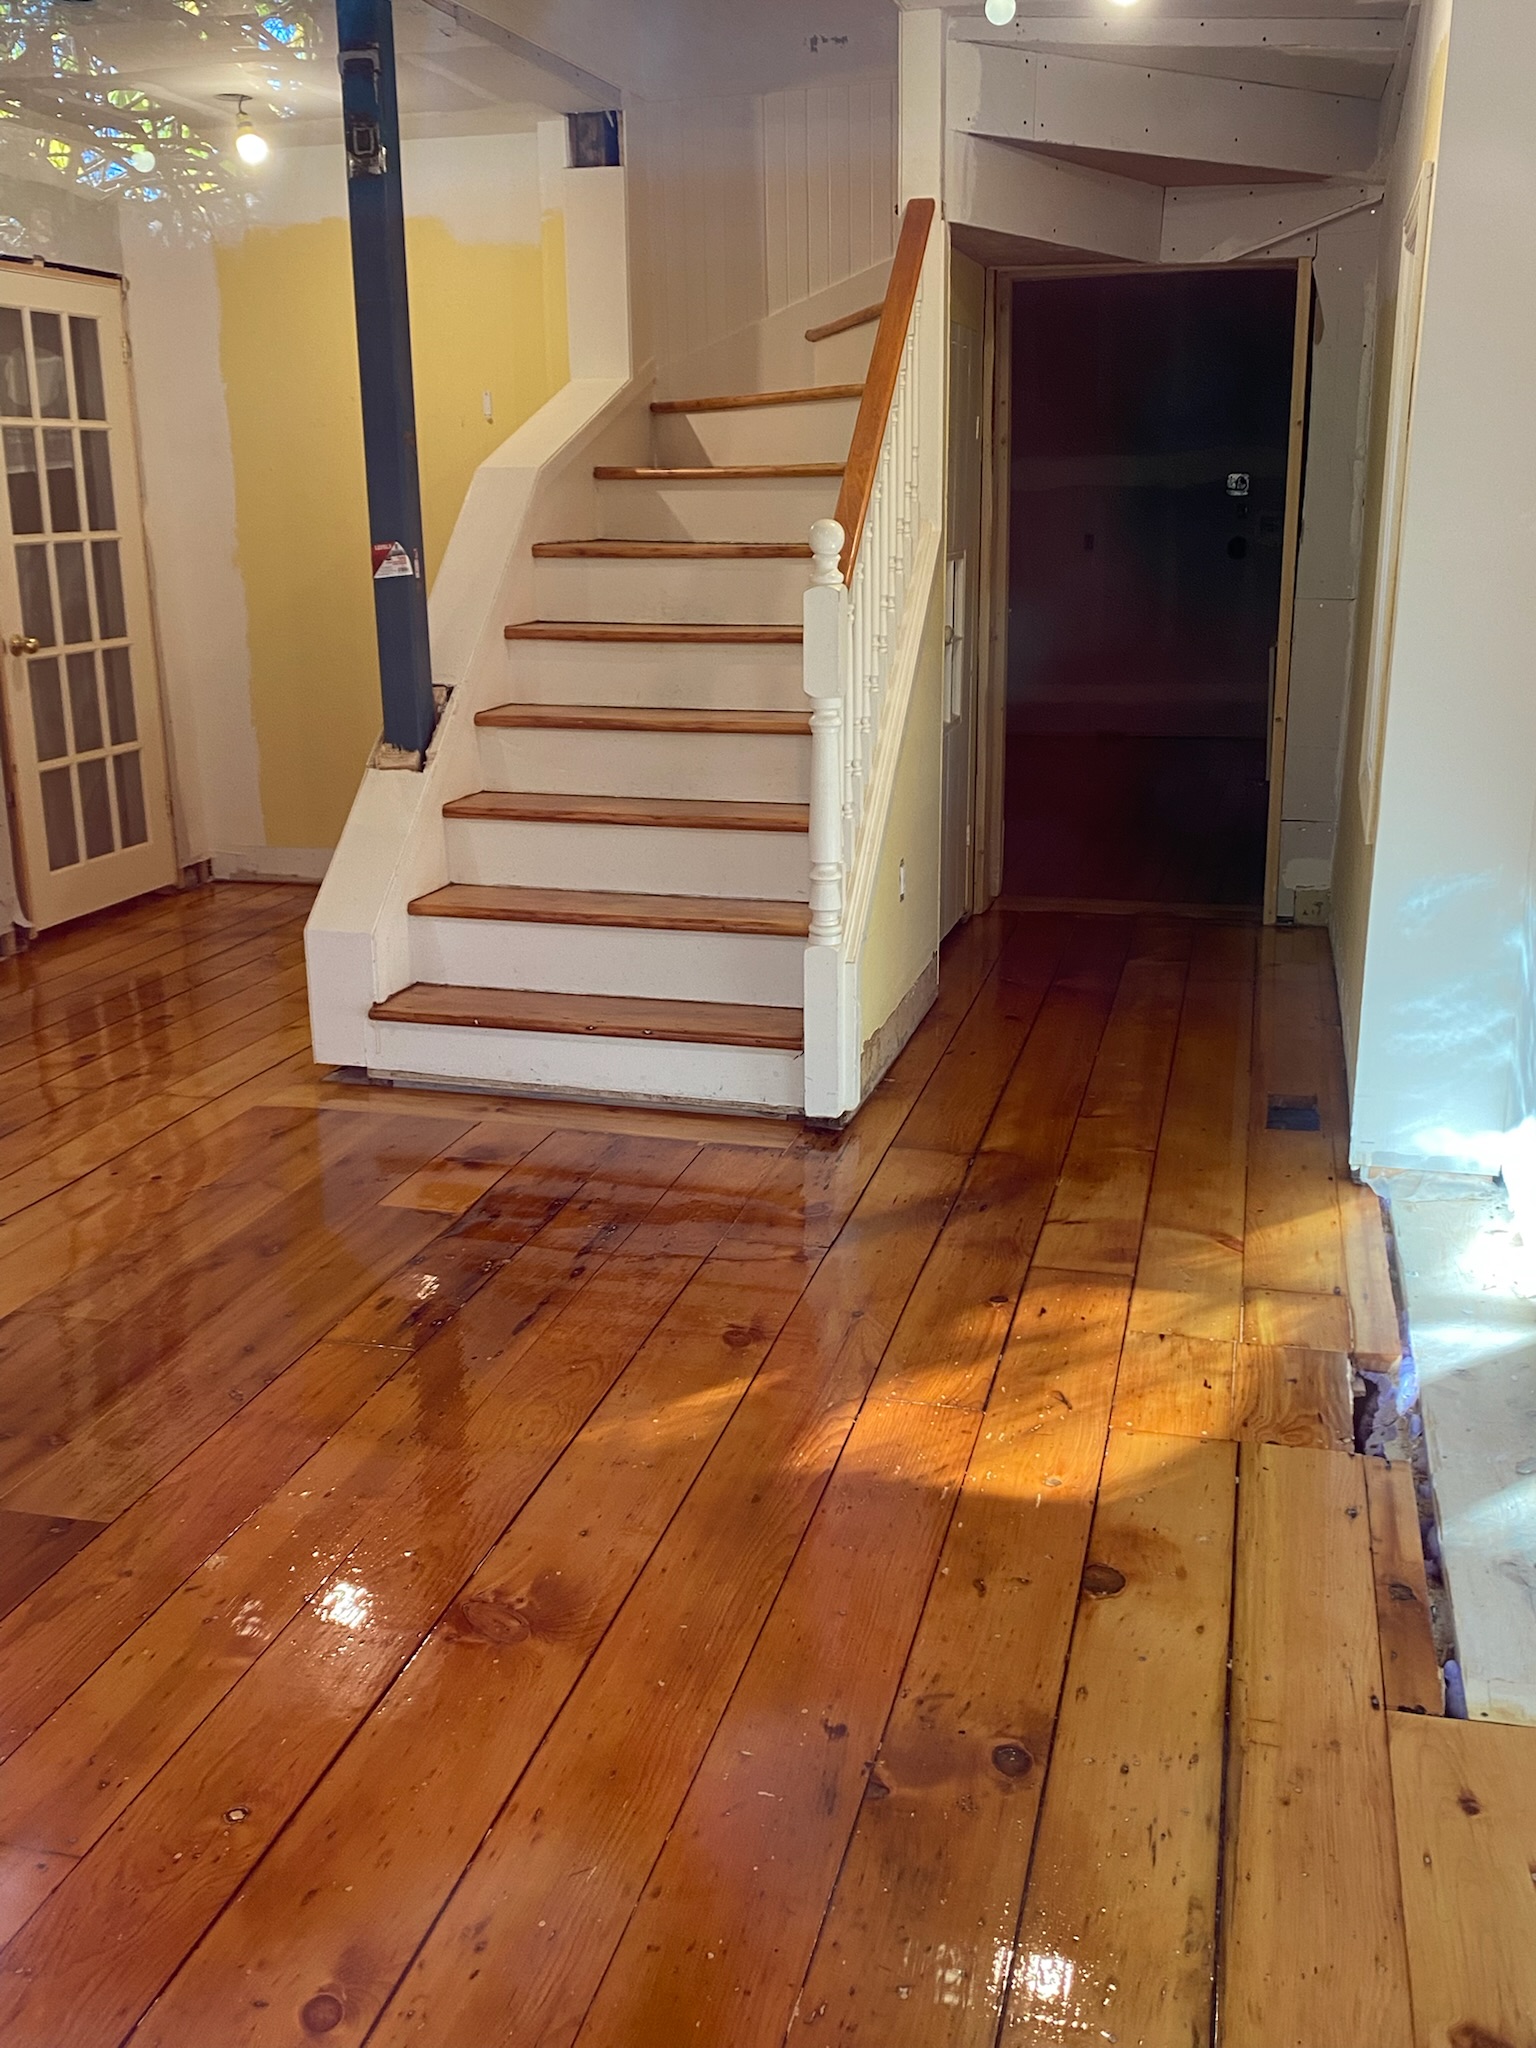
The first step was to remove the old cabinets, countertops, and appliances. The multiple layers of non-original flooring were removed down to the original wide plank pine flooring that was covered in glue and leveling concrete (top left below). The pantry and laundry area was gutted, the pantry wall removed, and the mudroom closet gutted, while the insulation-laden exterior window behind the mudroom closet was removed and the exterior wall meticulously restored (top right below). The ceiling in the main kitchen had been lowered by the previous owners, and an intrusive beam ran across the kitchen, while a protruding false ceiling box encased the stair profile leading up to the loft above the kitchen (upper left above, north-east part of the photo). The offending beam in the kitchen was removed and recessed, and the false ceiling box was demolished to reveal the underside sillouette of the upper stairs. The ceiling was restored to its original height once a hidden LVM beam was added which replaced the previous intrusive beam. The old retro-fit windows above the sink with view-blocking cross-bars were replaced with larger locally manufactured single-pane windows that were more in keeping with the original style of the house. The basement under the floor joists in the pantry and laundry area required some attention (the hand-hewn log beams used in parts of the house were sagging), so concrete footers were poured in the basement underneath the pantry and new wood joists, steel beams, and metal supporting posts were installed (bottom right below).



Construction And Floors
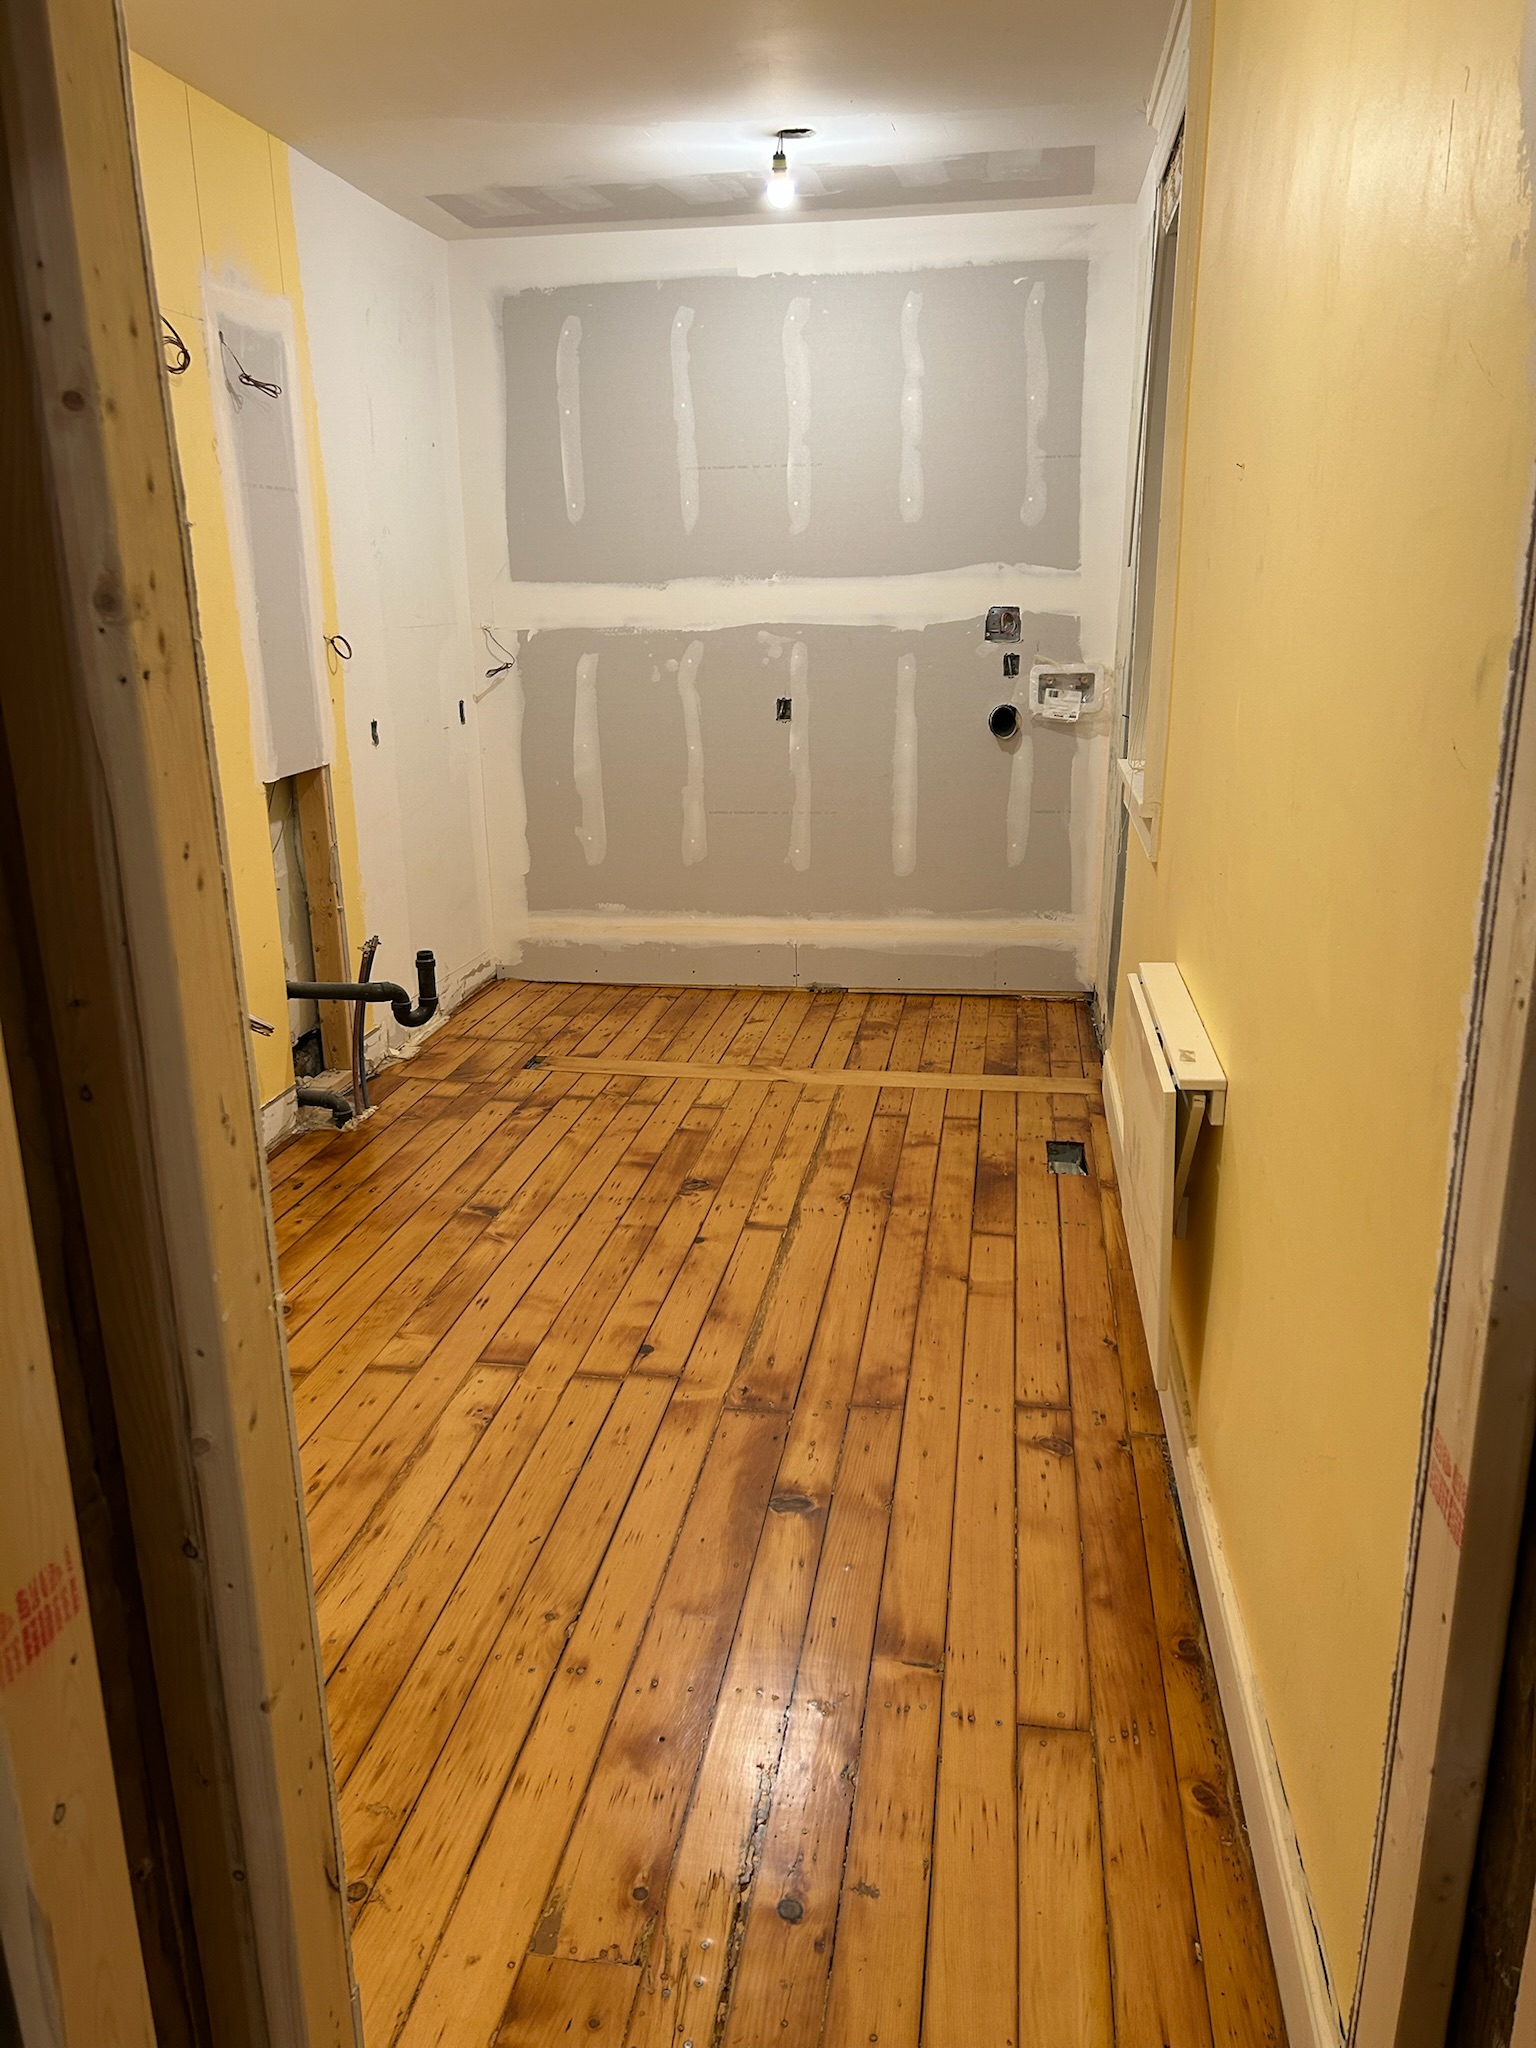
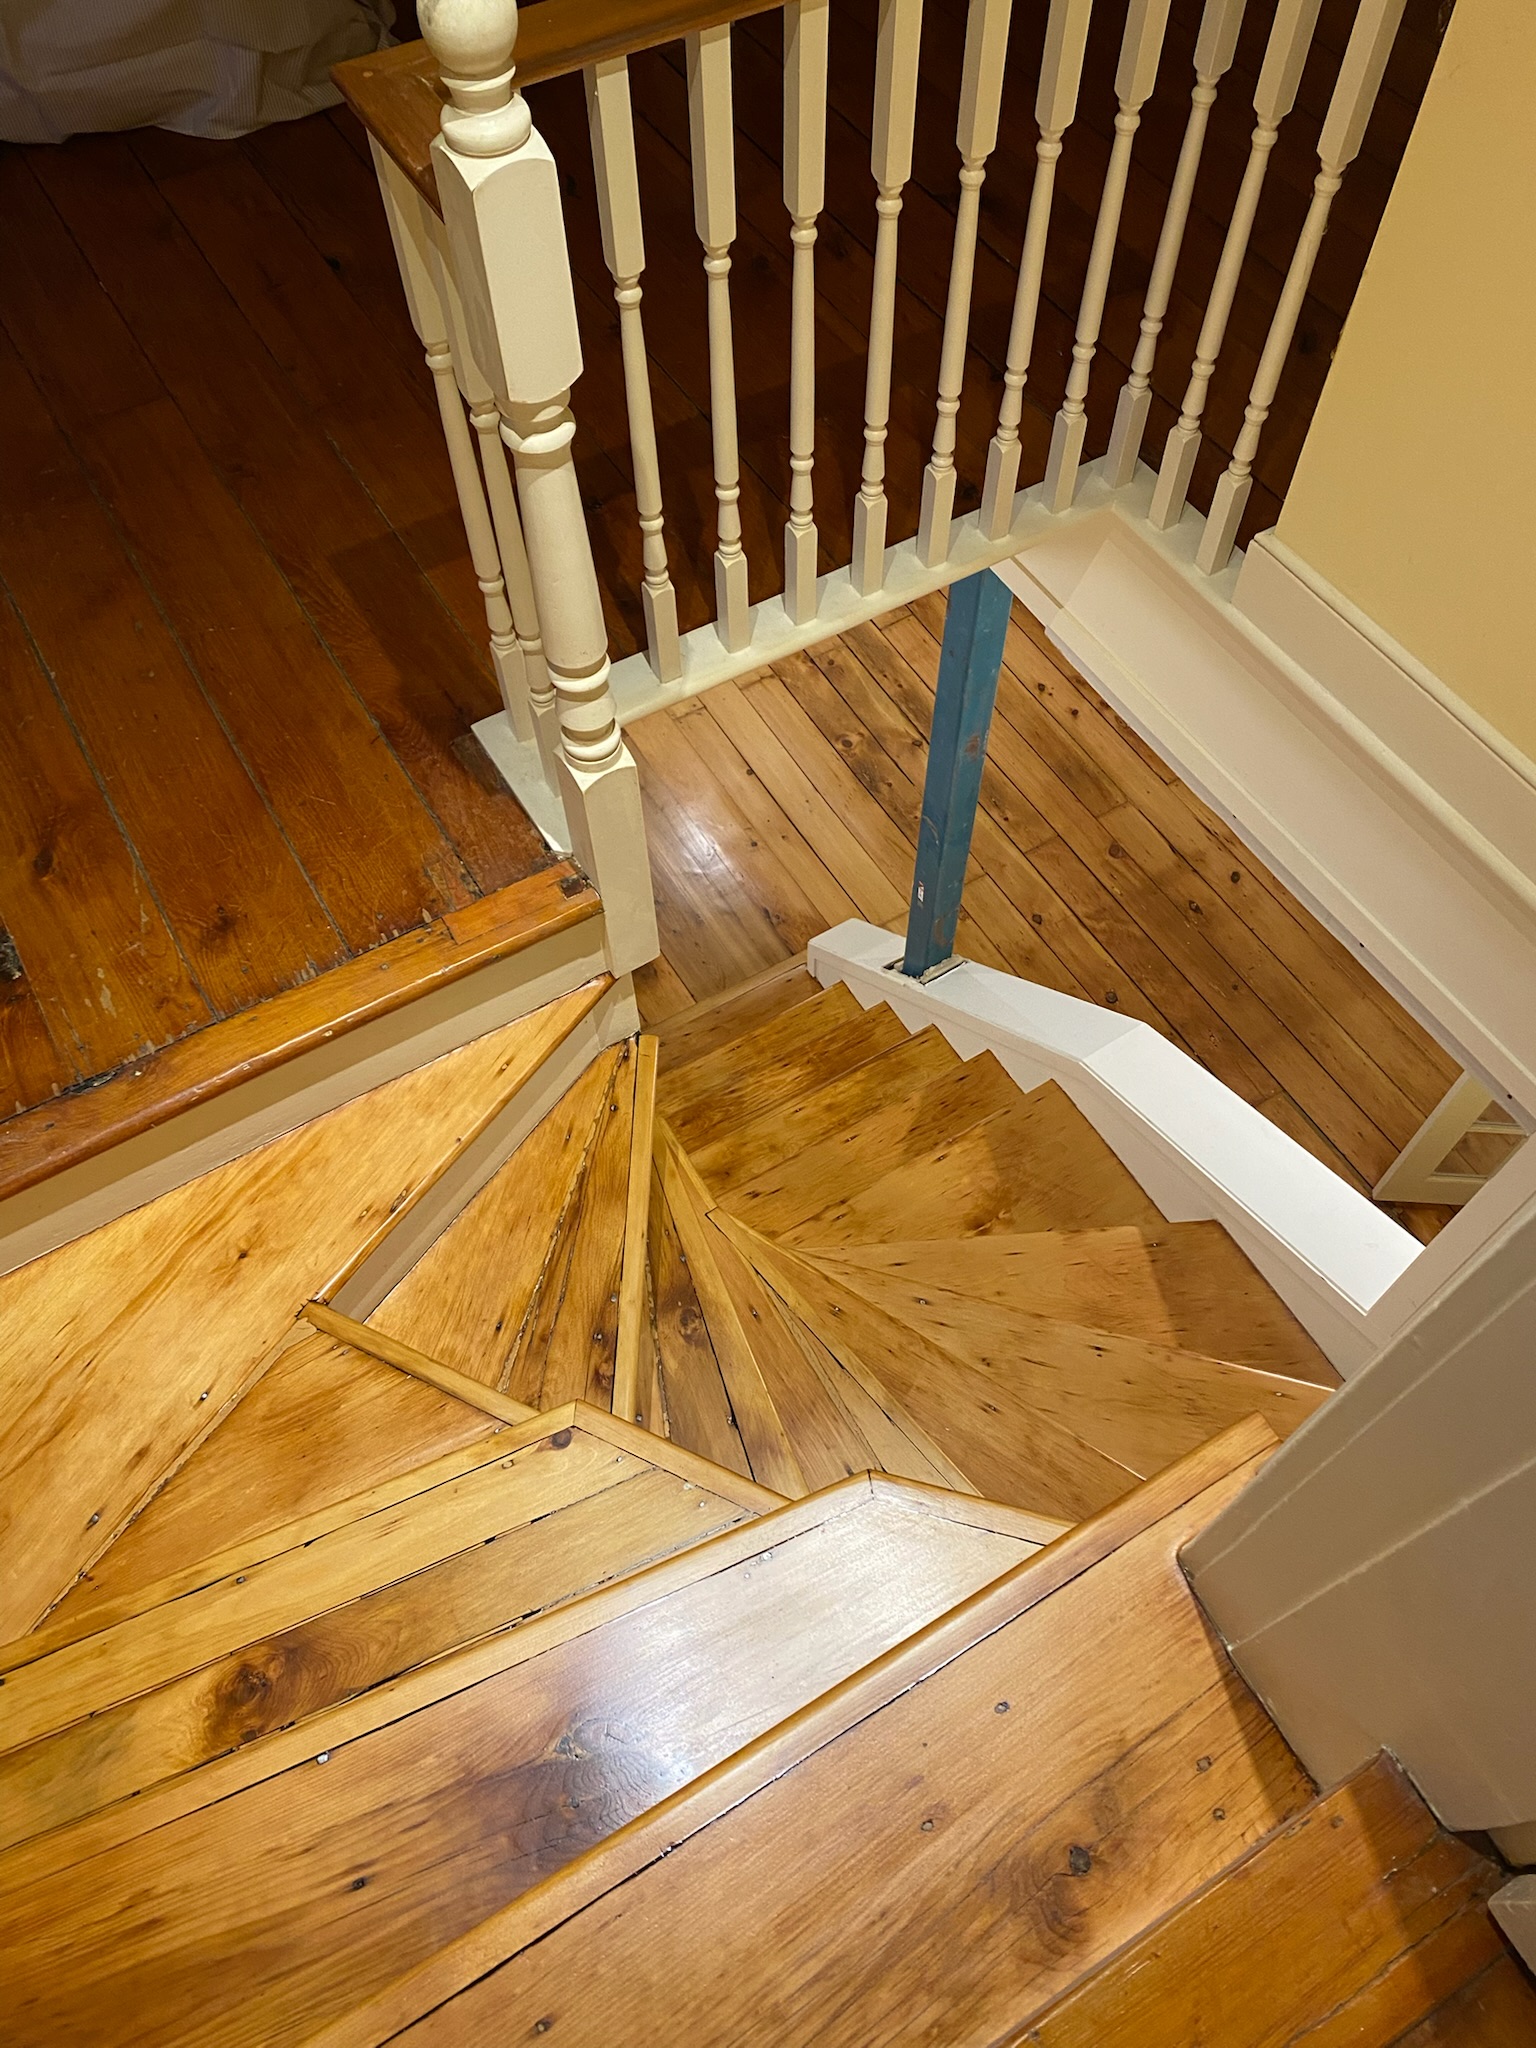
We were really apprehensive about the floors, as we had no idea what we would find under the layers of flooring. But fortunately, the original wide plank pine floors were in fairly good shape, though they were covered in glue and concrete. The glue and concrete had to be removed, and then the floors were sanded down to the original wood. The floors were then sealed with a neutral finish. The pantry and laundry area was reconfigured to allow for floor-to-ceiling cabinets and closets, a sink, countertop, and backsplash. The mudroom was reconfigured to allow for a new, larger, and more functional closet. The walls were insulated and drywalled, and the ceilings were restored to their original height. New windows were installed, and the original floors were refinished.


Cabinet/Closet Install, Trim, Priming/Painting
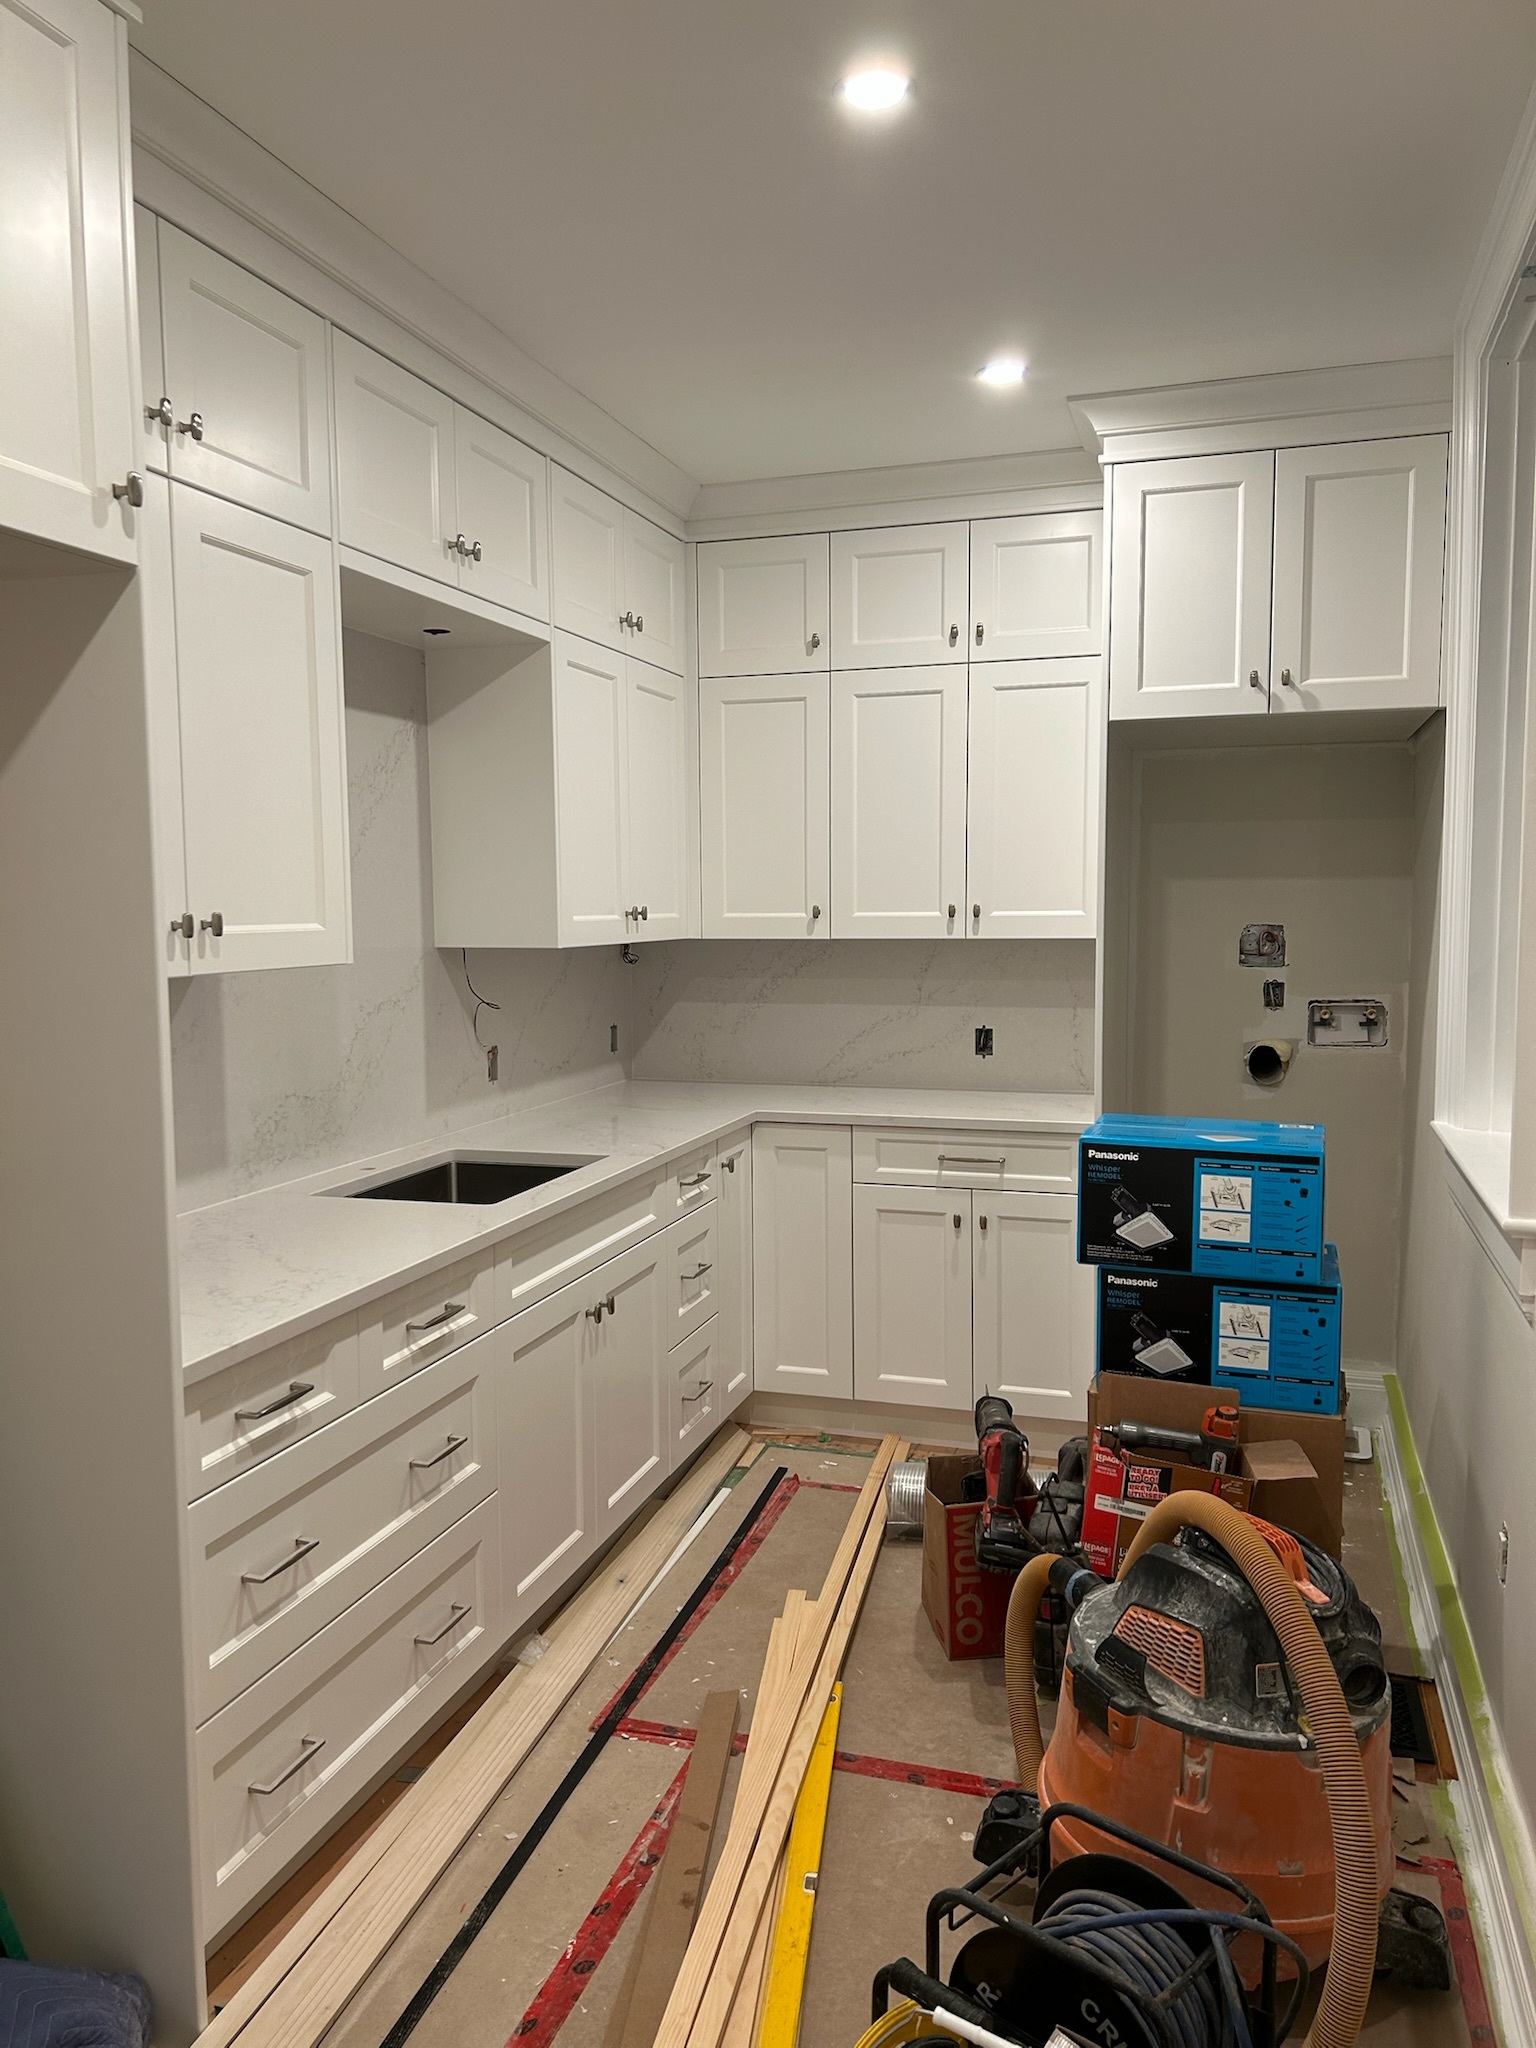
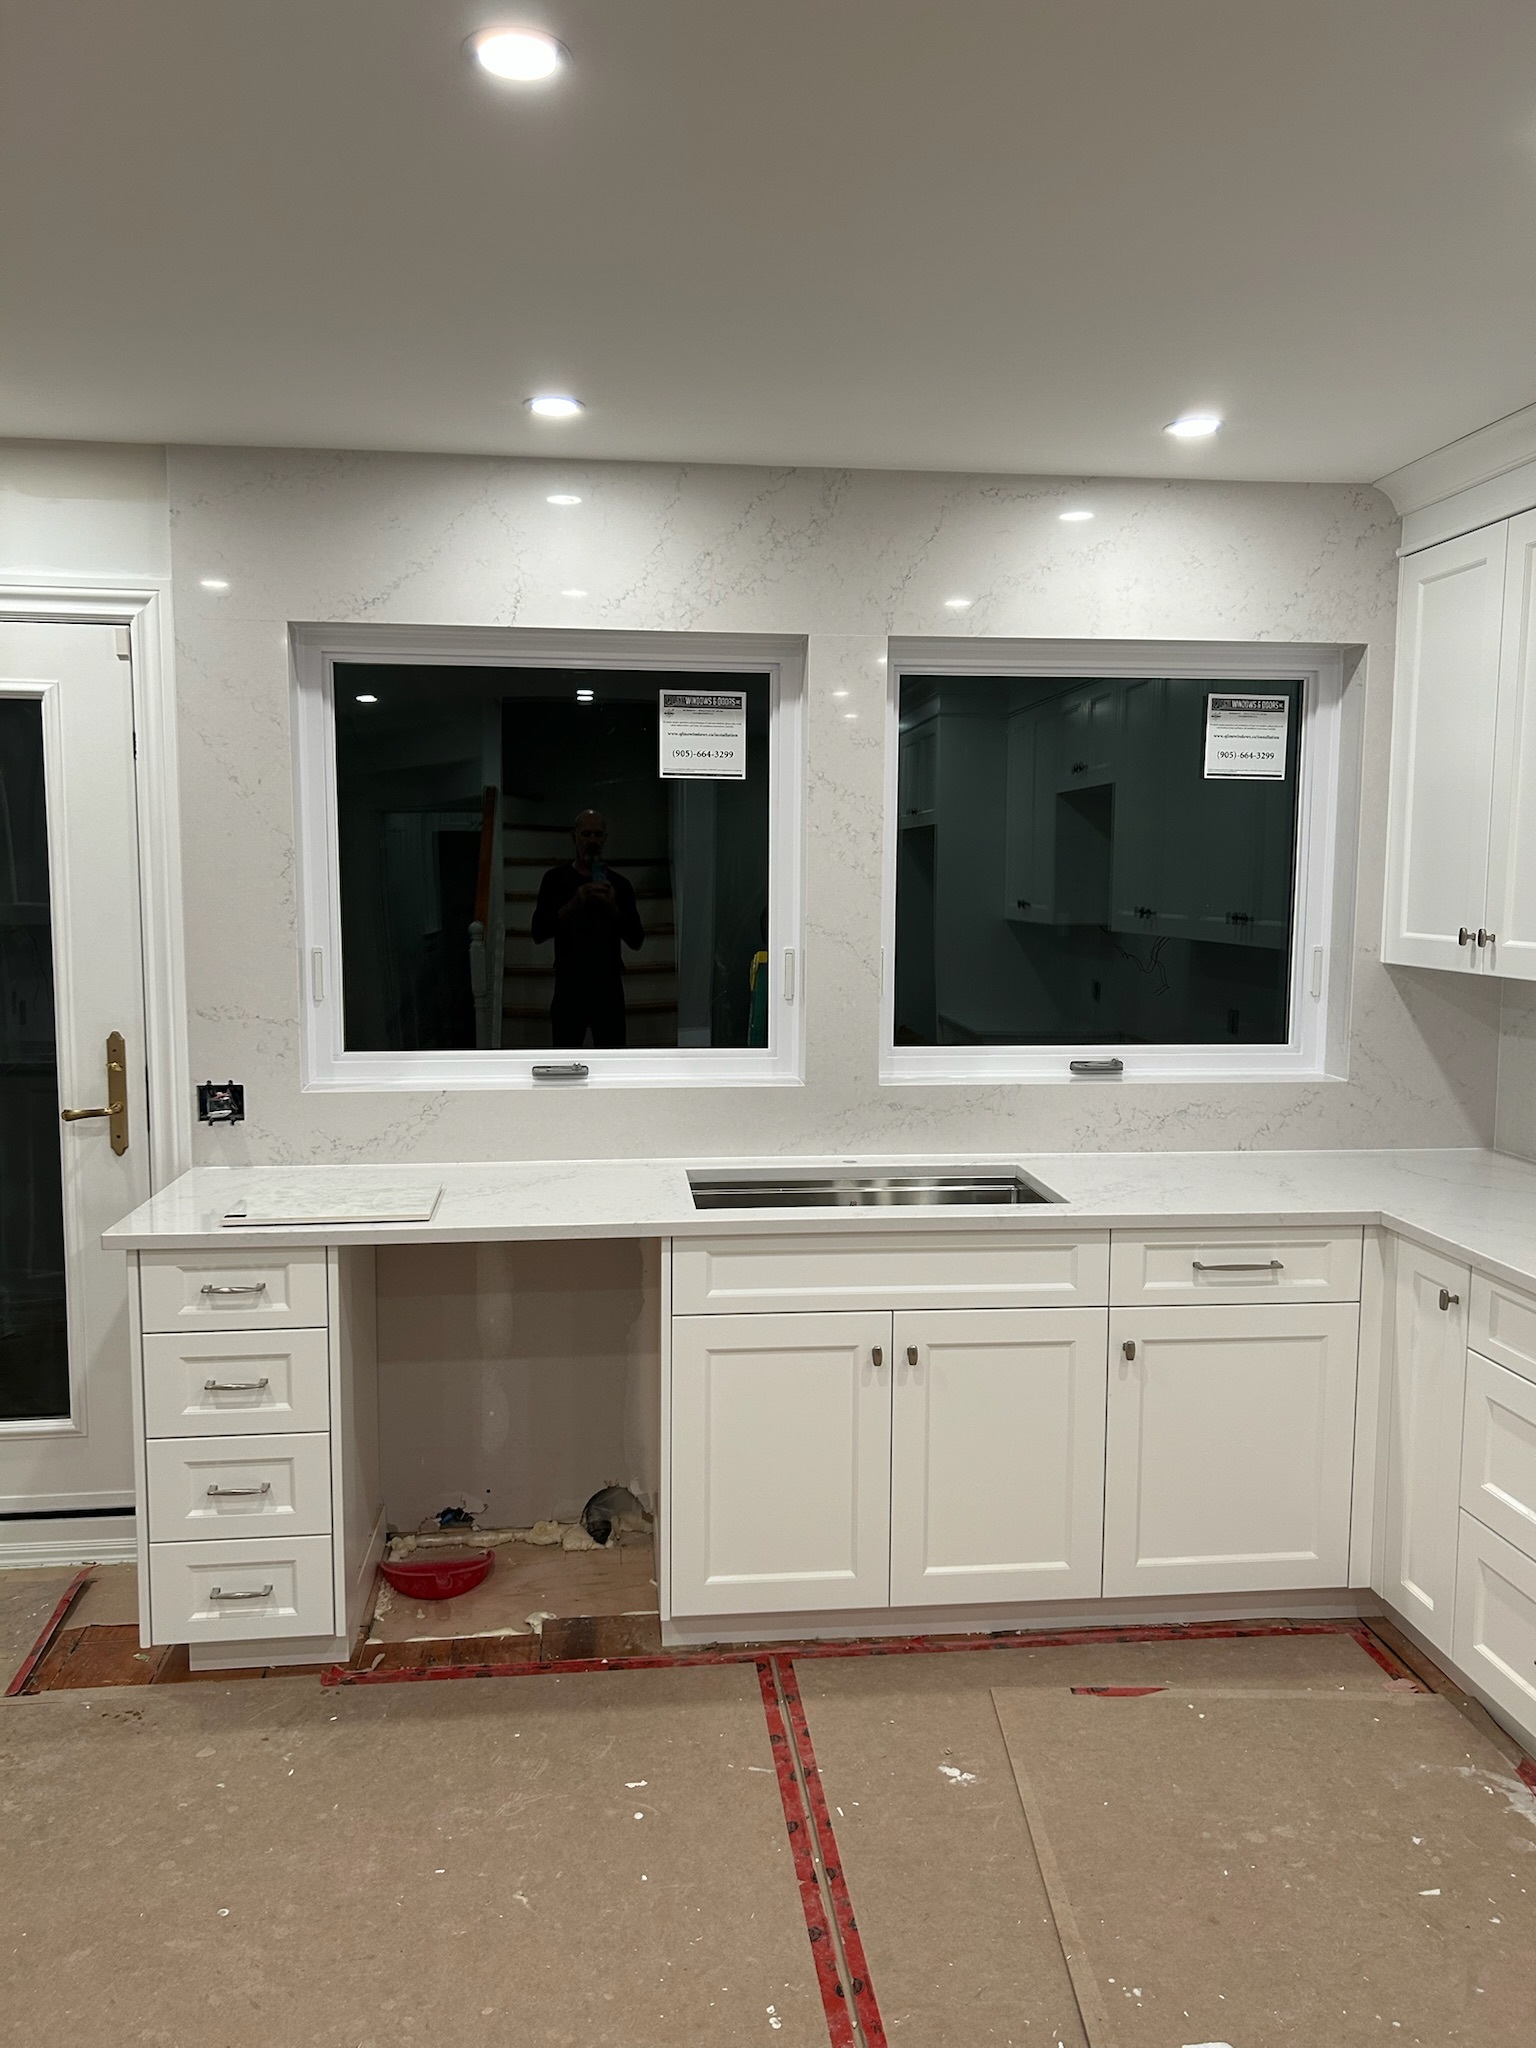
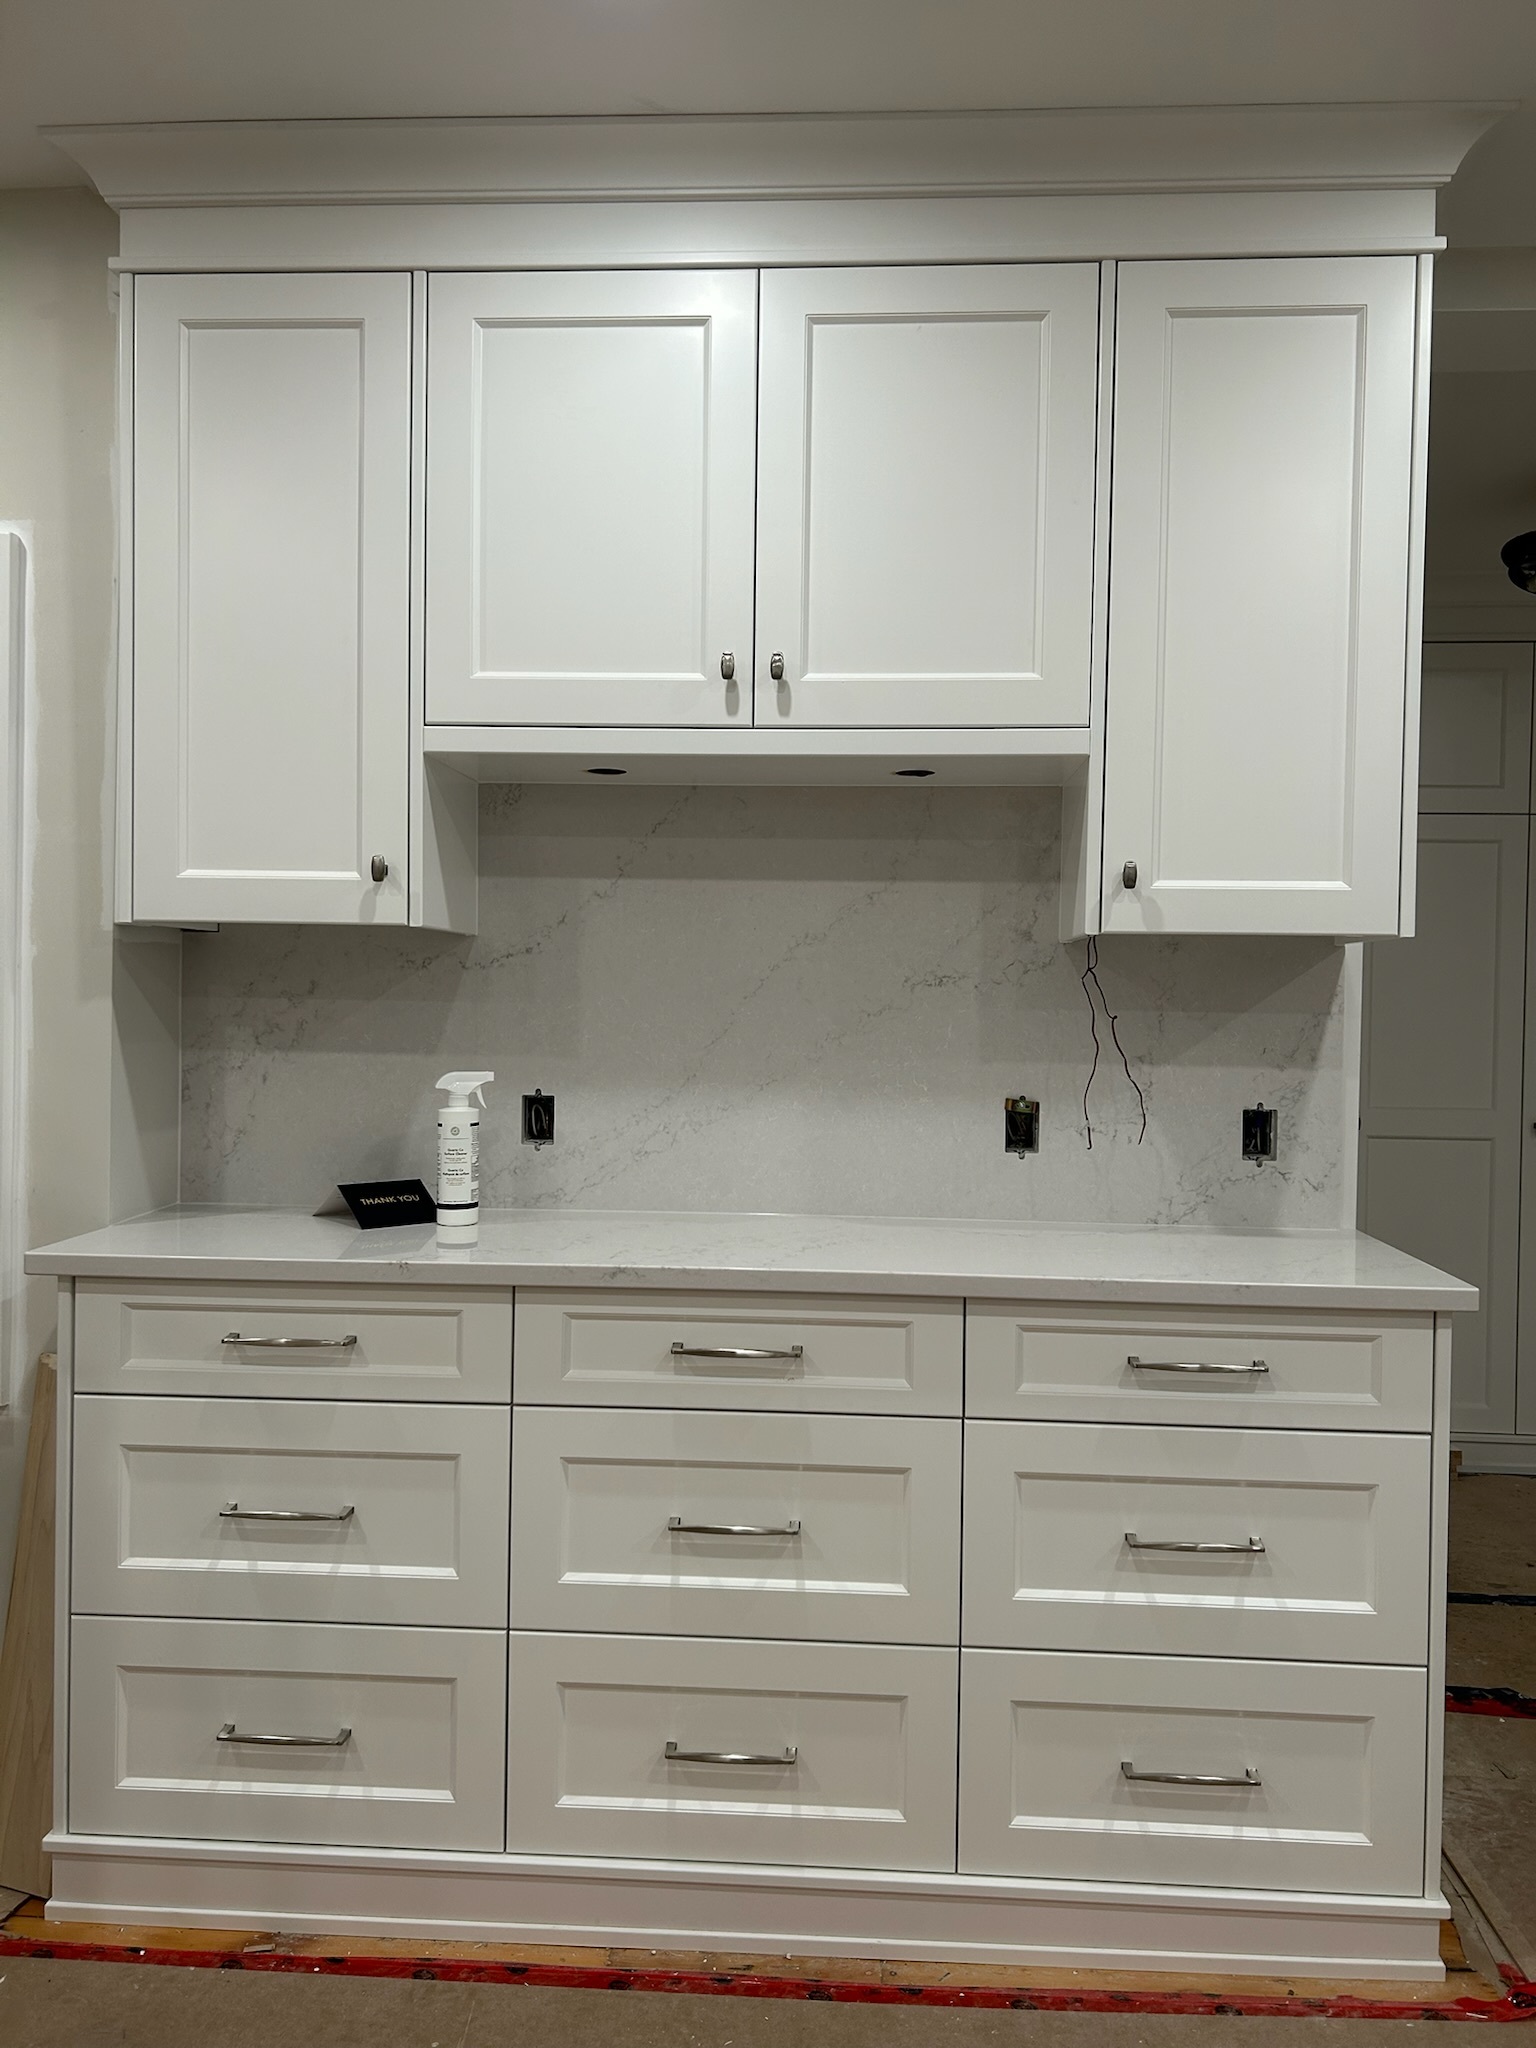
With the demo, floor recovery and refinishing, and wall/ceiling reconstruction complete, the refinished floors were covered in Ram Board, and the Ram Board was covered with 1/4 inch plywood for protection. After this, the kitchen, pantry, and mudroom cabinets and closets were installed. The cabinets and closets were built by a local cabinet maker, and the replacement windows above the sink were built locally using synthetic frames to avoid any future water damage. The new window jambs are fashioned from quartz for ease of cleaning and longevity. The pantry and laundry area underwent the biggest change after removing a wall that hid the narrow pantry shelving. Floor-to-ceiling cabinets were installed in the pantry and laundry along with a new, more functional, sink and a quartz countertop and backsplash. The old side-by-side washer/dryer layout was reconfigured for stacked units and relocated. We are really happy that we decided to expand the scope of the original project (originally confined to the kitchen only) to include the pantry and laundry and mudroom closet. By tackling the pantry and laundry area, we added two closets in the pantry that almost double the amount of closet space that we had in the old mudroom closet. This has created a cohesive and unified layout with almost double the overall cabinet and closet space, each of which was woefully inadequate in the previous configuration.


Countertops And Sinks
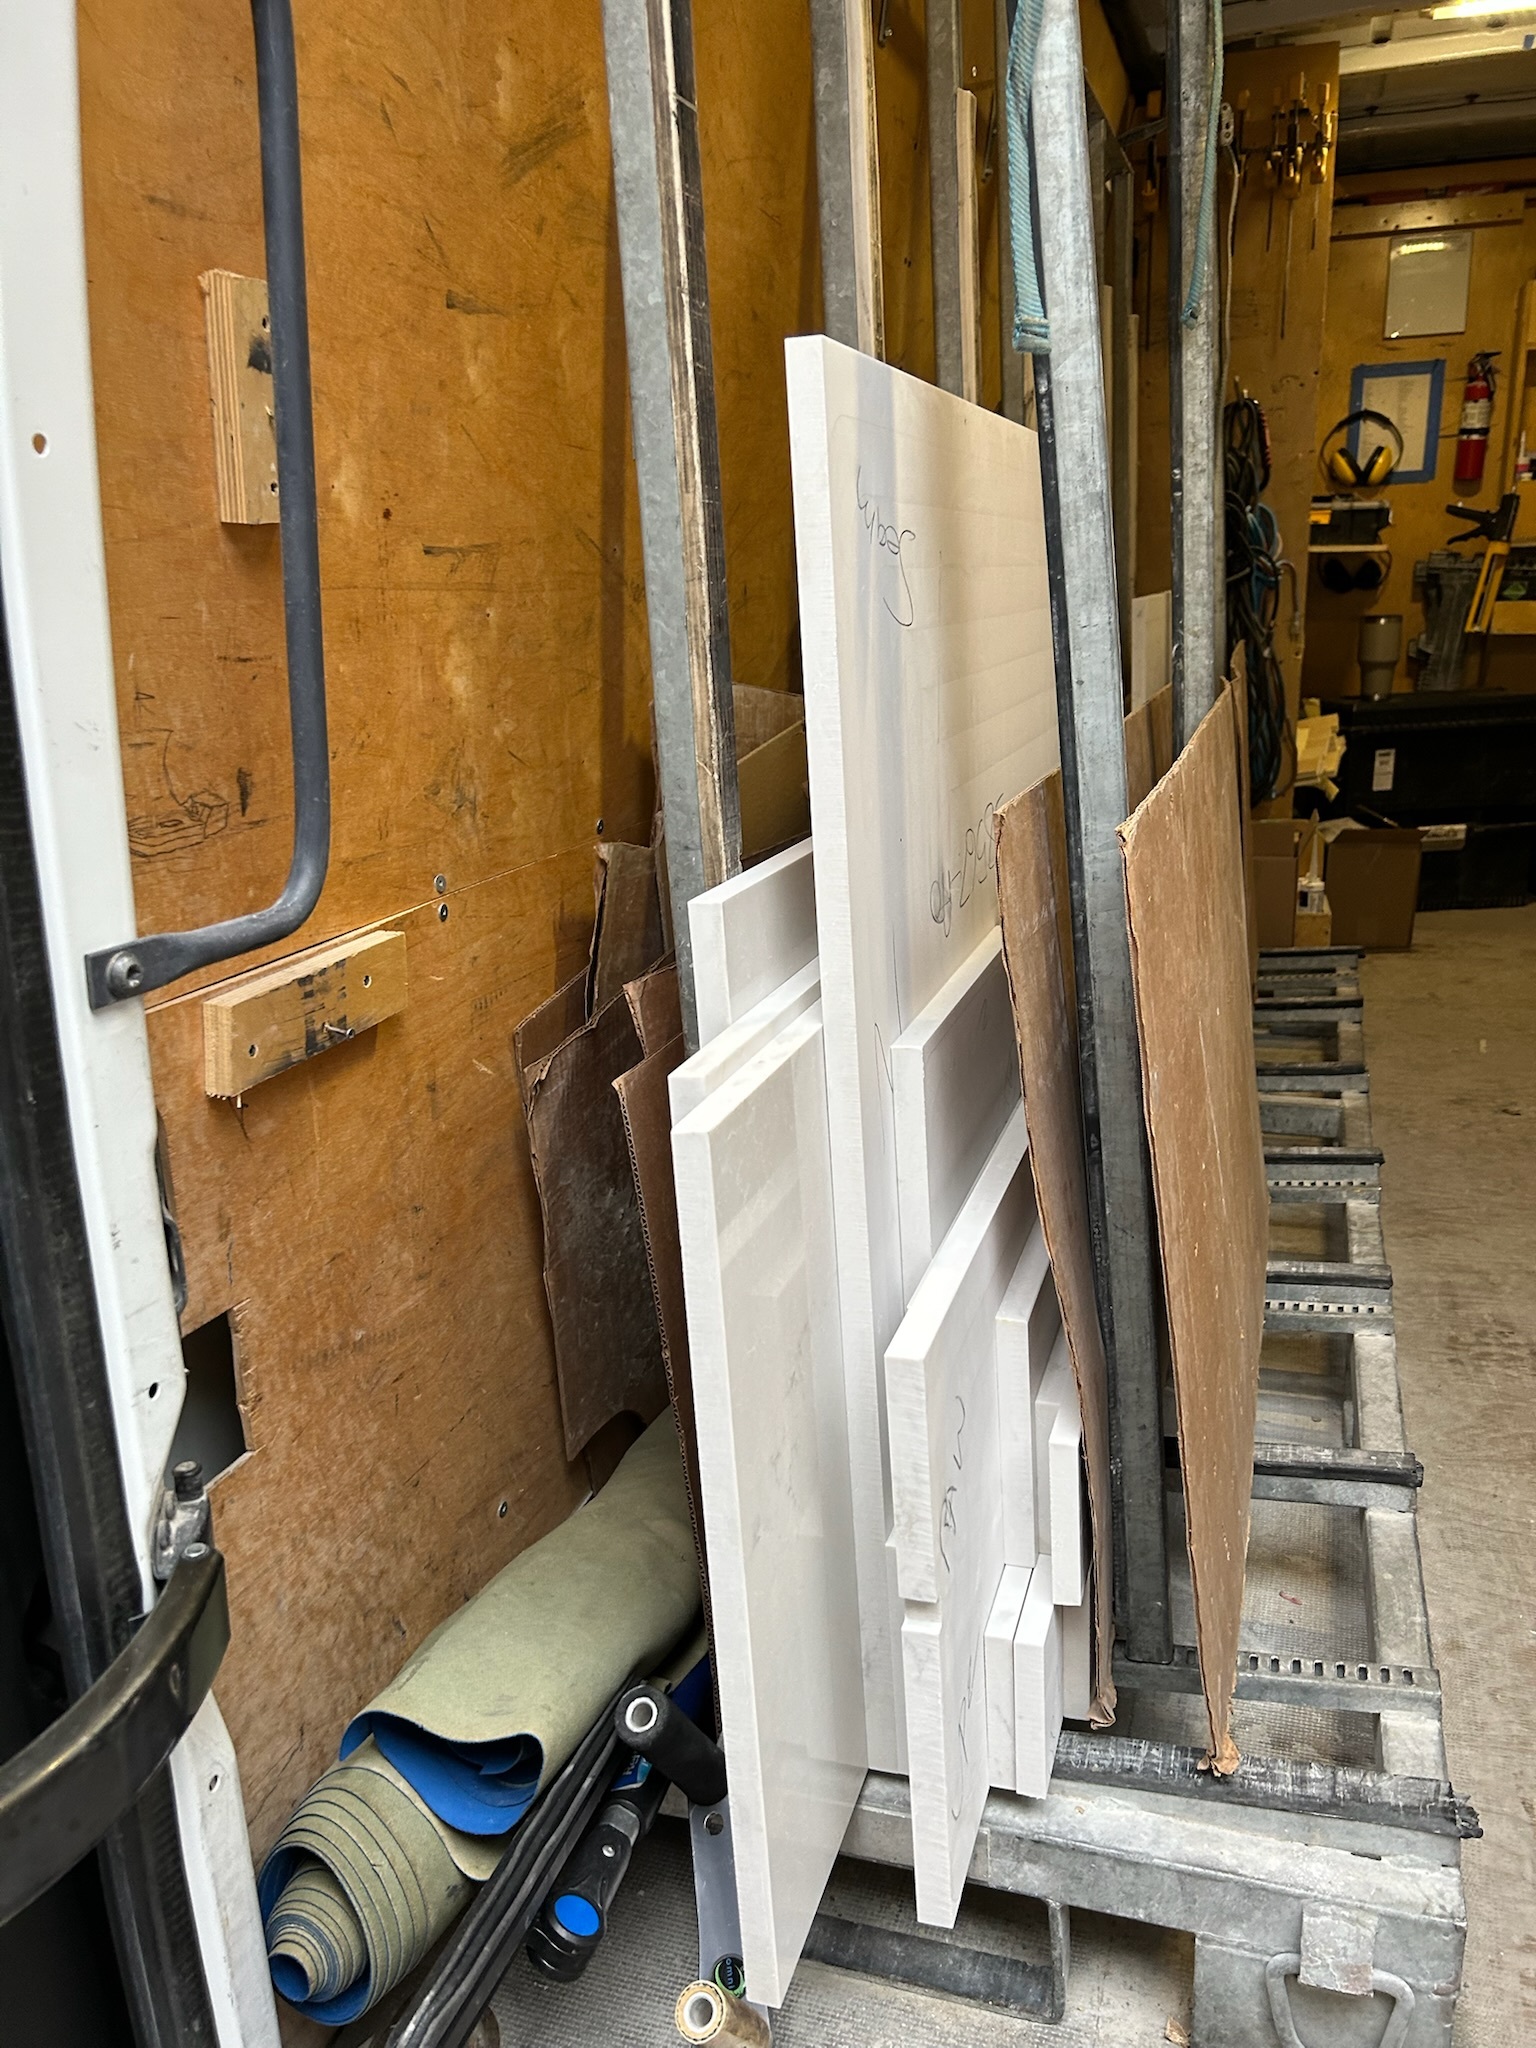
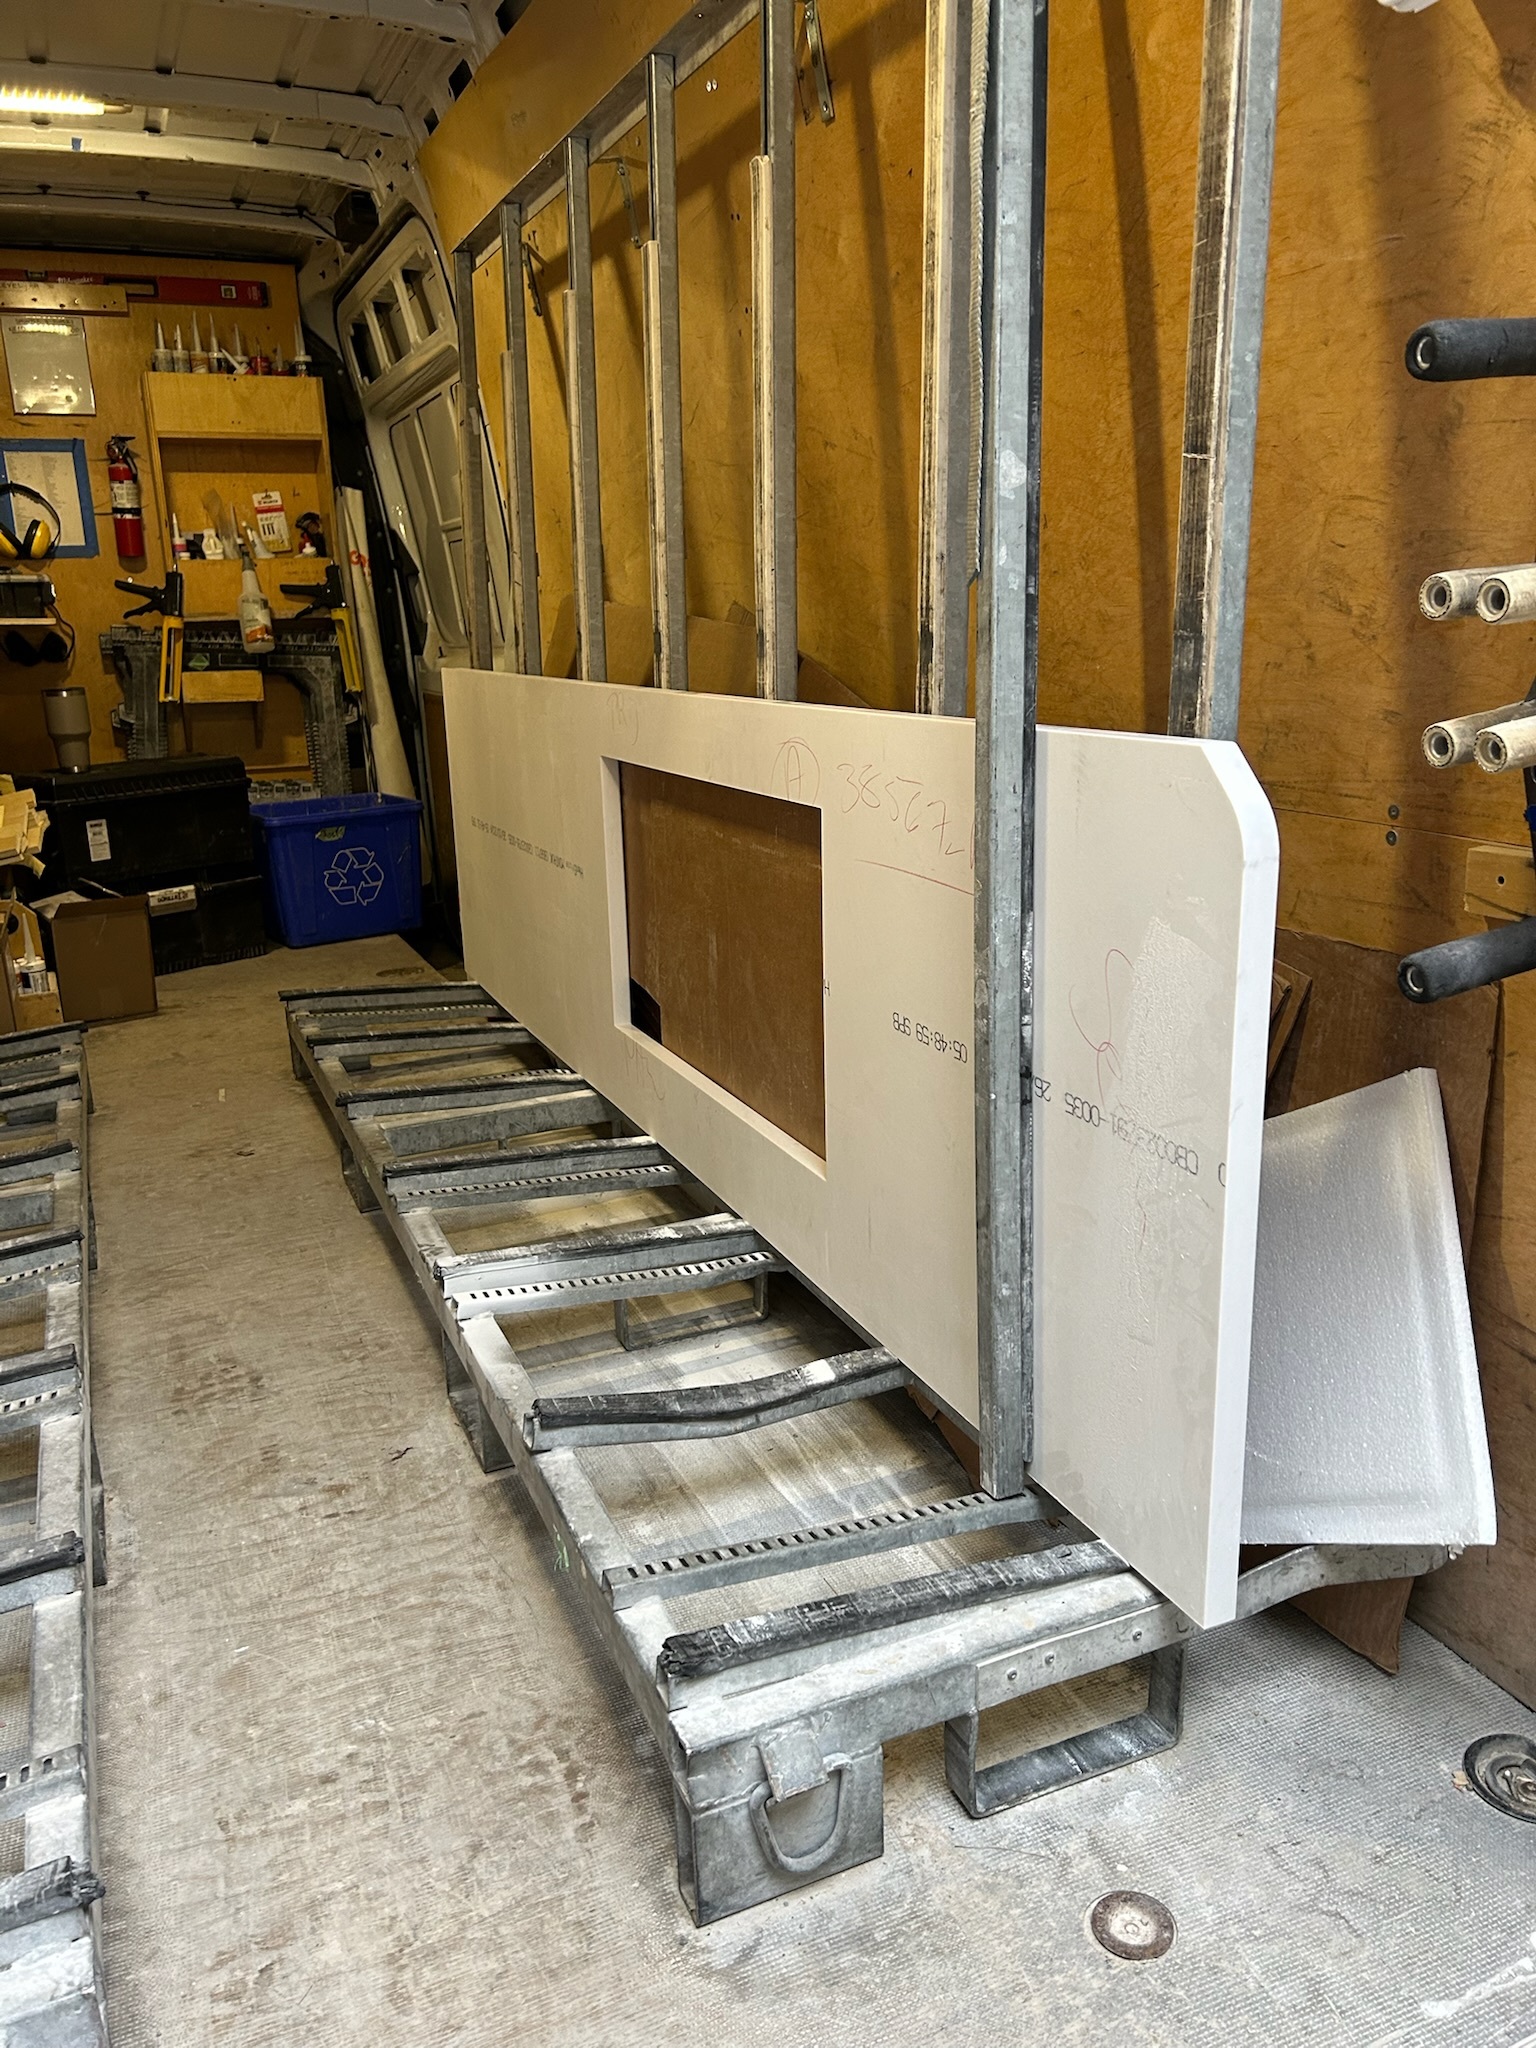
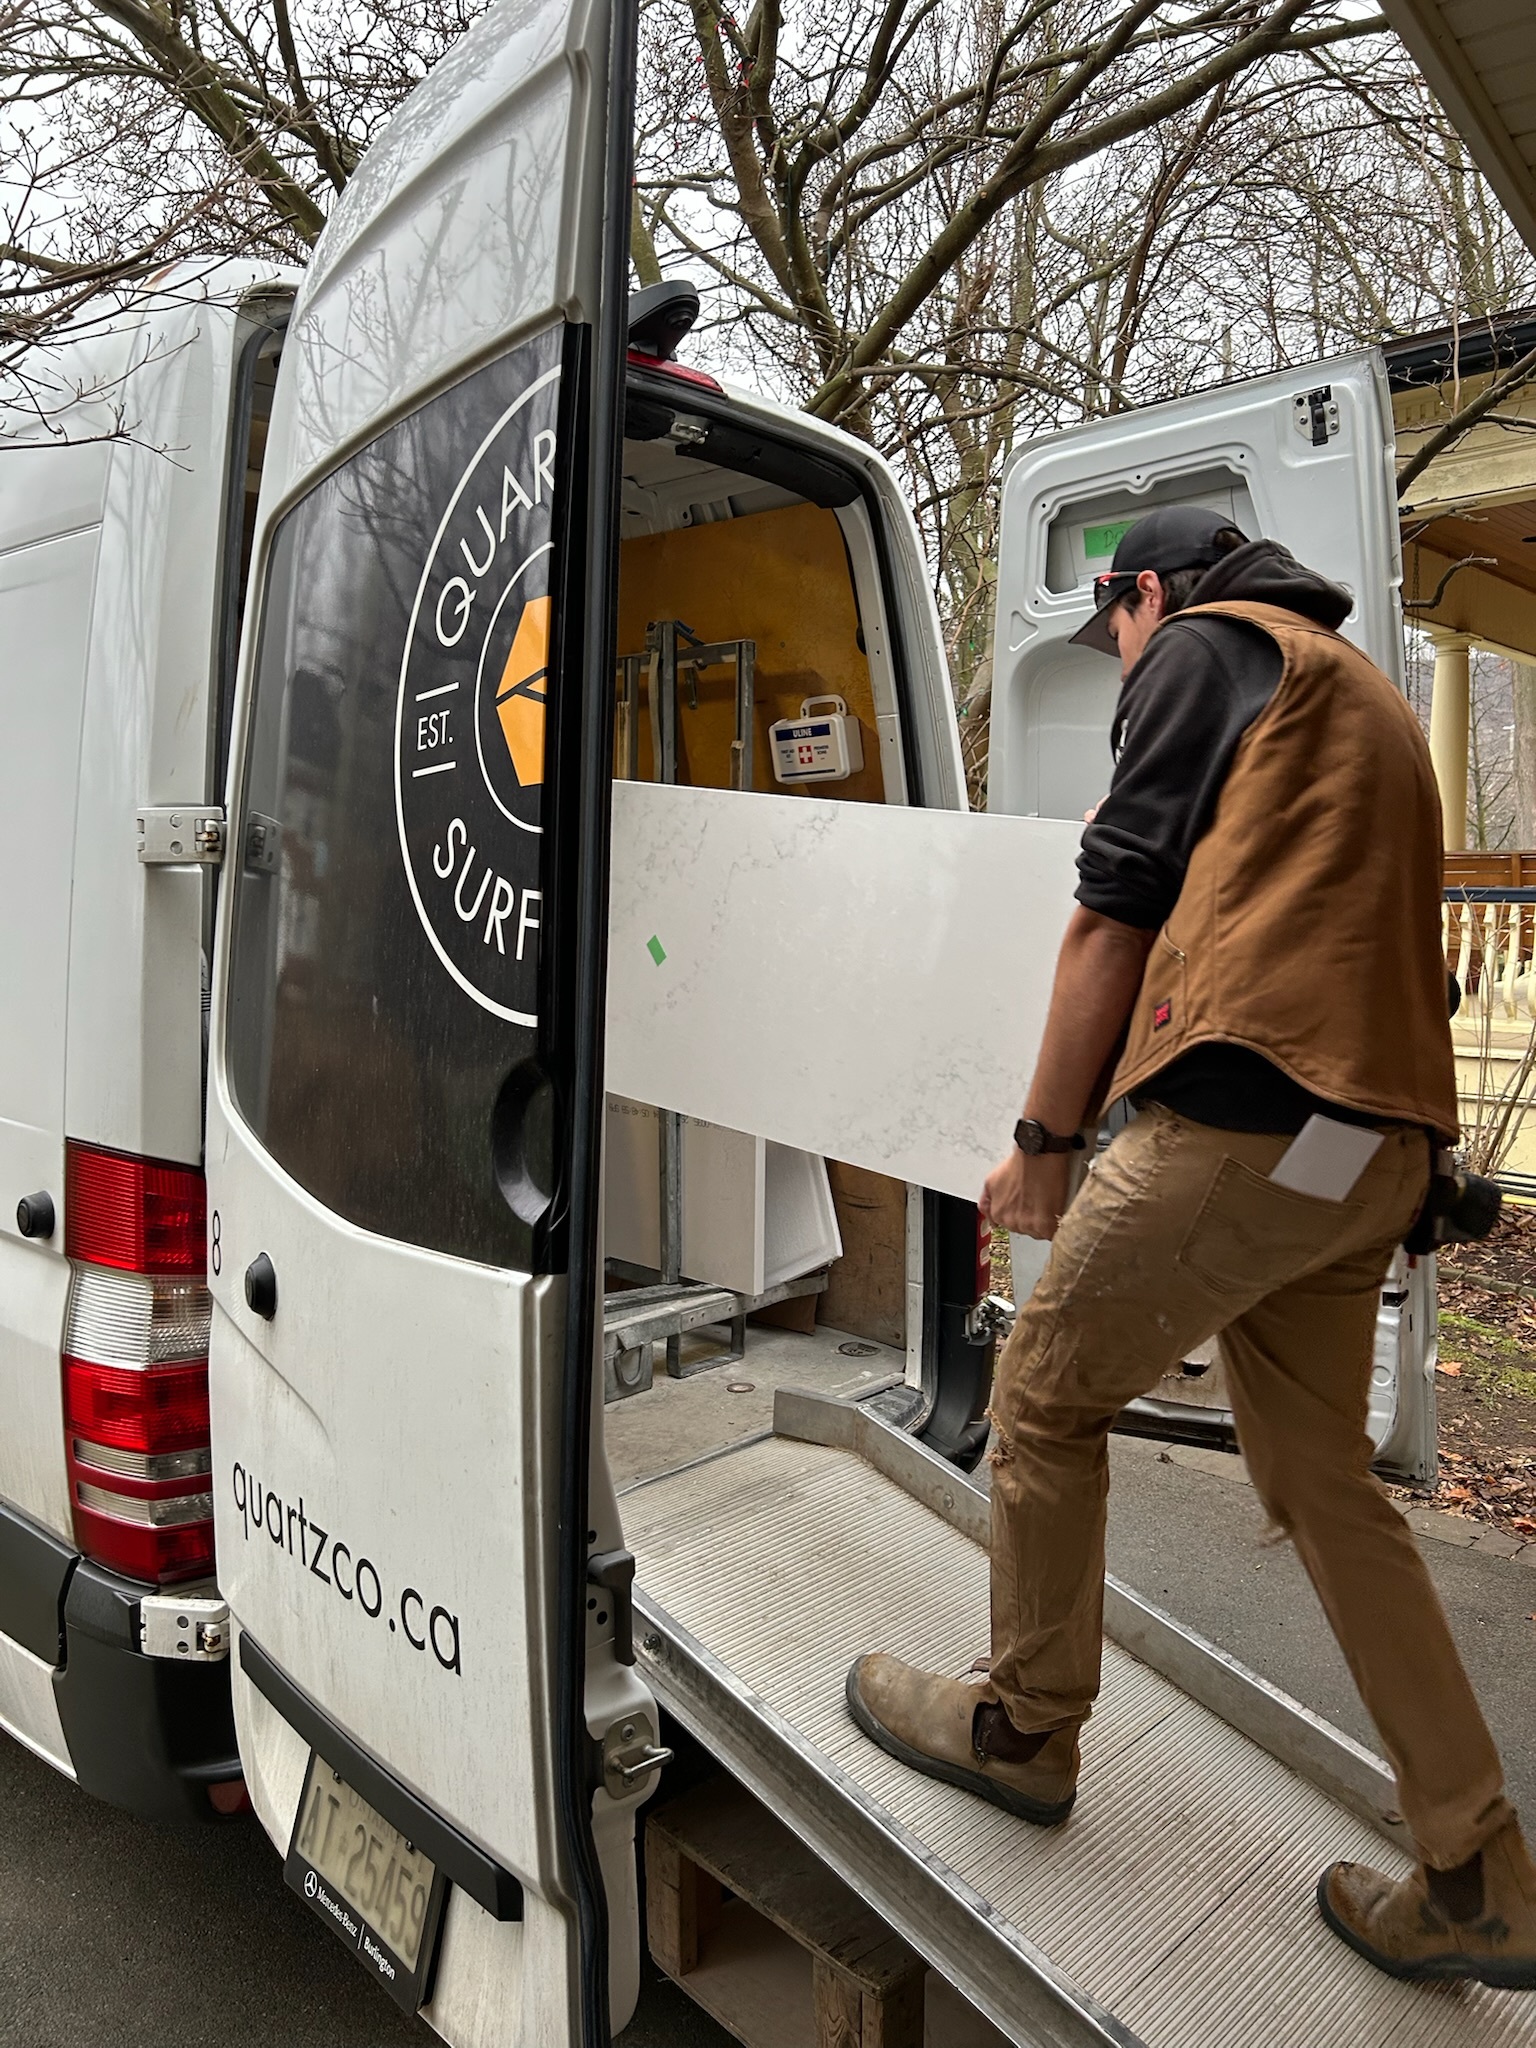
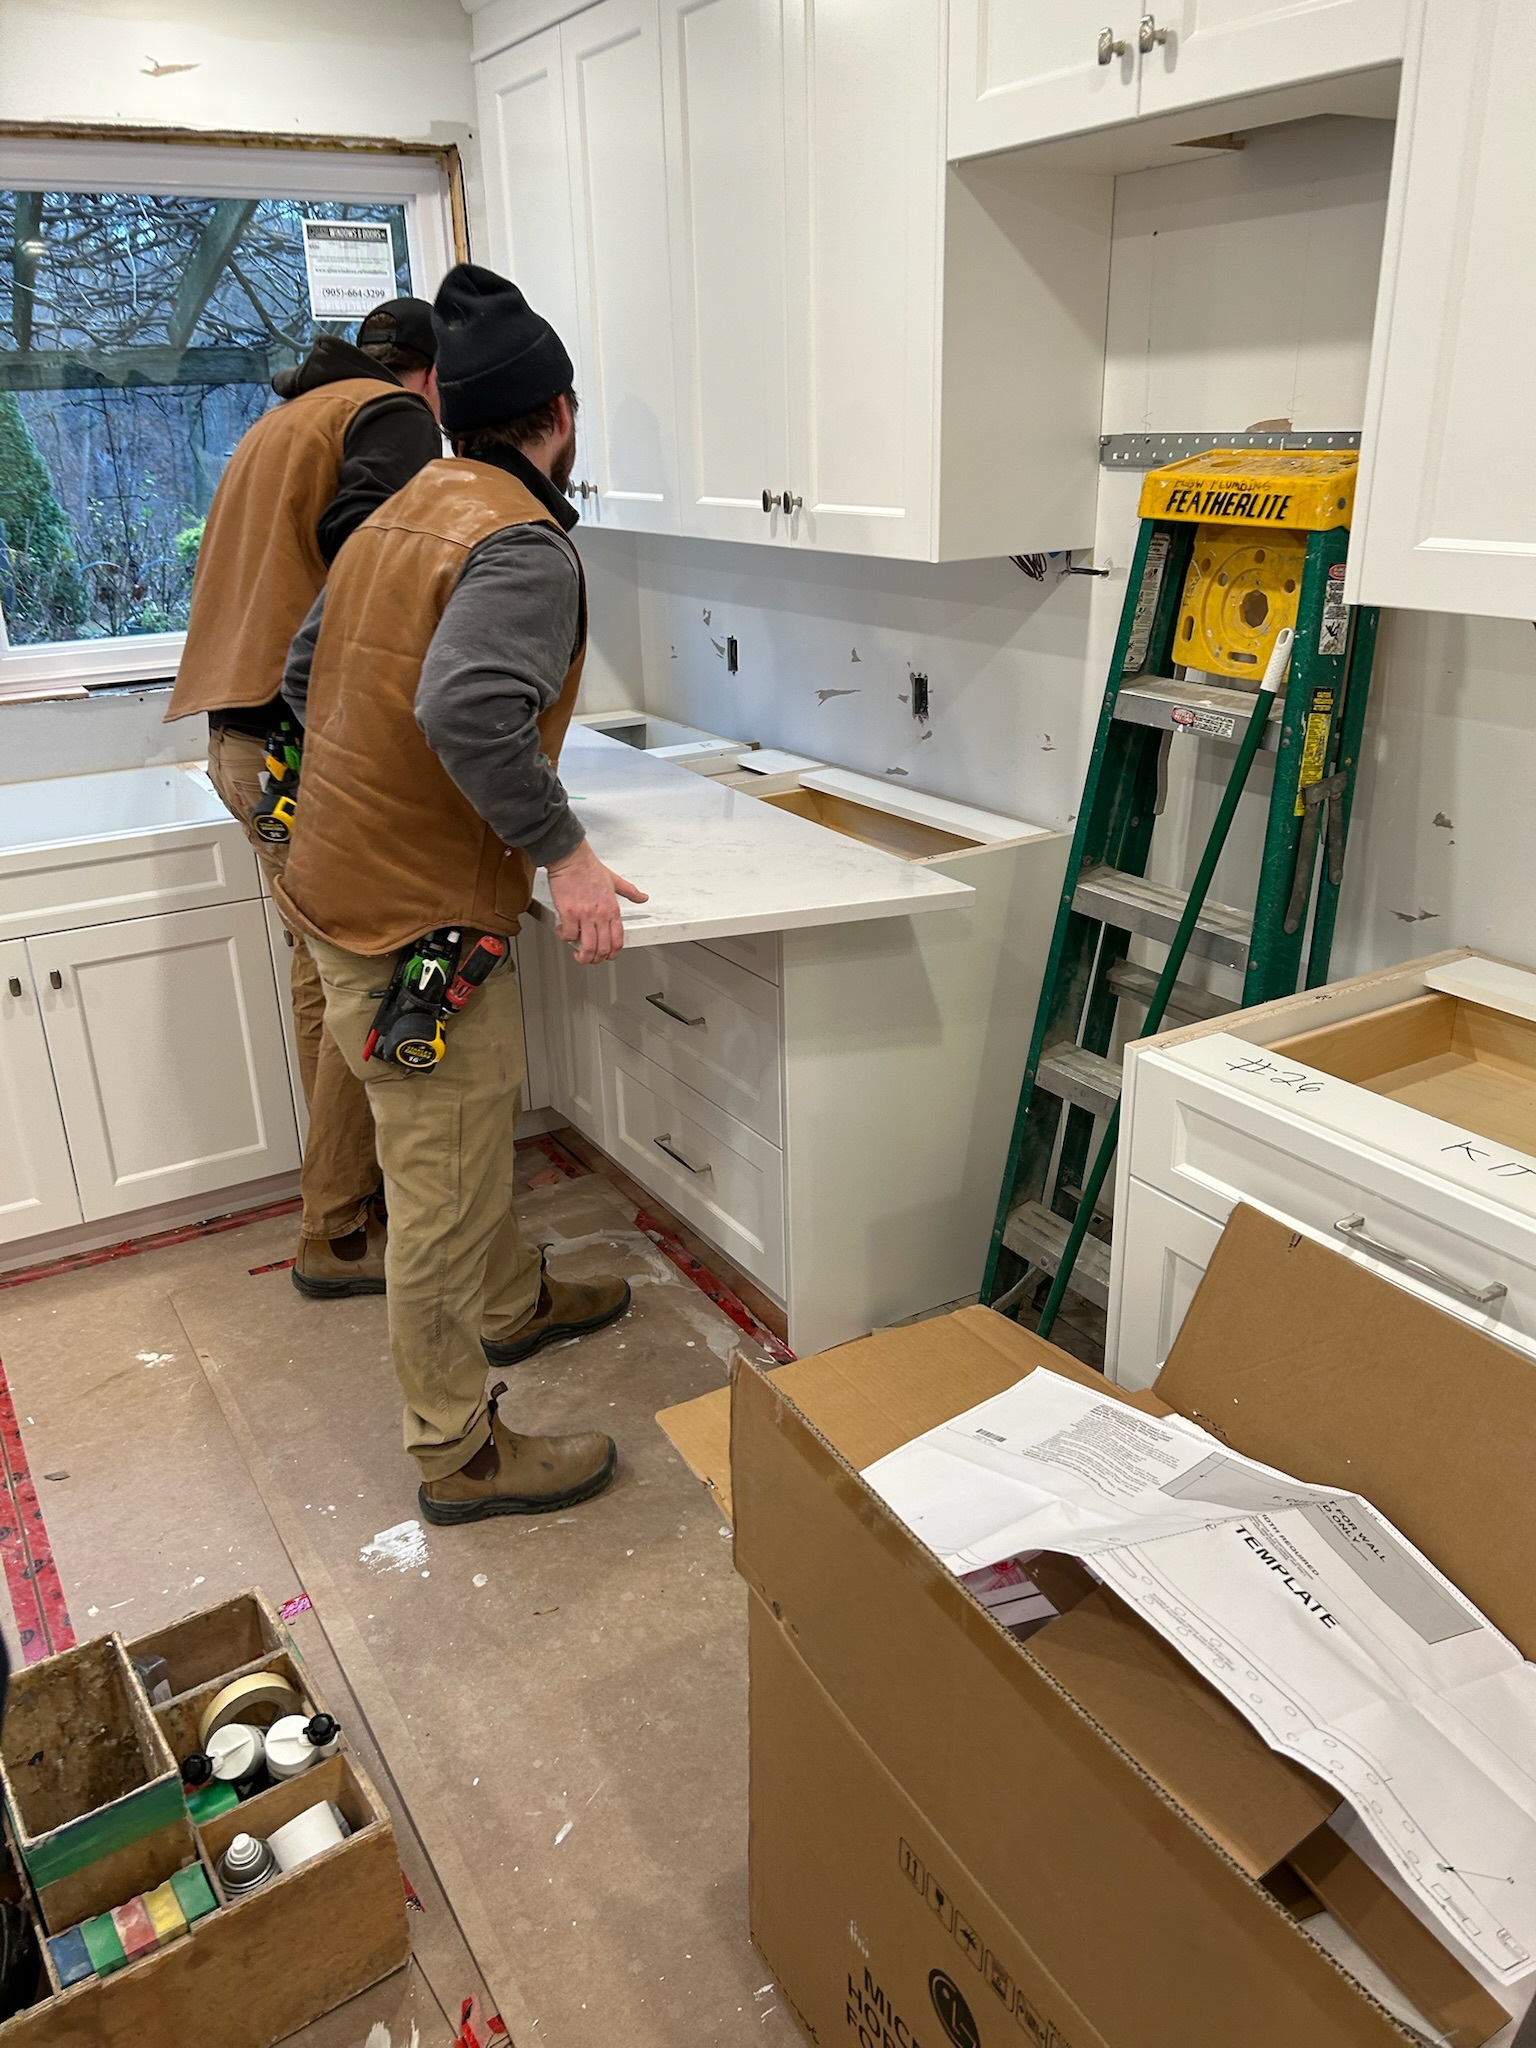
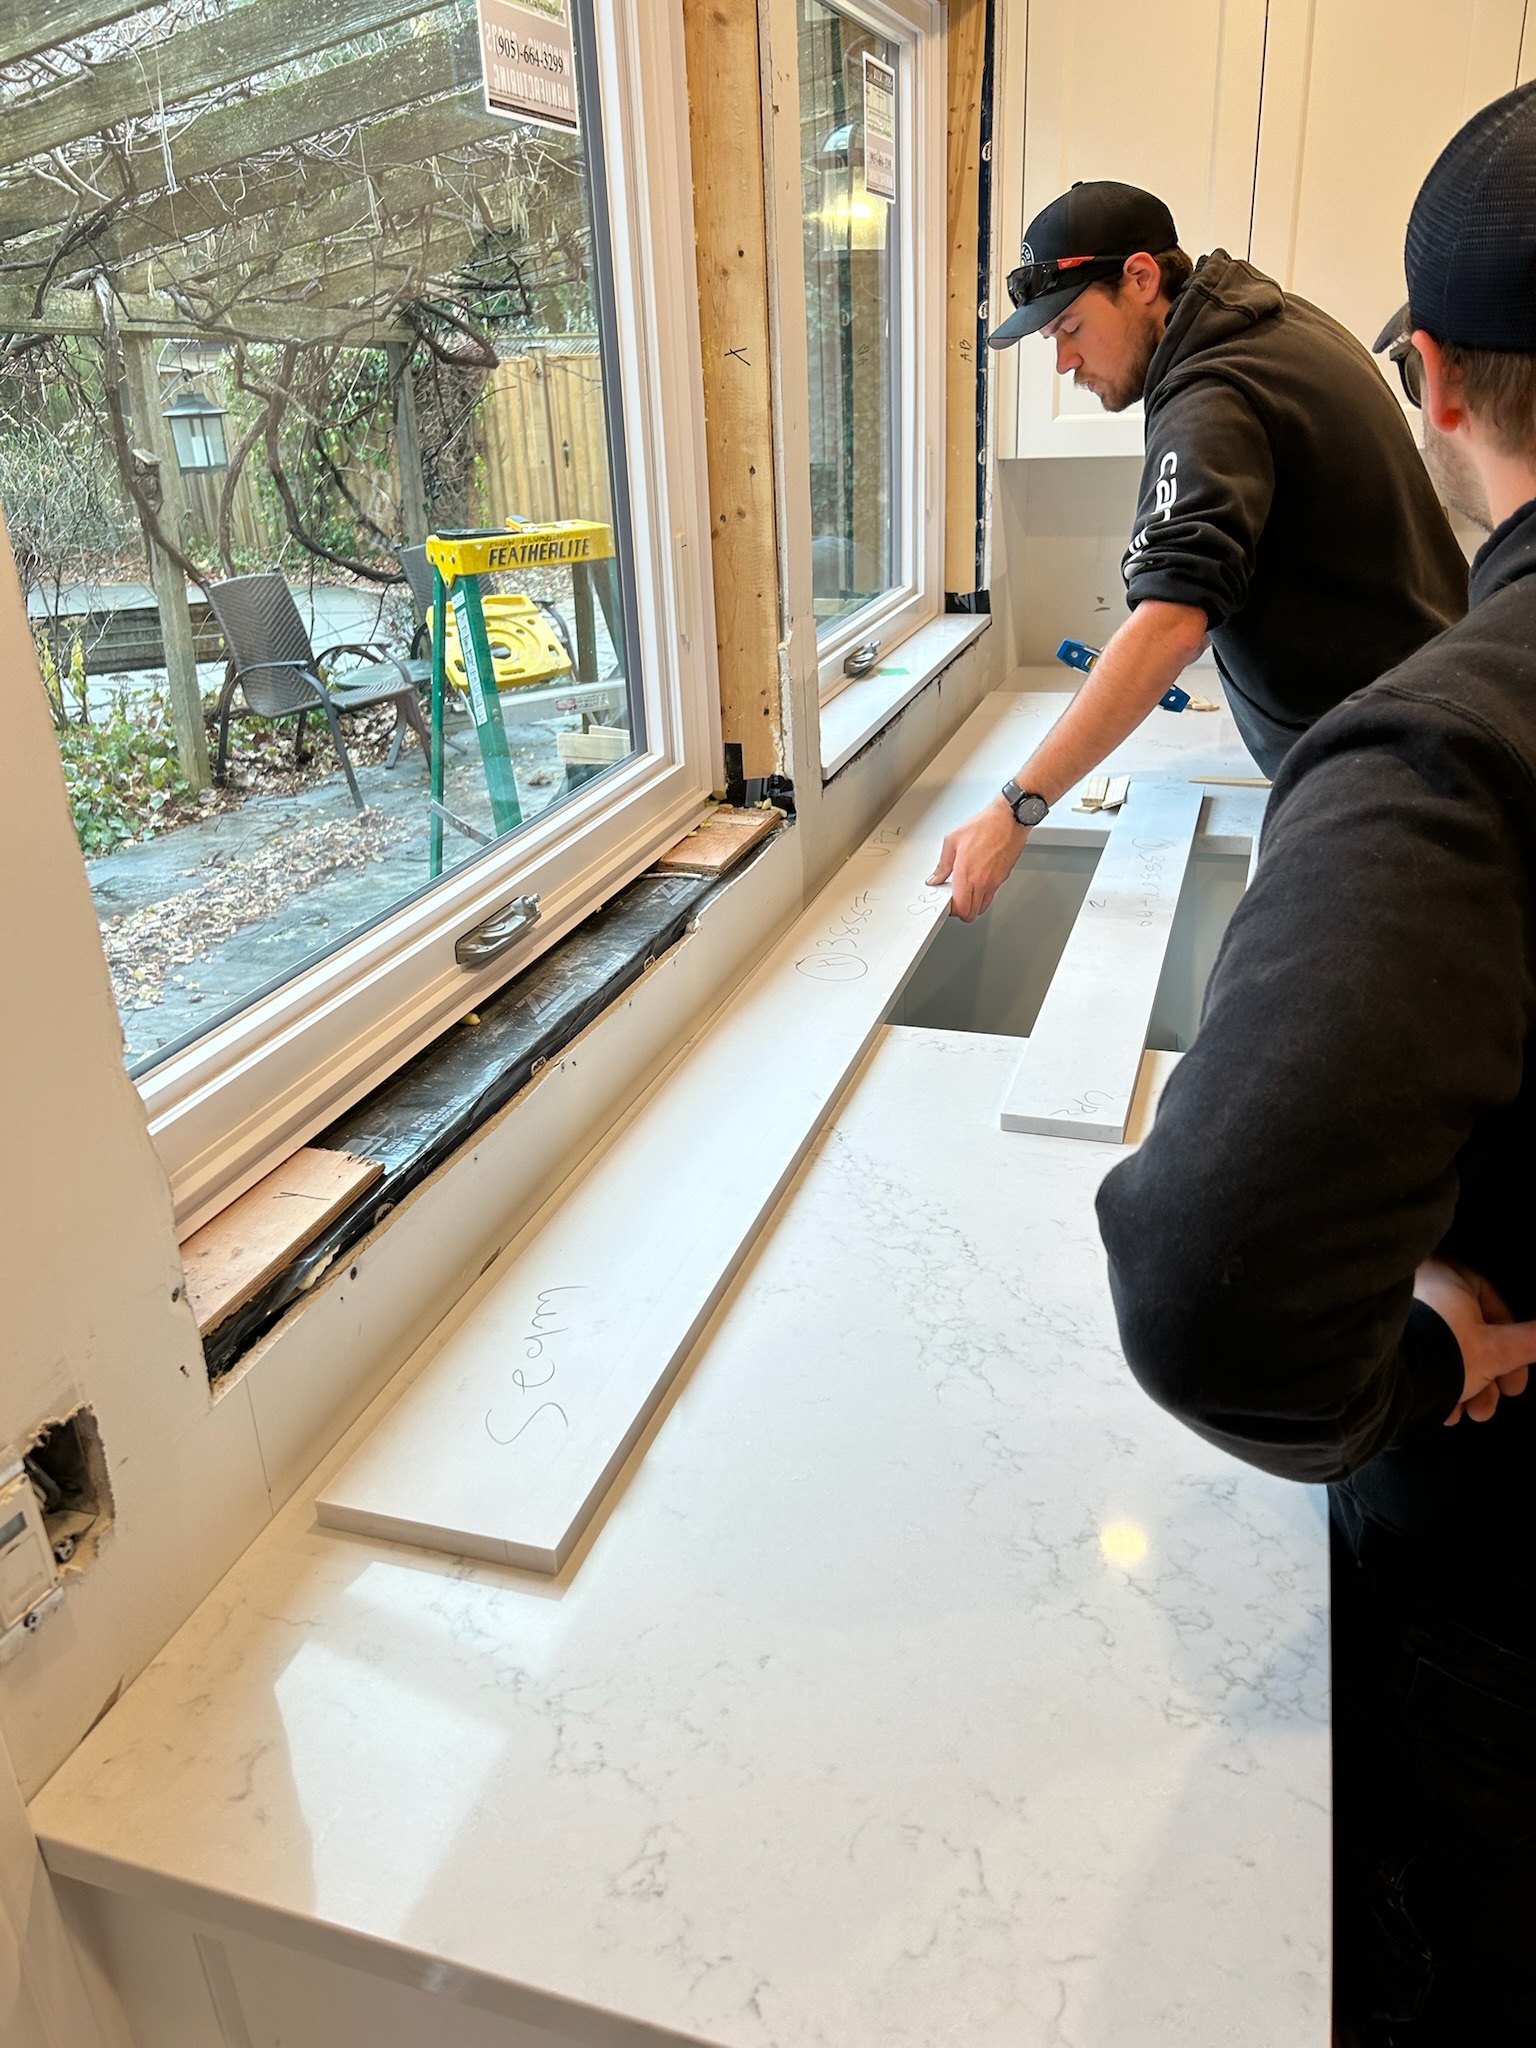
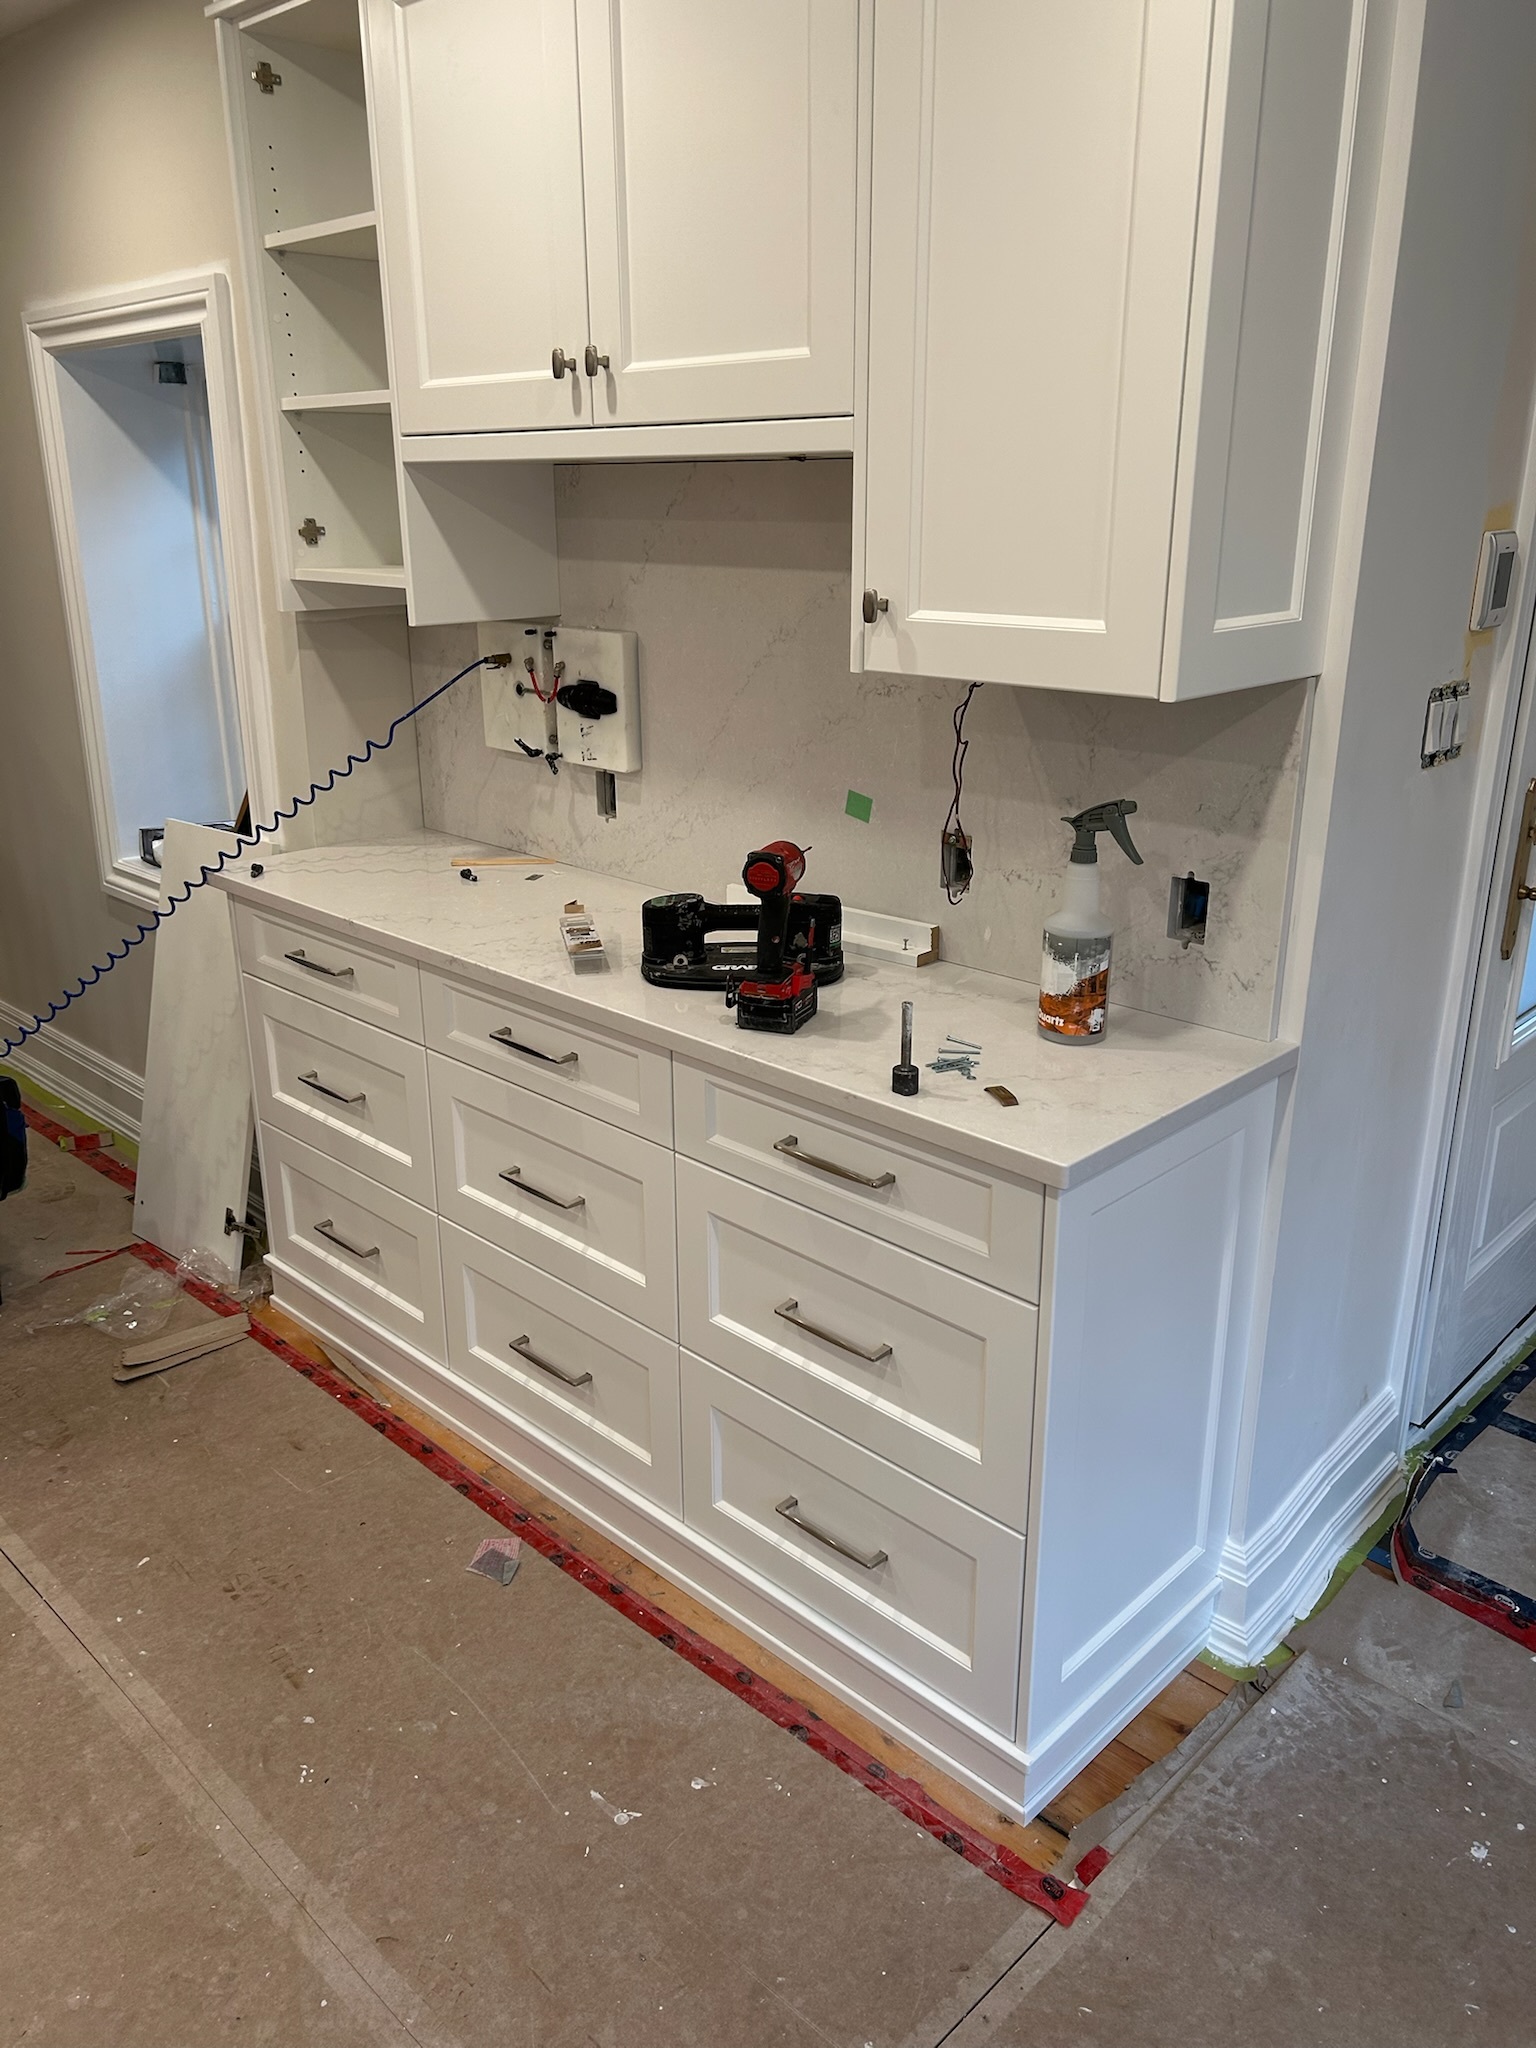
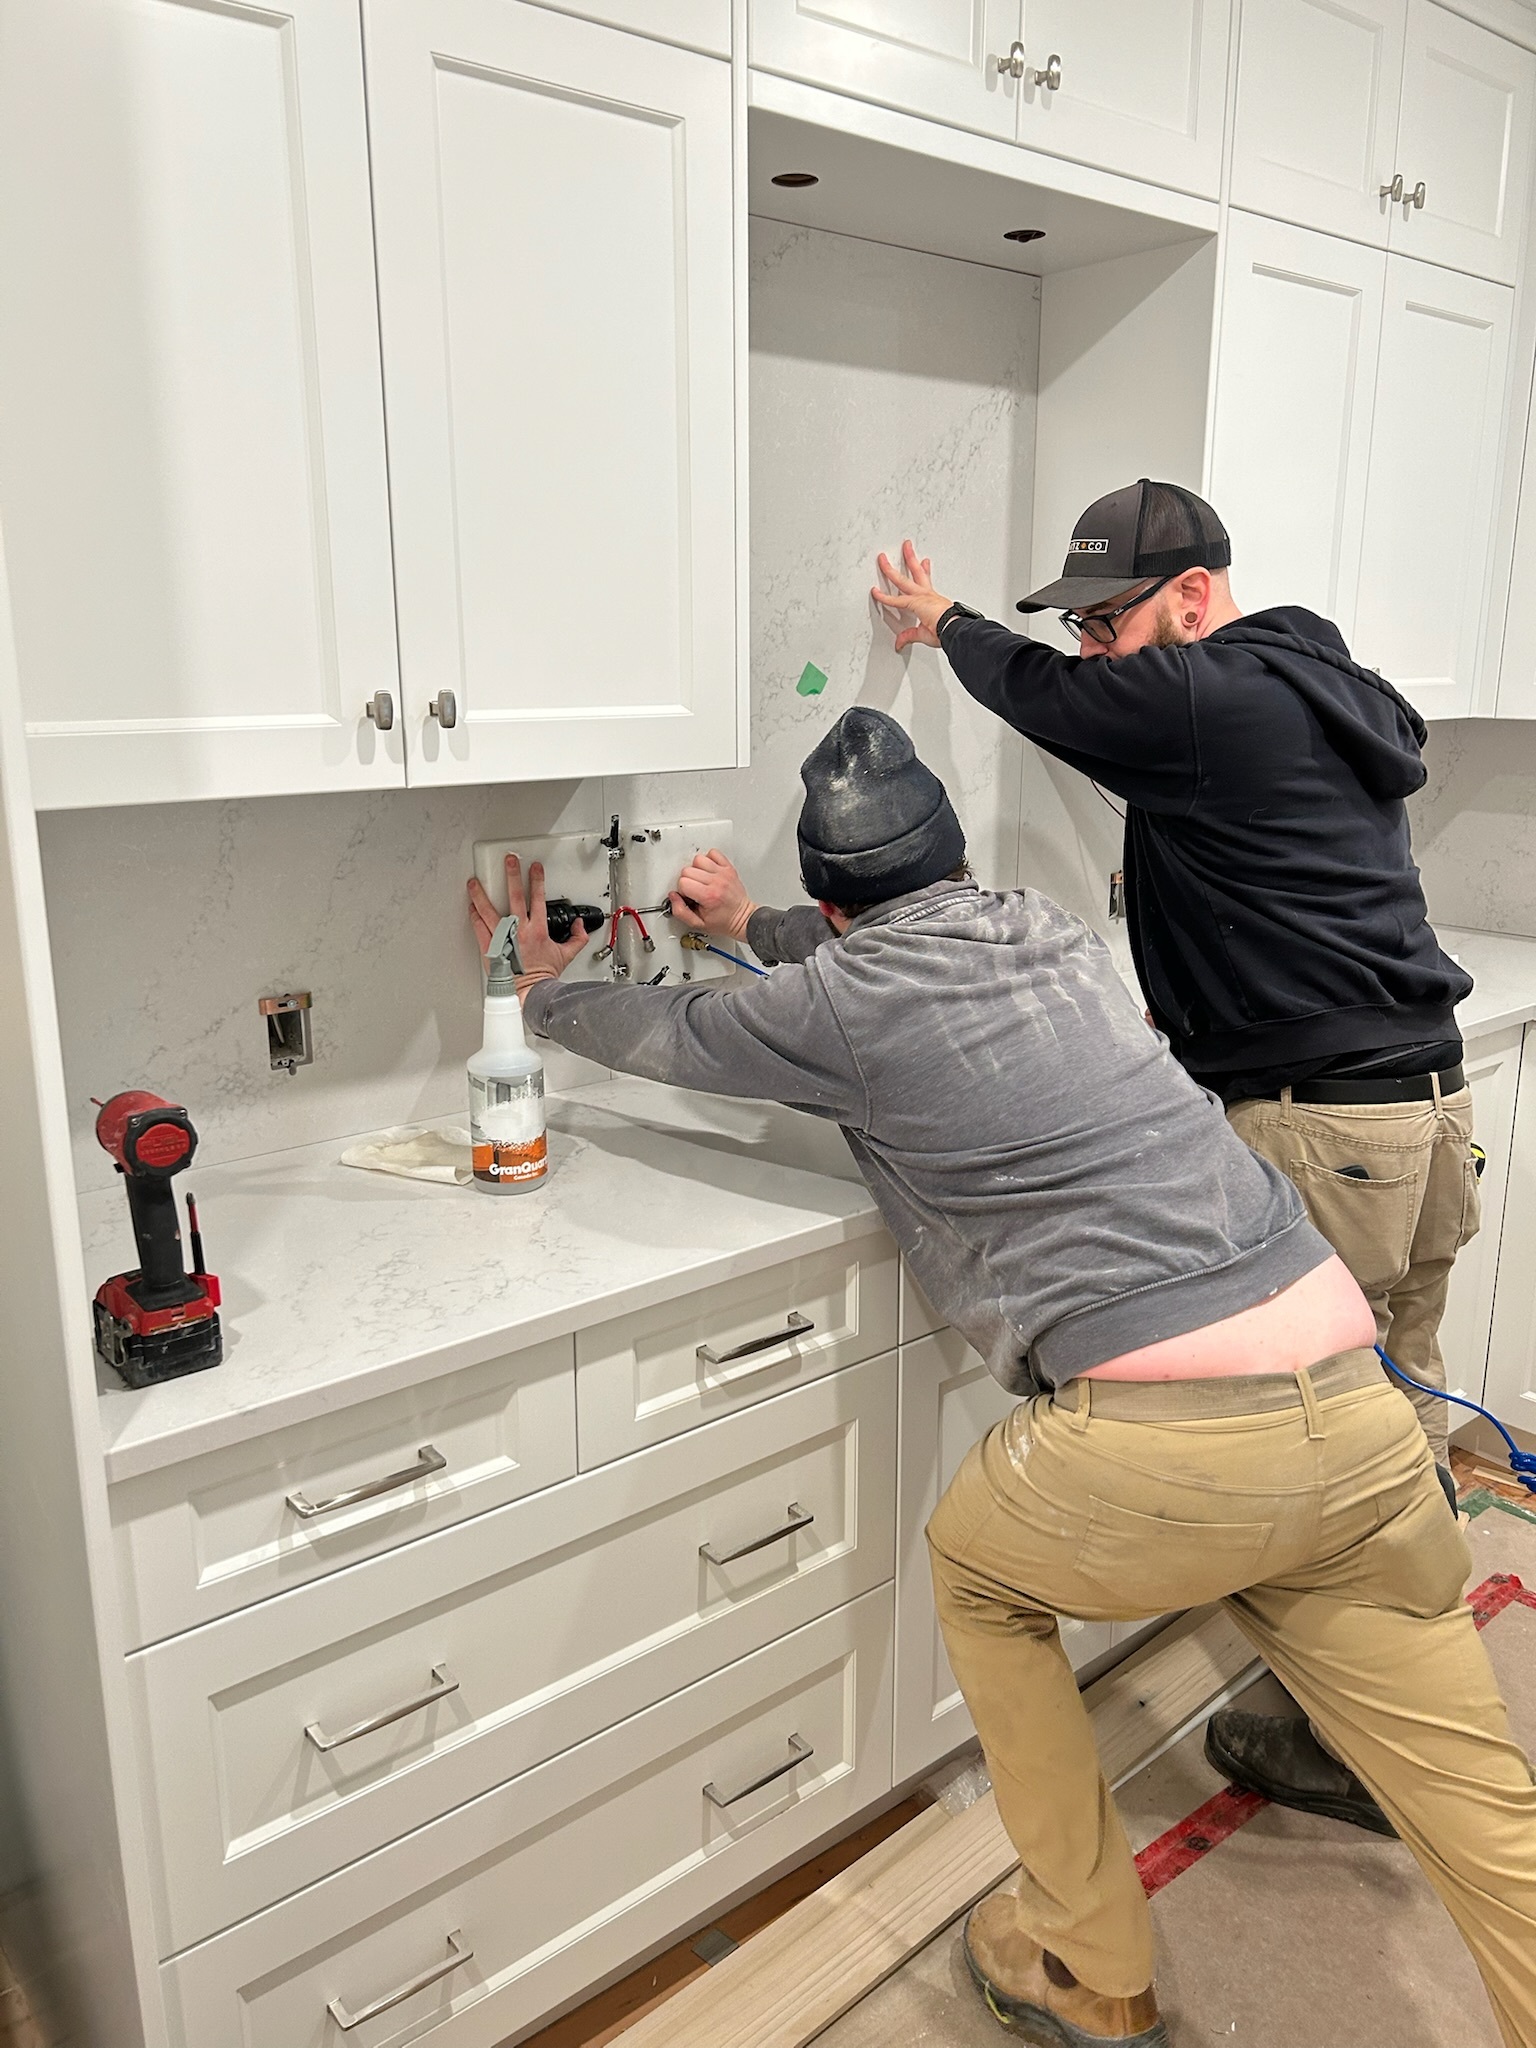
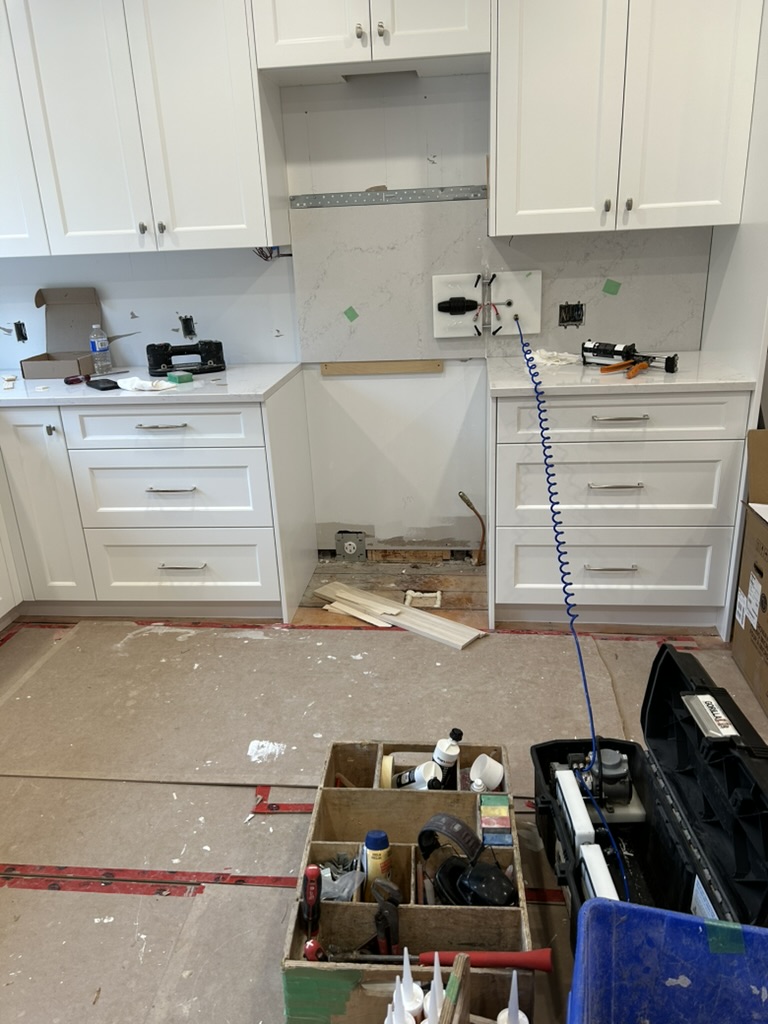
As scheduled (Dec. 16), countertops were installed, sinks were installed, and I have to say that the craftsmanship and quality continue to impress us. Almost all of the quartz jigsaw pieces were pre-cut off-site, but some pieces had to be done on site (backsplash below the microwave etc.). It is incredible to see digital technology being used for precise mapping of the kitchen structure, the use of digital design software which gets transferred to a CNC machine, then the precision cutting that follows, but in the end it all comes down to the skillset of the installers. The various quartz slabs were joined with color-matched epoxy and devices were secured to each slab to draw them together tightly while the epoxy sets (which takes around 45 minutes we were told). The entire installation process was expected to take around six hours or so, but ended up taking closer to nine when all was said and done. Other trades were doing odd tasks in the kitchen and around the house while this was occurring (new bathroom fans were installed in all bathrooms as the old ones were noisy and not all were working, cast iron replacement heating vents were installed in the kitchen, pantry, and mudroom, etc.).

Appliances And Finishing Touches
On the scheduled day we received delivery and they proceeded with installation of the new appliances (stove, two fridges, dishwasher, washer/dryer). Then more painting, electrical work, plumbing, and finally (drum roll please) the protective floor covering was removed to reveal the 200+ year old original flooring. There are still tons of small things to be done which will take another week or so (more electrical and plumbing, touch ups, one cabinet being build, etc.) but with just a few days left to go until Christmas we are back to washing dishes in the kitchen and could not be more grateful nor happier with the quality of the work.


What We Appreciate Most…
The incredible crews who made this possible, the hidden surprises that made it worthwhile, and not having to live with the litany of little things that no longer worked and rendered the old kitchen, pantry and laundry, and mudroom a less-than-ideal space in which to function…
What We Don’t Miss…
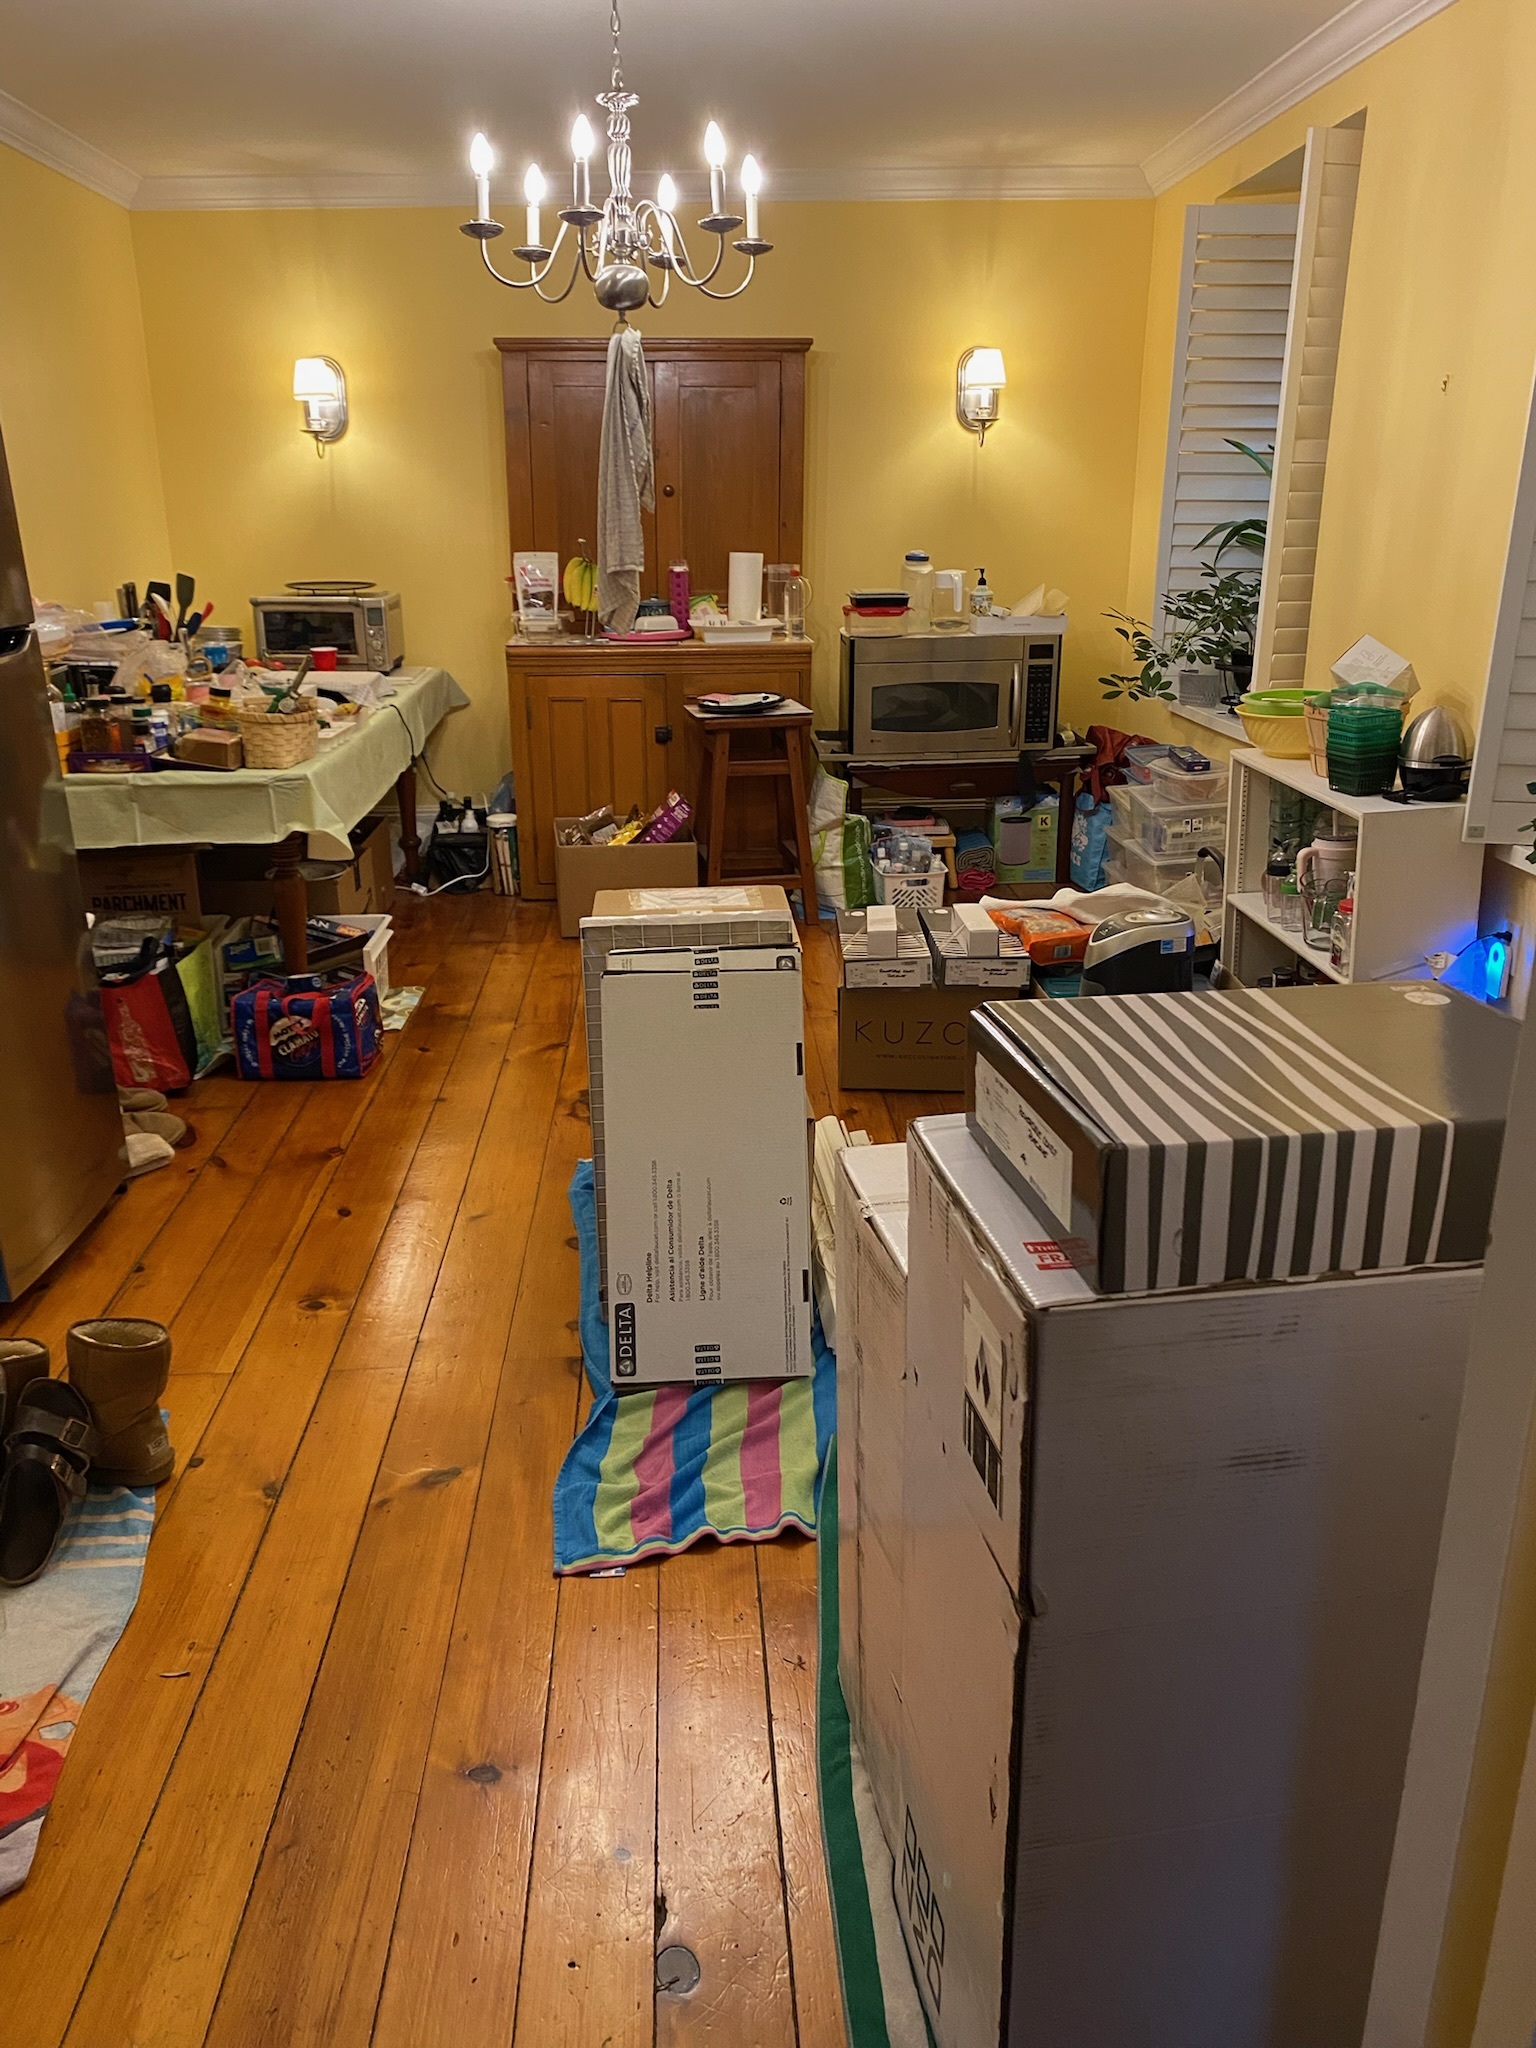
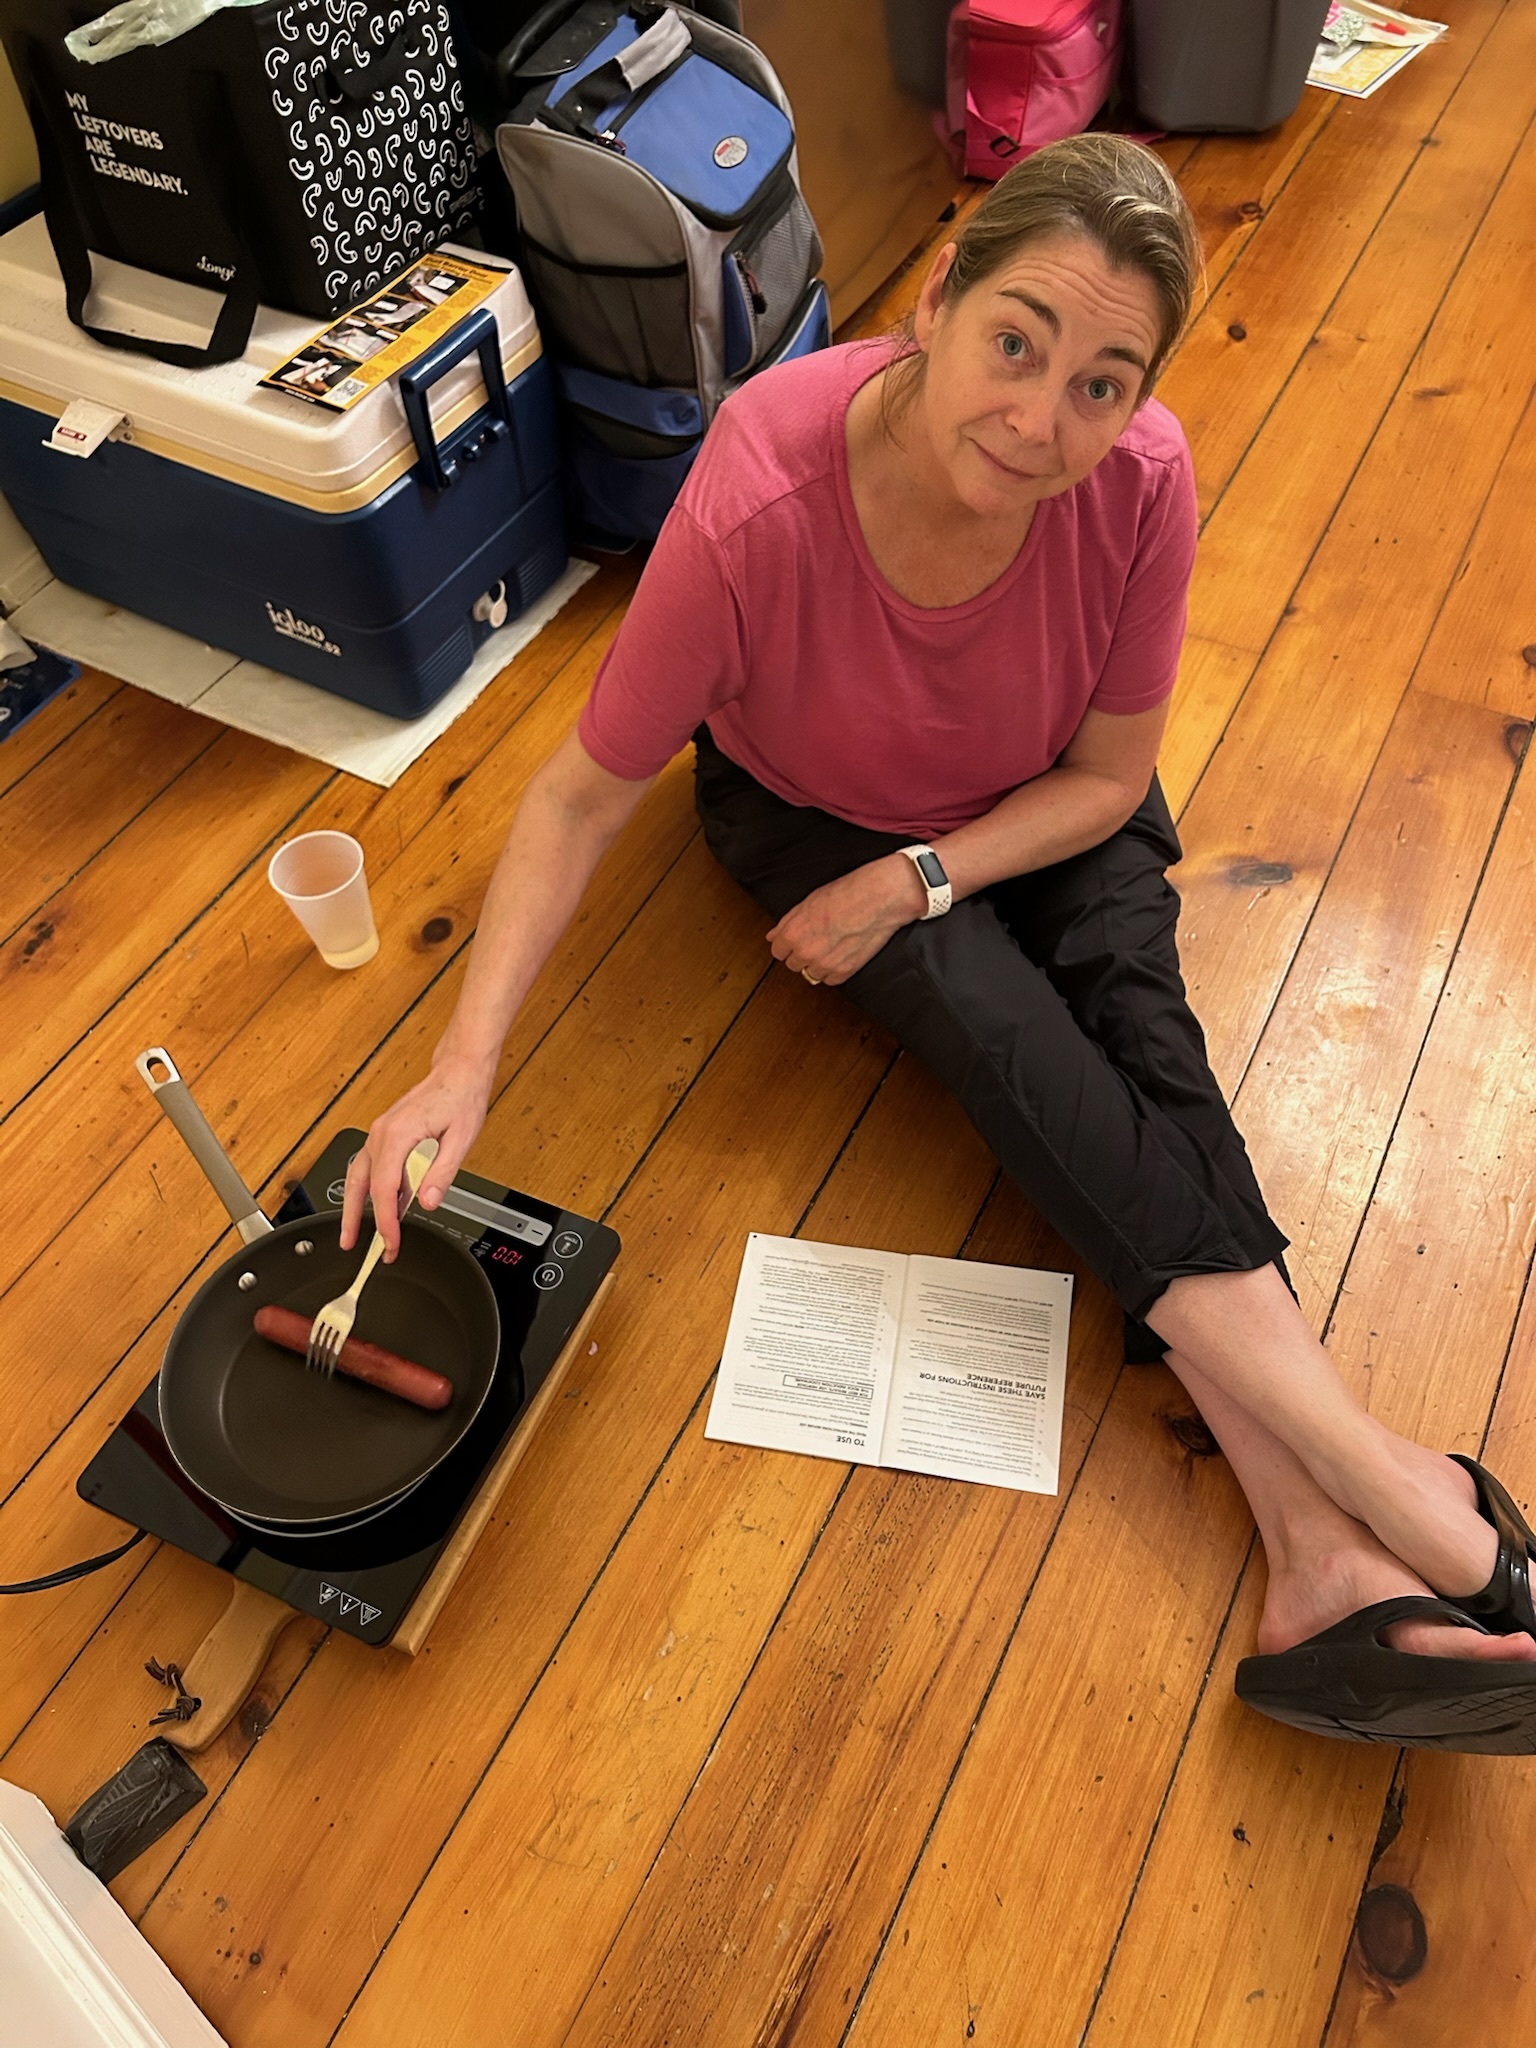
Our dining room standing in for our old kitchen, our bathtub standing in for our old dishwasher, and an induction pan and countertop mini oven standing in for our old stove, flickering lights, a broken oven, manual under-counter lights (no light switches), budget hollow bi-fold mudroom closet doors that never closed properly, budget hollow doors on the pantry and laundry/mudroom closet/kitchen bathroom, gray bare flooring, lack of shelving in the pantry, lack of counter space, lack of electrical outlets, low ceilings, stepping down off a threshold into the dining room and pantry (due to engineered flooring on top of plywood on top of the original floors)… I am sure I missed a few things but you get the point…
Thanks
We would like to thank not only the incredibly talented people who made this project blossom, but also our son who watched his future inheritance being squandered yet encouraged us to proceed texting “Spend as much as you like!! You’ve more than earned it, xoxo”