Every once in a while I find myself daydreaming about various ways to up my game in the kitchen and, recently, that dream morphed into an obsession over trying to bake seriously good bread in a home kitchen. But not just any bread: sourdough bread.
As strange as it may seem, my bread obsession was triggered by another obsession, namely, knives and knife sharpening. Until recently, our kitchen knives were not all that sharp—I have had them ever since I was a graduate student, which dates their purchase to sometime during the Paleozoic Era. To maintain their edges I sharpened them with a Henckels pull-through ceramic bar sharpener which created a somewhat sharp but slightly uneven and pitted edge more akin to a micro-serrated edge than to the smooth, polished, razor’s edge that we associate with seriously sharp kitchen knives. Earlier this year, I came across a review of the book titled Sharp by Josh Donald, immediately ordered it, and I have read this book multiple times. This led to the purchase of a set of entry-level Japanese knives (Tojiro DP VG10 steel, gyuto, petty, paring, serrated), an entry-level whetstone (Yae Tek 1000/6000 combination stone), a class on knife sharpening, then the purchase of a Naniwa sink bridge, a Naniwa stone holder, a set of three Naniwa Super Stones (so-called wet and go stones recently reformulated and re-branded as Sharpening Stones in 400, 1000, and 5000 grit), a nagura stone, and a leather strop paddle (this deducted roughly 1K from our son’s inheritance). This segued into a shaving fixation moving away from disposable cartridge razors and cans of shaving gel towards safety and straight razors, shaving soap, badger hair soap brushes, alum blocks, and even commissioning a run of shaving scuttles from a local potter (the internationally renowned Master Potter and neighbour, Scott Barnim). I probably ought to also mention the foray into sharpening serrated knives (e.g., bread knives), which resulted in acquiring the indispensable serrated tool diamond conical files (DMT diafold coarse, fine, and extra fine). But I digress. Suffice it to say, sharp bread knives lead to thoughts of cutting bread: seriously sharp knives deserve nothing less than seriously good bread to cut. But not just any bread.
Around a decade ago I read two books by Michael Pollen, The Omnivor’s Dilemma and In Defence of Food: An Eater’s Manifesto. More recently, I binge-watched Pollen’s Netflix series Cooked, and was particularly intrigued by the cold fire known as fermentation—watching Pollen wax poetic about the history of sourdough bread planted the seed in my mind, and then Jen (whose name must mean she who grudgingly indulges me) and I bought a few loaves of a local artisinal olive sourdough bread, at which point the temptation to attempt to produce something similar at home got the better of me.1
Not being the type who can dip just one toe into the ocean and emerge refreshed, I decided to go all in and take the plunge,2 and asked (begged?) Jen for permission to get a KitchenAid stand mixer, then a set of bannetons for proving,3 then a Mockmill stand mixer attachment for stone milling whole grain flour at home, a set of jars for making my own sourdough starter from scratch, jars for storing hard flour, all purpose flour, the sourdough starter feed mix, wheat berries (raw, dried wheat kernels4 that, when milled, become whole grain flour), etc., and I was off on an adventure (and our son’s inheritance was further depleted). I engaged in lots of online reading, video watching, and Jen bought me two books, one titled Artisan Sourdough Made Simple: A Beginner’s Guide to Delicious Handcrafted Bread with Minimal Kneeding by Emilie Raffa, followed by Flour, Water, Salt, Yeast: The Fundamentals of Artisan Bread and Pizza by Ken Forkish. The former is insufficiently detailed for my tastes (Raffa skips the true autolyse step blending all ingredients at once) but her book contains some great recipes and beautiful photos, while the latter is a bit unorthodox but more in line with my needs (Forkish’s treatise is exceptionally well-written and insightful, though his method uses no scoring, he confesses a preference for extremely dark crusts and therefore bakes at higher than conventional temperatures, but there is an emphasis on temperature, time, and volumes that I have not encountered elsewhere).
Getting the starter culture going in the cold Fall in Ontario, Canada, was a bit of a challenge, but we now have a healthy culture living in our kitchen (actually two, one that sat on the counter fed daily and one that lived mainly in the refrigerator fed weekly in case I accidentally killed either) and its offspring have been passed along to a few friends to date (Jason, a neighbour, and Bettina and Zach, work colleagues).
My first attempts were utter failures—zero oven spring. I called the first loaf Flat Stanley given the uncanny resemblance of the loaf to the protagonist in author Jeff Brown’s famous children’s book series.5 I was using a baking stone, and on subsequent attempts realized that I was doing everything wrong (the first attempts pre-dated reading the books mentioned above), but each failure contained a teaching moment unearthed when I re-evaluated my process with the benefit of hindsight aided by the fact that I kept detailed notes for each loaf baked. But subsequent attempts resulted in incremental improvements that prevented me from throwing in the towel, and I have baked a sufficient number of satisfactory boules (French for round loaf) and batards (French for oblong loaf) and, after much trial and error, can replicate the process and bake some seriously good bread (well, good is a relative construct, but we believe that it is as good or better than what we previously bought for 8 dollars per loaf). There is a sense of almost pure joy associated with eating a piece of recently baked fermented bread in the morning, effortlessly cut with a hand sharpened serrated bread knife, garnished with a bit of cheese, homemade butter, or jam, bread made from scratch by miraculously harvesting wild yeasts from thin air—flour, water, salt, and yeast—could anything else we might create be so simple yet so rewarding?
I wanted to summarize noteworthy details that I have gleaned in the hope that perhaps it might be of use to others, hence this post.6
A Brief History of Sourdough
The origins of what today we refer to as sourdough bread have been traced back to ancient Egypt and appear to have spread from there. This nutritious miracle involves organisms that are omnipresent in the air that we all breathe, wild yeasts, that have miraculously colonized a mixture of wheat flour and water in what was likely a bowl of porridge left neglected for a few days which, after being colonized, started bubbling with activity (fermenting) and then was placed in a hot oven at which time an amazing transformation took place, perhaps doubling in size and being easy to digest, not to mention tasty and exceptionally nutritious.
Though many associate sourdough with the taste of a popular San Francisco bread made from wheat flour (the famed San Francisco Sourdough), in fact sourdough refers to any bread made from a wild yeast starter or levain7 that undergoes a long and slow fermentation process in a series of carefully choreographed steps. Wheat, the most common grain used to make bread flour, is the most widely planted crop on the planet, and bread is a nutritional staple in every corner of the Earth—bread provides 20% of the daily protein and of the food calories for the Earth’s population. The sourdough process is the way bread was made for centuries, and is the way bread ought to be made, being infinitely preferable to commercial mass produced bread manufactured with commercial flour that has a long shelf life but lacks the nutritional value and natural wholesome goodness that arises from a long and slow sourdough fermentation involving wild yeasts and whole grain flour (which contains the endosperm, bran, and germ, the latter not being present in commercial flour as it quickly spoils but is, in fact, the star of the show).
The following widely used commercial flours have the germ and bran removed, and are therefore not as nutritious as whole grain flours:
Bread flour is made with hard wheat, which is high in protein (12-14%). The high protein in this flour makes it ideal for yeast breads.
All purpose flour is made from a blend of hard and soft wheat grains and strikes the middle-ground in terms of protein (10-12%). It is used to make a variety of baked goods including muffins, cakes, pastries and waffles.
Pastry or cake flour is made with soft wheat, which is lower in protein (8-10%). The lower protein in this flour makes it ideal for making tender cakes, cookies, pastries and pasta.
The Sourdough Process
It all starts with the starter as Yogi Berra might have remarked. Sourdough starter is a mix of flour and water colonized by wild yeasts (saccharomyces exiguus) present in the air around us (yeasts can also be present in flour) and colonized also by lactobacilli, bacteria present in flour that produce lactic and acetic acid (members of the lactic acid bacteria or LAB for short)—the two coexist in the levain in a proportion of roughly 1:100. The lactobacilli produce the acids that give the bread its tangy (sour) taste, while the yeasts produce the CO\(_2\) that creates the bubbles in the starter and, ultimately, in the baked boule (the yeasts also produce ethanol, i.e., grain alchohol).
Unlike making bread using commercial fast rising monoculture yeasts (saccharomyces cerevisiae) and commercial flours, making sourdough is less a quick recipe and more a lengthy process, so the impatient need not apply. I use the following process, but themes and variations abound and all seem to produce exceptional outcomes:8
Begin by mixing the autolyse9 (a simple mix of flour and water in a particular ratio, know as the hydration of the dough—a 75% hydration means a 75:100 water:flour ratio).
After a short (or perhaps long) period of time during which the enzymes are being extracted, to the autolyse is added salt10 (an important component) and some starter culture (the levain) whereupon the first ferment, called the bulk ferment, commences.
For a period of time (typically during the early part of the bulk ferment), a series of stretch-and-folds take place that set up the gluten11 alignment (gluten is a key element of an airy and light bread—the stretchy gluten form bubbles arising from the off-gassing of the yeasts and bacteria), then typically four (or more) stretch-and-folds are undertaken in the first few hours until the dough feels right (i.e., resists further stretching).
After the bulk ferment is complete, i.e., when the dough has doubled (or tripled) in size, it then undergoes a preliminary pre-shaping that involves creating surface tension on the boule achieved by dragging while turning with the bench scraper, at which point we let it rest (covered) for a short period (30-60 minutes). Then, a final shaping takes place whereupon the boule is placed in a proving basket or banneton (a cane basket that helps the wet dough, which would collapse without support, to hold its shape while it undergoes a second rise) and undergoes a second and final ferment. This is known as the second prove (the first being the bulk ferment).
After a rest (retard in French) on the countertop and perhaps in a refrigerator overnight (or longer), the boule is removed from the banneton then scored on top with a lame (French for blade) thereby allowing it to expand properly when baked.
The scored boule is then baked, ideally in a Dutch Oven, for 50 minutes in a kitchen oven heated to roughly 450 degrees Fahrenheit (20 minutes covered, 30 minutes uncovered).
Finally, after being removed from the uncovered Dutch Oven, the boule is allowed to fully cool on a raised rack on the countertop. This is an extremely important part of the process that is not to be interrupted—flavours are developing, moisture is being pushed through the crust, and the cooling phase12 is a key component of baking good bread (let it cool for at least 1 hour or more). If you do not place the boule on a rack and, instead, place it directly on the countertop, the bottom will become a wet mess of soggy dough (air needs to circulate all around the boule).
The video by Master Baker Trevor J. Wilson mentioned at the end of this post is a very well-done 5 minute overview of the process and I highly recommend it for the uninitiated.
A Whole Grain Sourdough Recipe (Kalamata Olives Optional)
When the seed Michael Pollen inadvertently planted in my mind began to germinate, I had a singular goal in mind, namely, to produce a bread at home every bit as good as (or better than) what we had been paying 8 dollars per boule for in a local store. I have much to learn and am not attempting to duplicate the exact taste, rather I am attempting to produce a bread at home that we both love to eat. Here is my existing recipe for a whole grain sourdough boule at 75% hydration (50% whole grain/whole wheat). There are three total weights given, a small boule (one that will fit an Eddington 750 gram banneton), medium, and large (the latter two will fit an Eddington 1 kilogram banneton). Each recipe differs by roughly 10% in pre-baked and final weight. The local ingredient cost-per-boule is roughly 2-3 dollars (no Kalamata olives) or 4-5 dollars otherwise (this includes the cost of the flour(s) used to feed the starter on a daily basis).
812 gram boule pre-baked weight
228 grams unbleached bread flour.
206 grams hard wheat berries (e.g., red fife) home milled into whole grain flour.
319 grams water (filtered, distilled, or left overnight on the countertop to allow chlorine, which inhibits fermentation, to evaporate).
9 grams salt.
50 grams rye/whole wheat/all purpose @ 100% hydration starter (in proportions 1/10, 3/10, 6/10).
55 grams of pitted Kalamata olives (optional).
This results in a 75% hydration boule of approximately 812 grams in pre-baked weight excluding the olives (roughly 742 grams in final weight).
900 gram boule pre-baked weight
253 grams unbleached bread flour.
228 grams hard wheat berries (e.g., red fife) home milled into whole grain flour.
354 grams water (filtered, distilled, or left overnight on the countertop to allow chlorine, which inhibits fermentation, to evaporate).
10 grams salt.
55 grams rye/whole wheat/all purpose @ 100% hydration starter (in proportions 1/10, 3/10, 6/10).
62 grams of pitted Kalamata olives (optional).
This results in a 75% hydration boule of approximately 900 grams in pre-baked weight excluding the olives (roughly 825 grams in final weight).
1 kilogram boule pre-baked weight
282 grams unbleached bread flour.
253 grams hard wheat berries (e.g., red fife) home milled into whole grain flour.
393 grams water (filtered, distilled, or left overnight on the countertop to allow chlorine, which inhibits fermentation, to evaporate).
11 grams salt.
61 grams rye/whole wheat/all purpose @ 100% hydration starter (in proportions 1/10, 3/10, 6/10).
69 grams of pitted Kalamata olives (optional).
This results in a 75% hydration boule of approximately 1 kilogram in pre-baked weight excluding the olives (roughly 917 grams in final weight).
My Weekend Baking Schedule
Note that this post was written in the winter where our kitchen temperature is roughly 70F during the day, falling to roughly 60F overnight. The schedule below allows me to start the process on a Friday night and have 2 loaves for the week (double the recipe, bake one loaf after retarding overnight in the refrigerator, then bake the other after retarding for a few days longer than the first, i.e., mid-week).
I would estimate that the total hands-on time is perhaps 1 hour though the process spans 2 days, while the stretch-and-folds conducted early during the bulk ferment require your presence for 1-2 minutes every 30-45 minutes or so over a period of roughly 2-3 hours. I simply set a timer at 30 minute increments to remind me and catch up on my reading during this part of the process.
Autolyse (Friday Night, 15 Minutes)
6:30 pm: grind the wheat berries in the stone mill, heat the water to 95F (I heat a Pyrex glass measuring cup containing the amount of water given in the recipe in a microwave, checking the temperature every 30 seconds or so), then combine the water, the milled flour and the hard flour in the mixing bowl.
Mix these ingredients using the stand mixer for 1-2 minutes on the lowest setting using a dough hook (you can, of course, do this by hand, though it may take a little longer), mixing until a shaggy ball of dough takes shape and all of the flour is incorporated.
Let this autolyse rest on the countertop at room temperature overnight—leave it in the mixing bowl covered with plastic wrap (the starting dough temperature aimed for is around 78F).
10:00 pm: feed the levain that will be used the next morning.
Bulk Ferment (Saturday Morning, 15 Minutes Intermittently)
7:30 am: use a warm water bath to bring the dough back to around 78F, achieved by placing the mixing bowl in the kitchen sink filled with 3-5 inches of warm water for roughly 10-15 minutes.
7:45 am: add the levain and salt to the autolyse in the mixing bowl and then mix the dough for 1-2 minutes using the stand mixer at the lowest setting using the dough hook (again, you can do this by hand if you prefer), then cover with plastic wrap and return to the warm water bath until the dough returns to around 78F.
8:00 am: let the bulk fermentation commence with a set of stretch-and-folds, 3-4 sets in total each occurring 30-45 minutes apart, and cover with plastic wrap in between.
If Kalamata olives are to be added, check to make sure that there are no lingering pits (I slide a wooden skewer through the center hole of whole pitted olives to be certain), pat them dry with a paper towel then, during the first stretch-and-fold, add 1/4 of the olives, rotate, add 1/4, rotate, and so on.
Pre-Shape, Shape, and Final Rise (Saturday Evening, 15 Minutes)
6:00 pm: very lightly dust the countertop with flour, conduct the final stretch-and-fold to assist with removing the dough from the mixing bowl, pre-shape and tension, then rest on the countertop covered with plastic wrap.
7:00 pm: lightly dust an adjacent part of the countertop with flour, lift the dough using the scraper to get underneath, flip the dough over and place it on the dusted countertop, then perform the final folding, shape, and tension which will produce a seam (bottom) and tight boule (top).
Transfer the boule to a banneton that has been dusted with rice flour seam side up (this will be the bottom of the boule), and let it rise at room temperature until it doubles in size.
Make sure you cover the banneton with a clear plastic bag to avoid moisture loss (insert the banneton into the bag and tuck the excess underneath to form a seal).
Refrigerate, Then Bake (Overnight Saturday, Sunday Morning, 15 Minutes Intermittently)
10:00 pm: refrigerate the covered banneton overnight at 37F.
You can let the dough retard in the refrigerator anywhere from 12 to 36 hours at 37F (or longer, just keep an eye on things to avoid over-proving).
We typically bake the first boule Sunday morning, and bake the second Wednesday morning before heading to work, which lasts us through the following Saturday.
Bake for 50 minutes total in a kitchen oven pre-heated to roughly 450 degrees Fahrenheit (bake inside a pre-heated Dutch Oven for 20 minutes covered, then 30 minutes uncovered).
Sourdough freezes beautifully, and we often cut a few slices and place them in an airtight container in the freezer and then pop them directly into the toaster when in need of a fresh fix.
Pro-Tips
Always hold back some of the starter to be fed and kept for the next session—20 grams or more is fine, I feed ours with an equal amount of water and starter mix (50 grams each). For weekly feeding, place the fed starter in the refrigerator, covered, and remove two days before needed and feed at least twice before using. I do the last feed prior to use just before going to bed after preparing the autolyse (for 2 loaves feed 25 grams of starter using 100 grams each of water and starter mix the night before—you can do this in a separate container from the one you keep your starter culture in if you prefer).
Ken Forkish advises us to treat time and temperature as ingredients (there is an inverse relationship between the two with regards to fermentation).
When temperatures are cooler (e.g., winter), to get more of a rise in a given amount of time simply increase the amount of starter by, say, 20% more than called for in the recipe (experiment with the amount, and let the final prove in the banneton be your guide).
The key to an extended autolyse is to not let the dough get cold. When we are in the fermentation stage, a cold environment slows the rate of fermentation of bread, thus allowing flavors to develop. With the autolyse, the goal is to make the dough more extensible, and warmer temperatures help with this process. Why do we want extensible dough? Because extensible dough opens up more during baking, which is how we get that coveted open crumb. When the levain is added later, the acid will counter the extension benefits of autolyse, building and strengthening the dough. At the end of final fermentation, these two environments (autolyse, without added levain versus fermentation of the dough once levain is added) create a balanced dough that is both extensible and elastic.
Bulk ferment in a bowl and, when stretching and folding, perform this in the bowl but first make sure to wet the fingers of your dominant hand so they don’t stick to the dough. Next, gently insert your moist fingers between the dough and wall of the bowl until they lie under roughly half of the dough, then gently peel the dough up and pull it away from the bowl wall leaving the rest sticking to the wall. Stretch the dough until the dough sticking to the wall has almost come away from the bowl wall, then fold the dough in half and rest it on top of the part sticking to the wall. Finally, rotate the bowl 90 degrees (i.e., one quarter of a turn clockwise if your right hand is dominant, counter-clockwise otherwise), then repeat the stretch-and-fold, for a total of four or five stretch-and-folds per set.
Proving for an hour or two at room temperature gets the final rise going which is almost halted when retarding in the refrigerator at 37F—the aim is to get about 80% proved so that there is still unspent fuel present for oven spring13 to occur.
If adding, say, pitted (i.e., pitless) Kalamata olives, do so on the first fold after starting the bulk ferment (though you can also add them when you mix the autolyse, salt, and levain).
Use a Dutch Oven! During the first 10 minutes of the bake, steam plays a very important role by keeping the outer layer (eventually the crust) supple while the boule expands. Commercial bakers have special ovens with a steam feature, but the typical home oven does not, so steam must be introduced one way or another. Some use a spray bottle, others a pan with water in it, but these pale in comparison with using an oven designed for bread baking. However, if you trapped the moisture released by the dough during the first 10 minutes of baking, the hydration of a typical sourdough boule would create an environment almost identical to one found in an oven with a steam feature. And the Dutch Oven is perfect for trapping this moisture. In addition, sourdough boules tend to spread out as they bake, and an appropriately sized Dutch Oven (3-5 quarts with a 9-10 inch diameter base, such as the Lodge combo cooker) provides the additional support needed. So, by using a Dutch Oven you get greater oven spring (the extra support plus the steam) and a better crust to boot. Ken Forkish claims that he gets the same results using a Dutch Oven in his home oven as he does at his bakery. I have used a baking stone with water in a pan and have used a Dutch Oven, and hands down the Dutch Oven is the winner.
Pre-heat the kitchen oven with the Dutch Oven inside for at least 15 minutes (or more) after the oven reaches 450F before baking the boule.
For a loaf with a slightly thinner crust that is lighter in color (or if you find your crust to have a `burnt’ taste), lower the oven temperature to 400F after removing the lid (i.e., cook covered at 450F for 20 minutes then uncovered at 400F for 30 minutes). Or, you can cook covered at 450F for 20 minutes then uncovered at 450F for another 15-20 minutes (i.e., cook uncovered for 10-15 minutes less than the full 50 minutes, and do experiment to see what produces the best results in your oven).
When removing the boule from the banneton, first place the banneton on the countertop on top of parchment paper cut in the shape of a sling. Next, transfer the boule from the banneton to the parchment paper with a smooth flip and tap of the banneton’s edge so that the boule rests dead center on the parchment covered countertop, then score the boule. Finally, gently pick up the sling and then lower it into the Dutch Oven being careful to not touch the sides of the hot Dutch Oven with your hands (one nice side effect of using parchment paper is that there is no need to clean the Dutch Oven afterwards—the parchment collects any debris).
When scoring, rest your thumb and finger on the edge of the boule for stability, and score decisively–strive to be an artist, not a butcher. Scoring is not just to make a visually pretty design on the top of a boule. It is also how the baker controls the direction in which the boule expands. This impacts the shape of the boule cross section (rounder or more oval), the height of the boule, and whether it stays round or ends up more oblong.
Let the boule cool on a rack for a few hours, then place it inside of a paper bag (this allows the boule to breathe and helps maintain a crispy crust). Leave it on the countertop for 1-2 days, then transfer to a bread storage bag (typically a cloth bag lined with a perforated plastic liner). The crust will remain firm, but the moisture does not evaporate as quickly in a bread bag—we keep loaves for up to a week using this process and they remain fresh while the sliced boule toasts beautifully.
Use high quality fresh ingredients, and play around with different wheat berries (hard white spring versus hard red fife)—it is amazing what a difference milling at home makes, and the whole grain flour ground from the wheat berry imparts exceptional flavour on the boule (and on the caramelized crust via a Maillard reaction).
Use filtered or distilled water, or, if your tap water contains chlorine, let the tap water sit overnight on the countertop to allow the chlorine, which inhibits fermentation, to evaporate.
Use rice flour to dust your banneton before placing the boule in it. Nothing sticks to rice flour—not even the highest of hydration dough can overpower rice flour.
Kitchen Kit (Essential)
Kitchen scale with tare feature (i.e., a setting that can reset to zero grams after accounting for the weight of anything already on the scales).
Spatula.
Oven mits.
Mixing bowl(s).
Jar(s) for starter, flour etc.
Dutch Oven (we use a vintage McCrary No 7 gifted by a kind neighbour, Carolyn).
Flour(s), salt.
Probe thermometer (instant read).
Starter (from scratch or from a friend—see the Creating Your Starter link at the end of this post).
Parchment paper.
Clear plastic bag (large enough to hold a banneton).
Dough scraper (plastic, rounded edge, for removing from the bowl).
Bench scraper (metal, straight edge, for shaping).
Cooling rack.
Plastic cling wrap.
Banneton(s) (Eddington 1 kg EDD70101 is a good all around size).
Razor blade or sharp knife for scoring.
Kitchen Kit (Optional)
Stand mixer (we use the KitchenAid Artisan model, you can mix by hand but it takes somewhat longer and is perhaps a bit messier—you can clean your hands or your mixer, your choice).
Mill for milling whole grain flour from wheat berries (e.g., Mockmill 100 or Mockmill attachment for a KitchenAid stand mixer—we use the attachment).
Lodge cast iron combo oven (ideal for baking boules and the one used in the How to Make 50% Whole Wheat Sourdough Bread video link at the end of this post)
Proving appliance such as the units made by Brod & Taylor (for sub-optimally cold environments, e.g., <60F, where bulk fermentation at room temperature takes an intolerably long time).
Wheat berries (you can use hard whole wheat flour in place of the wheat berries in the above recipes).
Sturdy lame, e.g., the Aeaker Premium Hand Crafted Bread Lame.
A Recent Bake
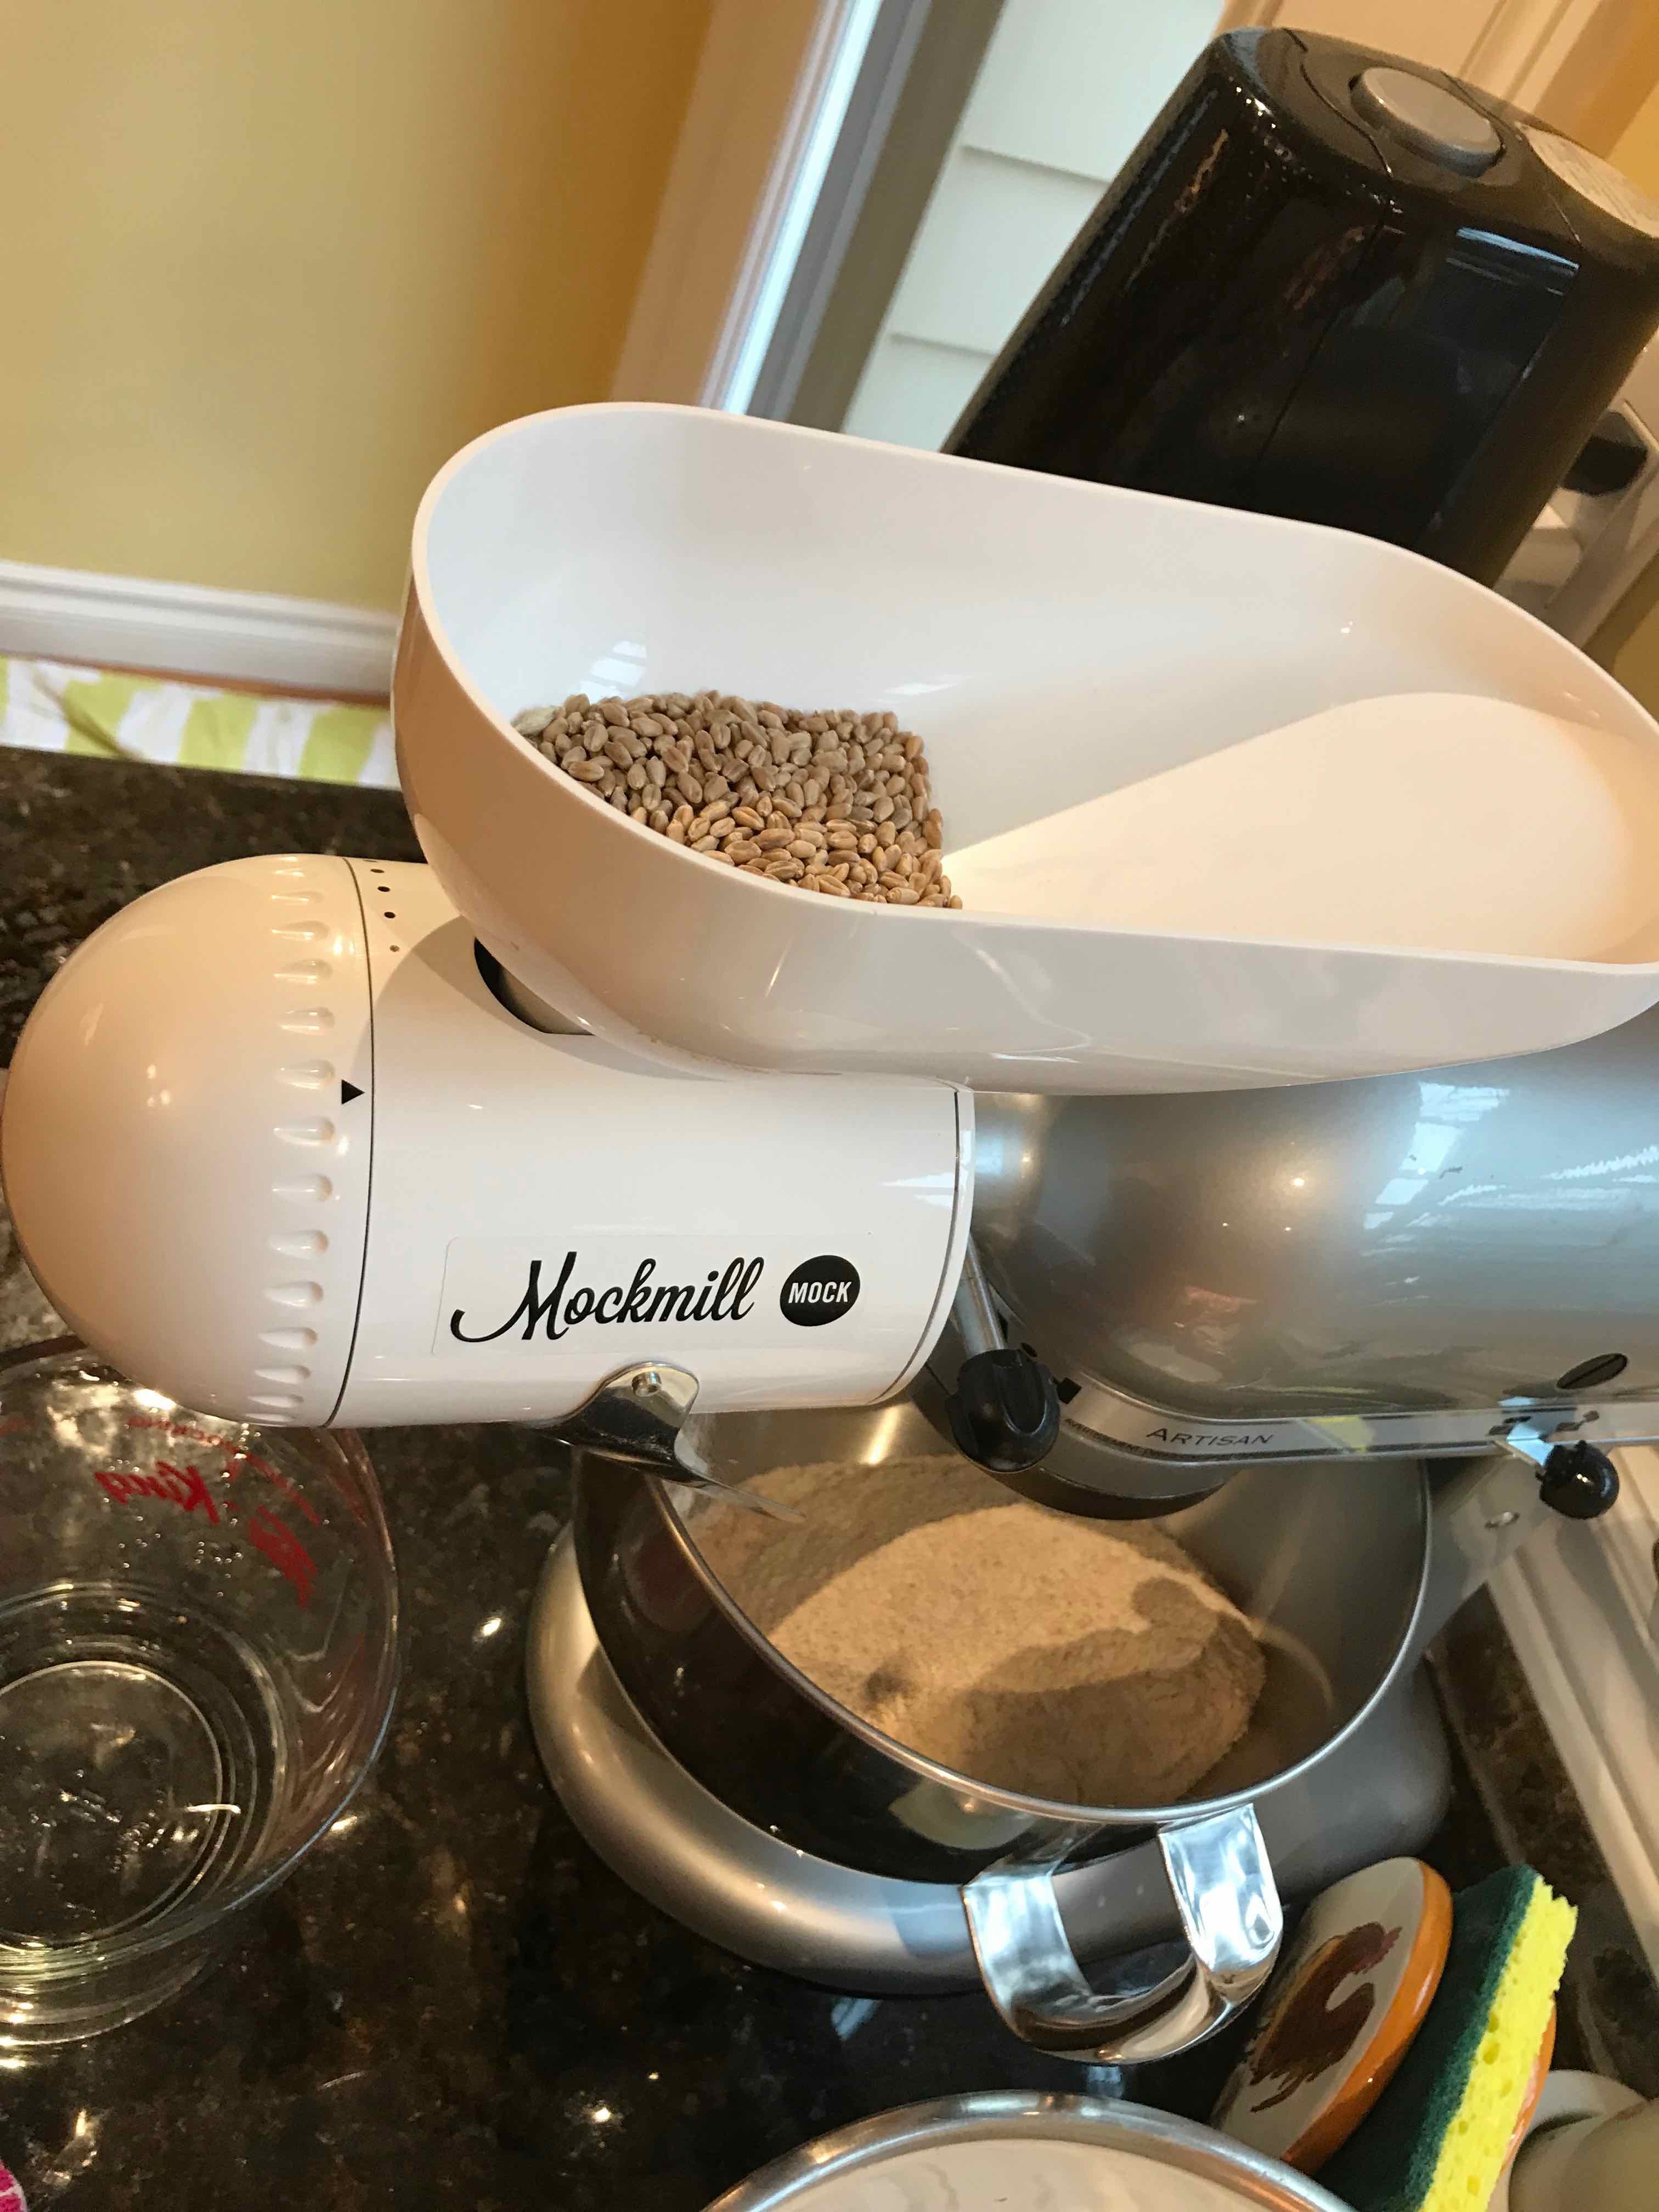
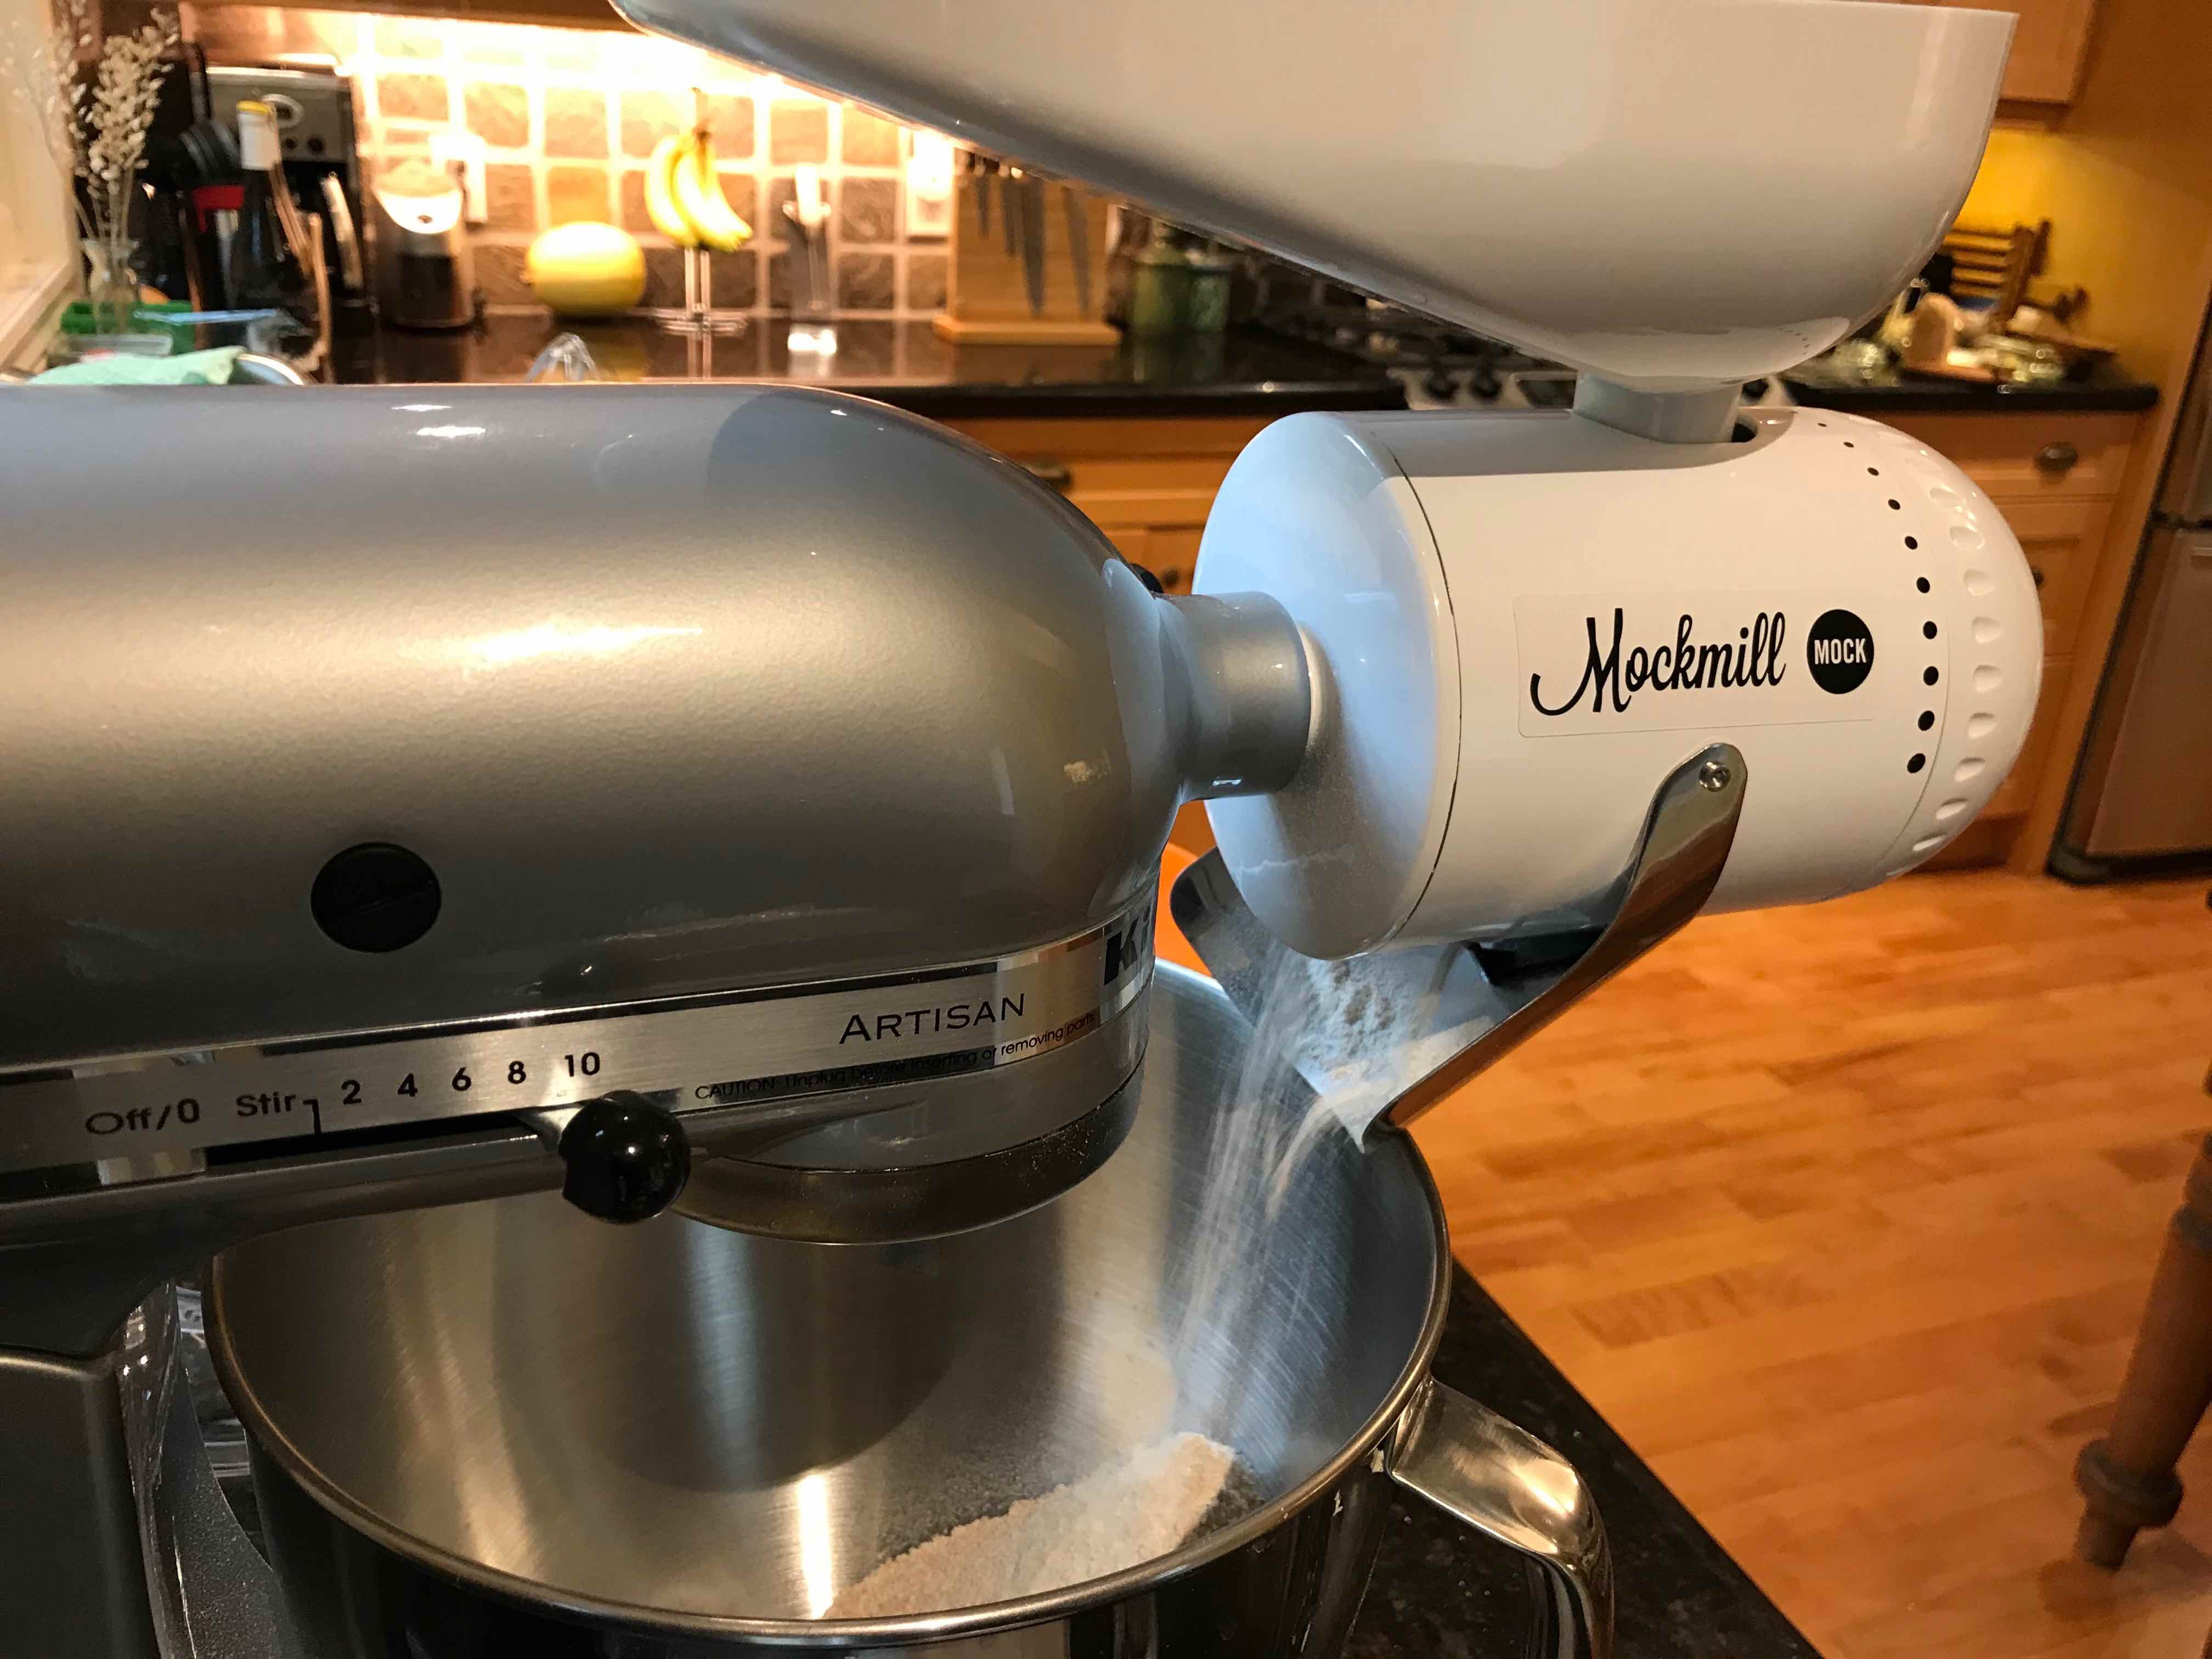
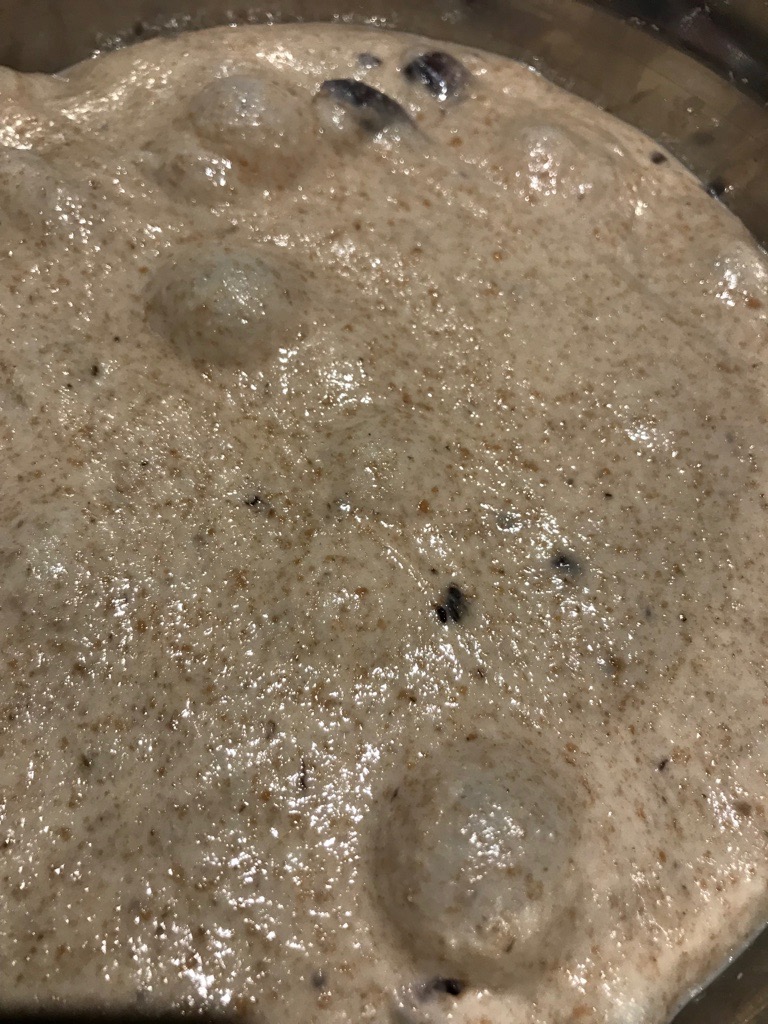
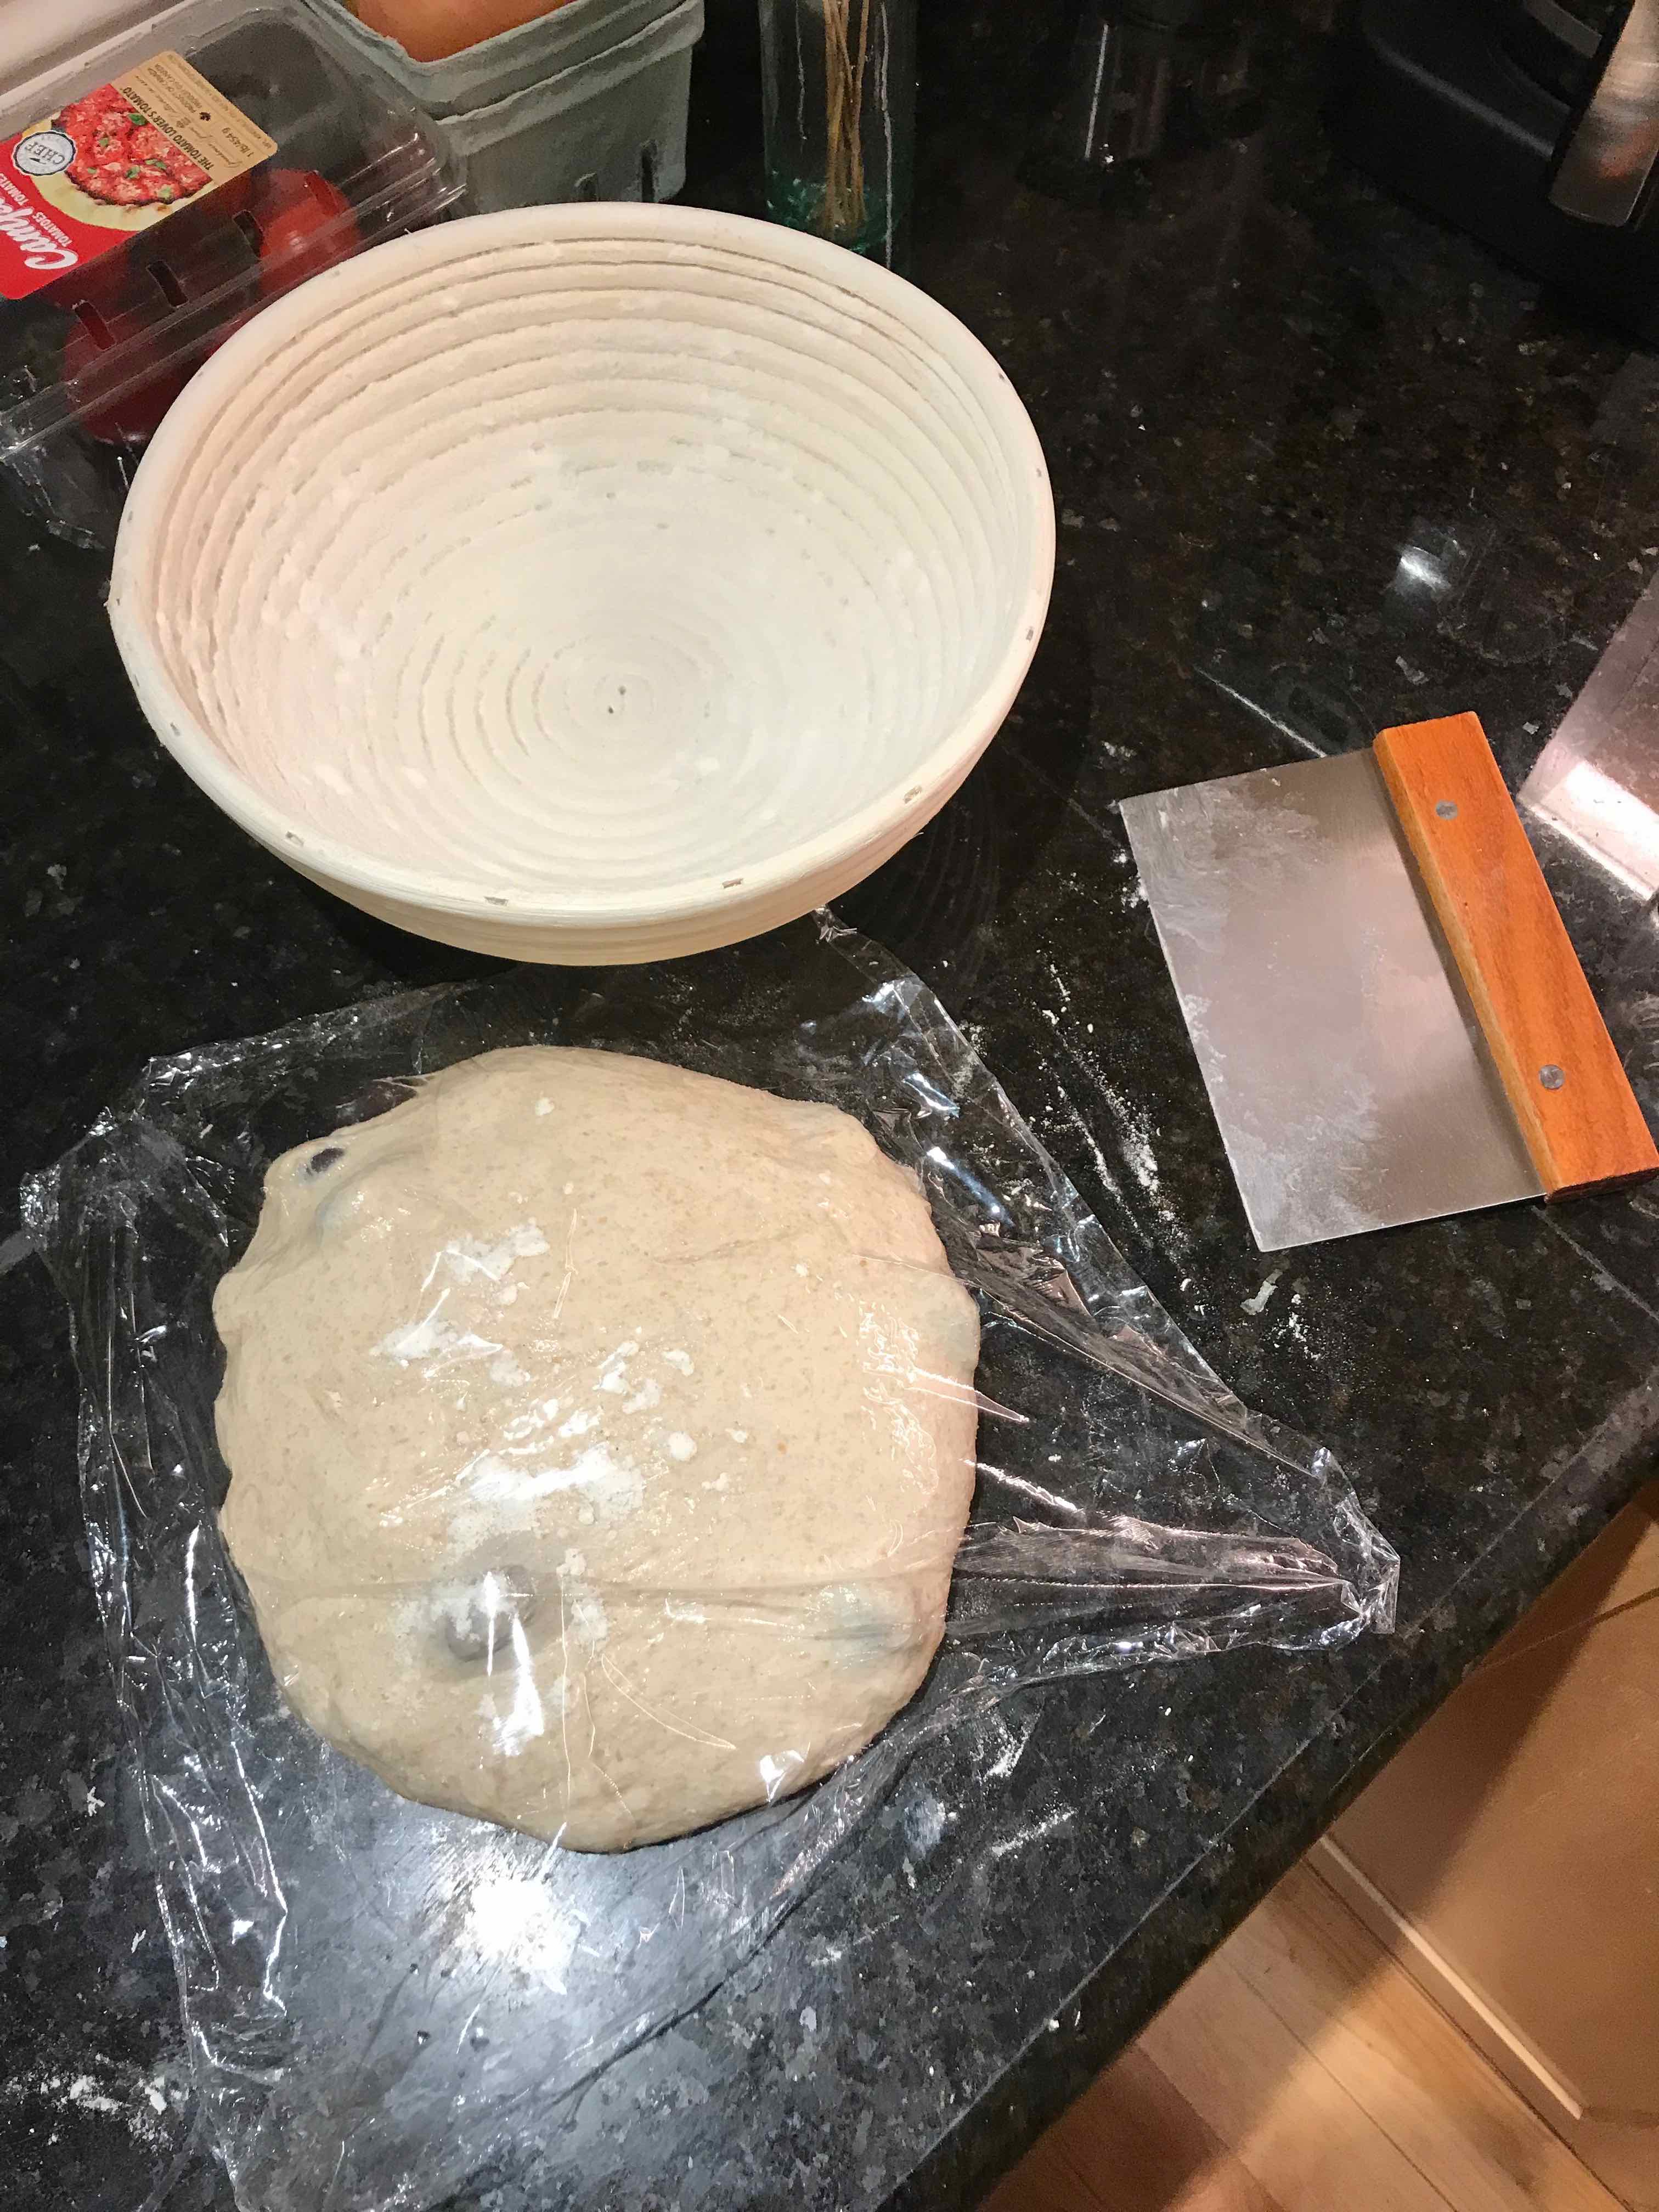
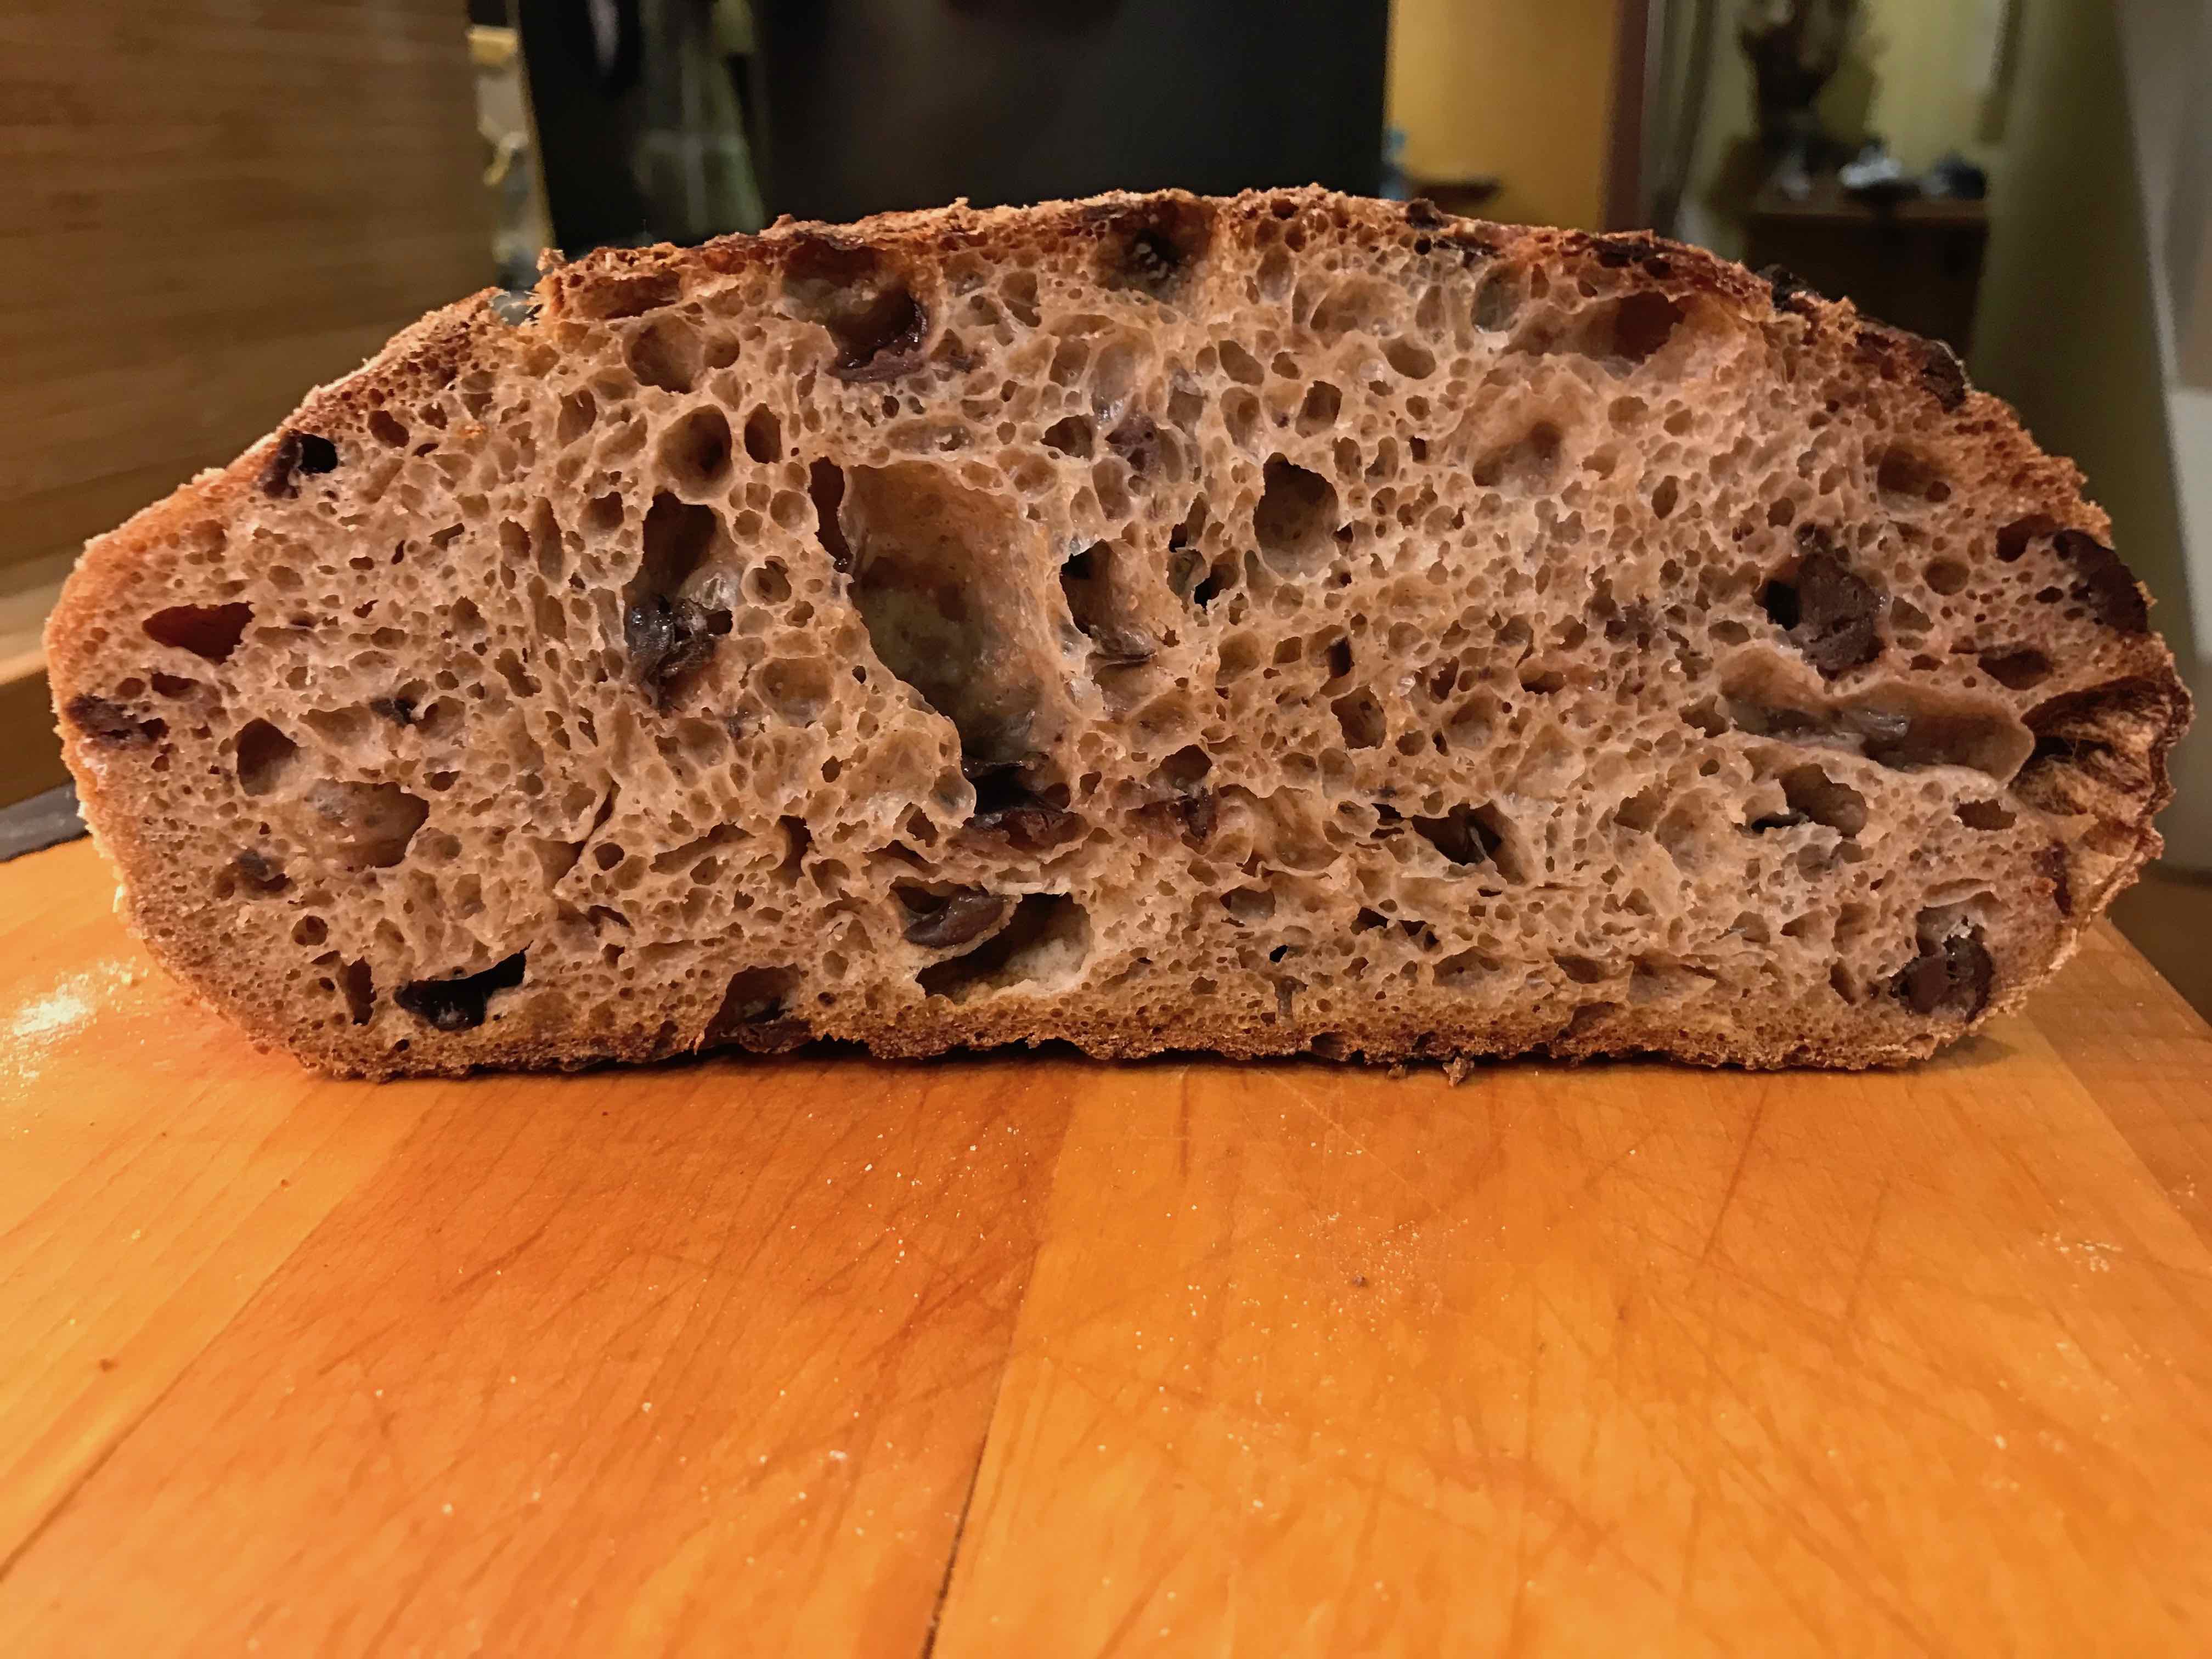
The following images track a recent bake using the 900 gram pre-baked weight recipe, starting with stone milling the wheat berries to the end of the bulk ferment through to the bake, then a peek at the crumb.
Stone Milling Whole Grain Flour
Stone Milling Rice Flour (For Dusting the Banneton)
Bulk Fermentation Complete
After Initial Shaping and Rest, Prior to Final Shaping
After Final Shaping, Start of Final Prove
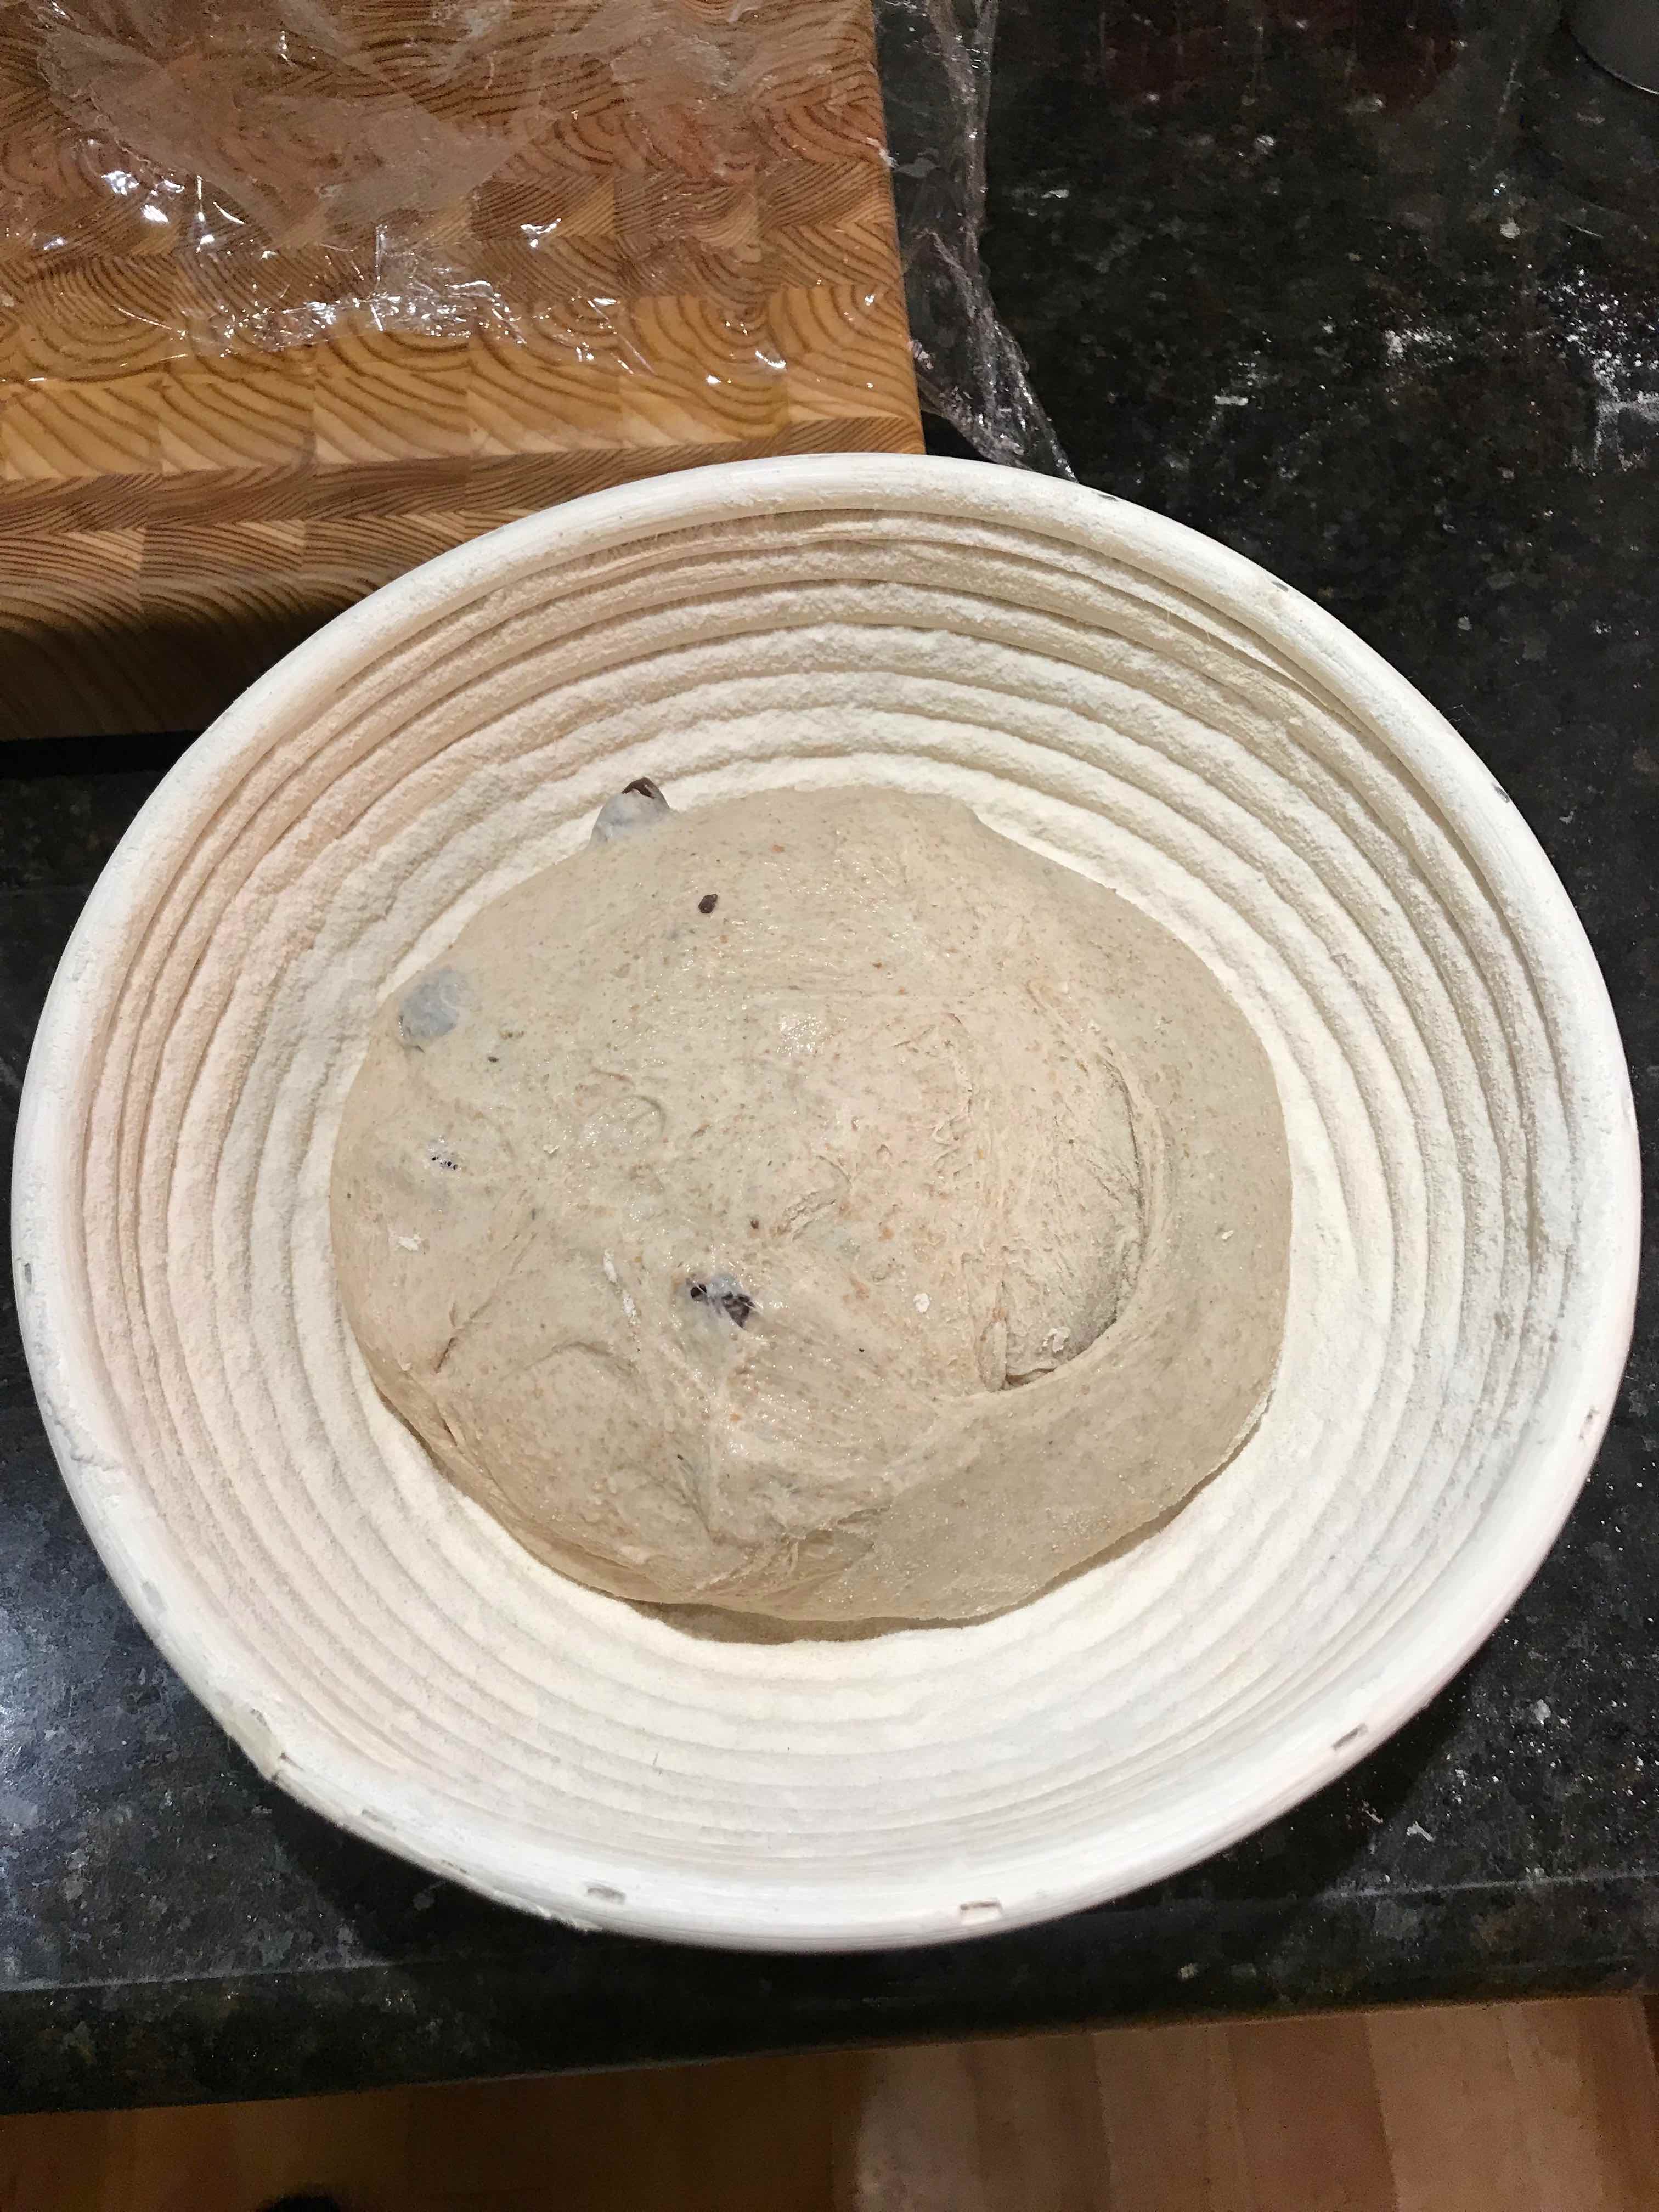
After 2-3 Hours Proving on The Countertop and an Overnight Retard in The Refrigerator
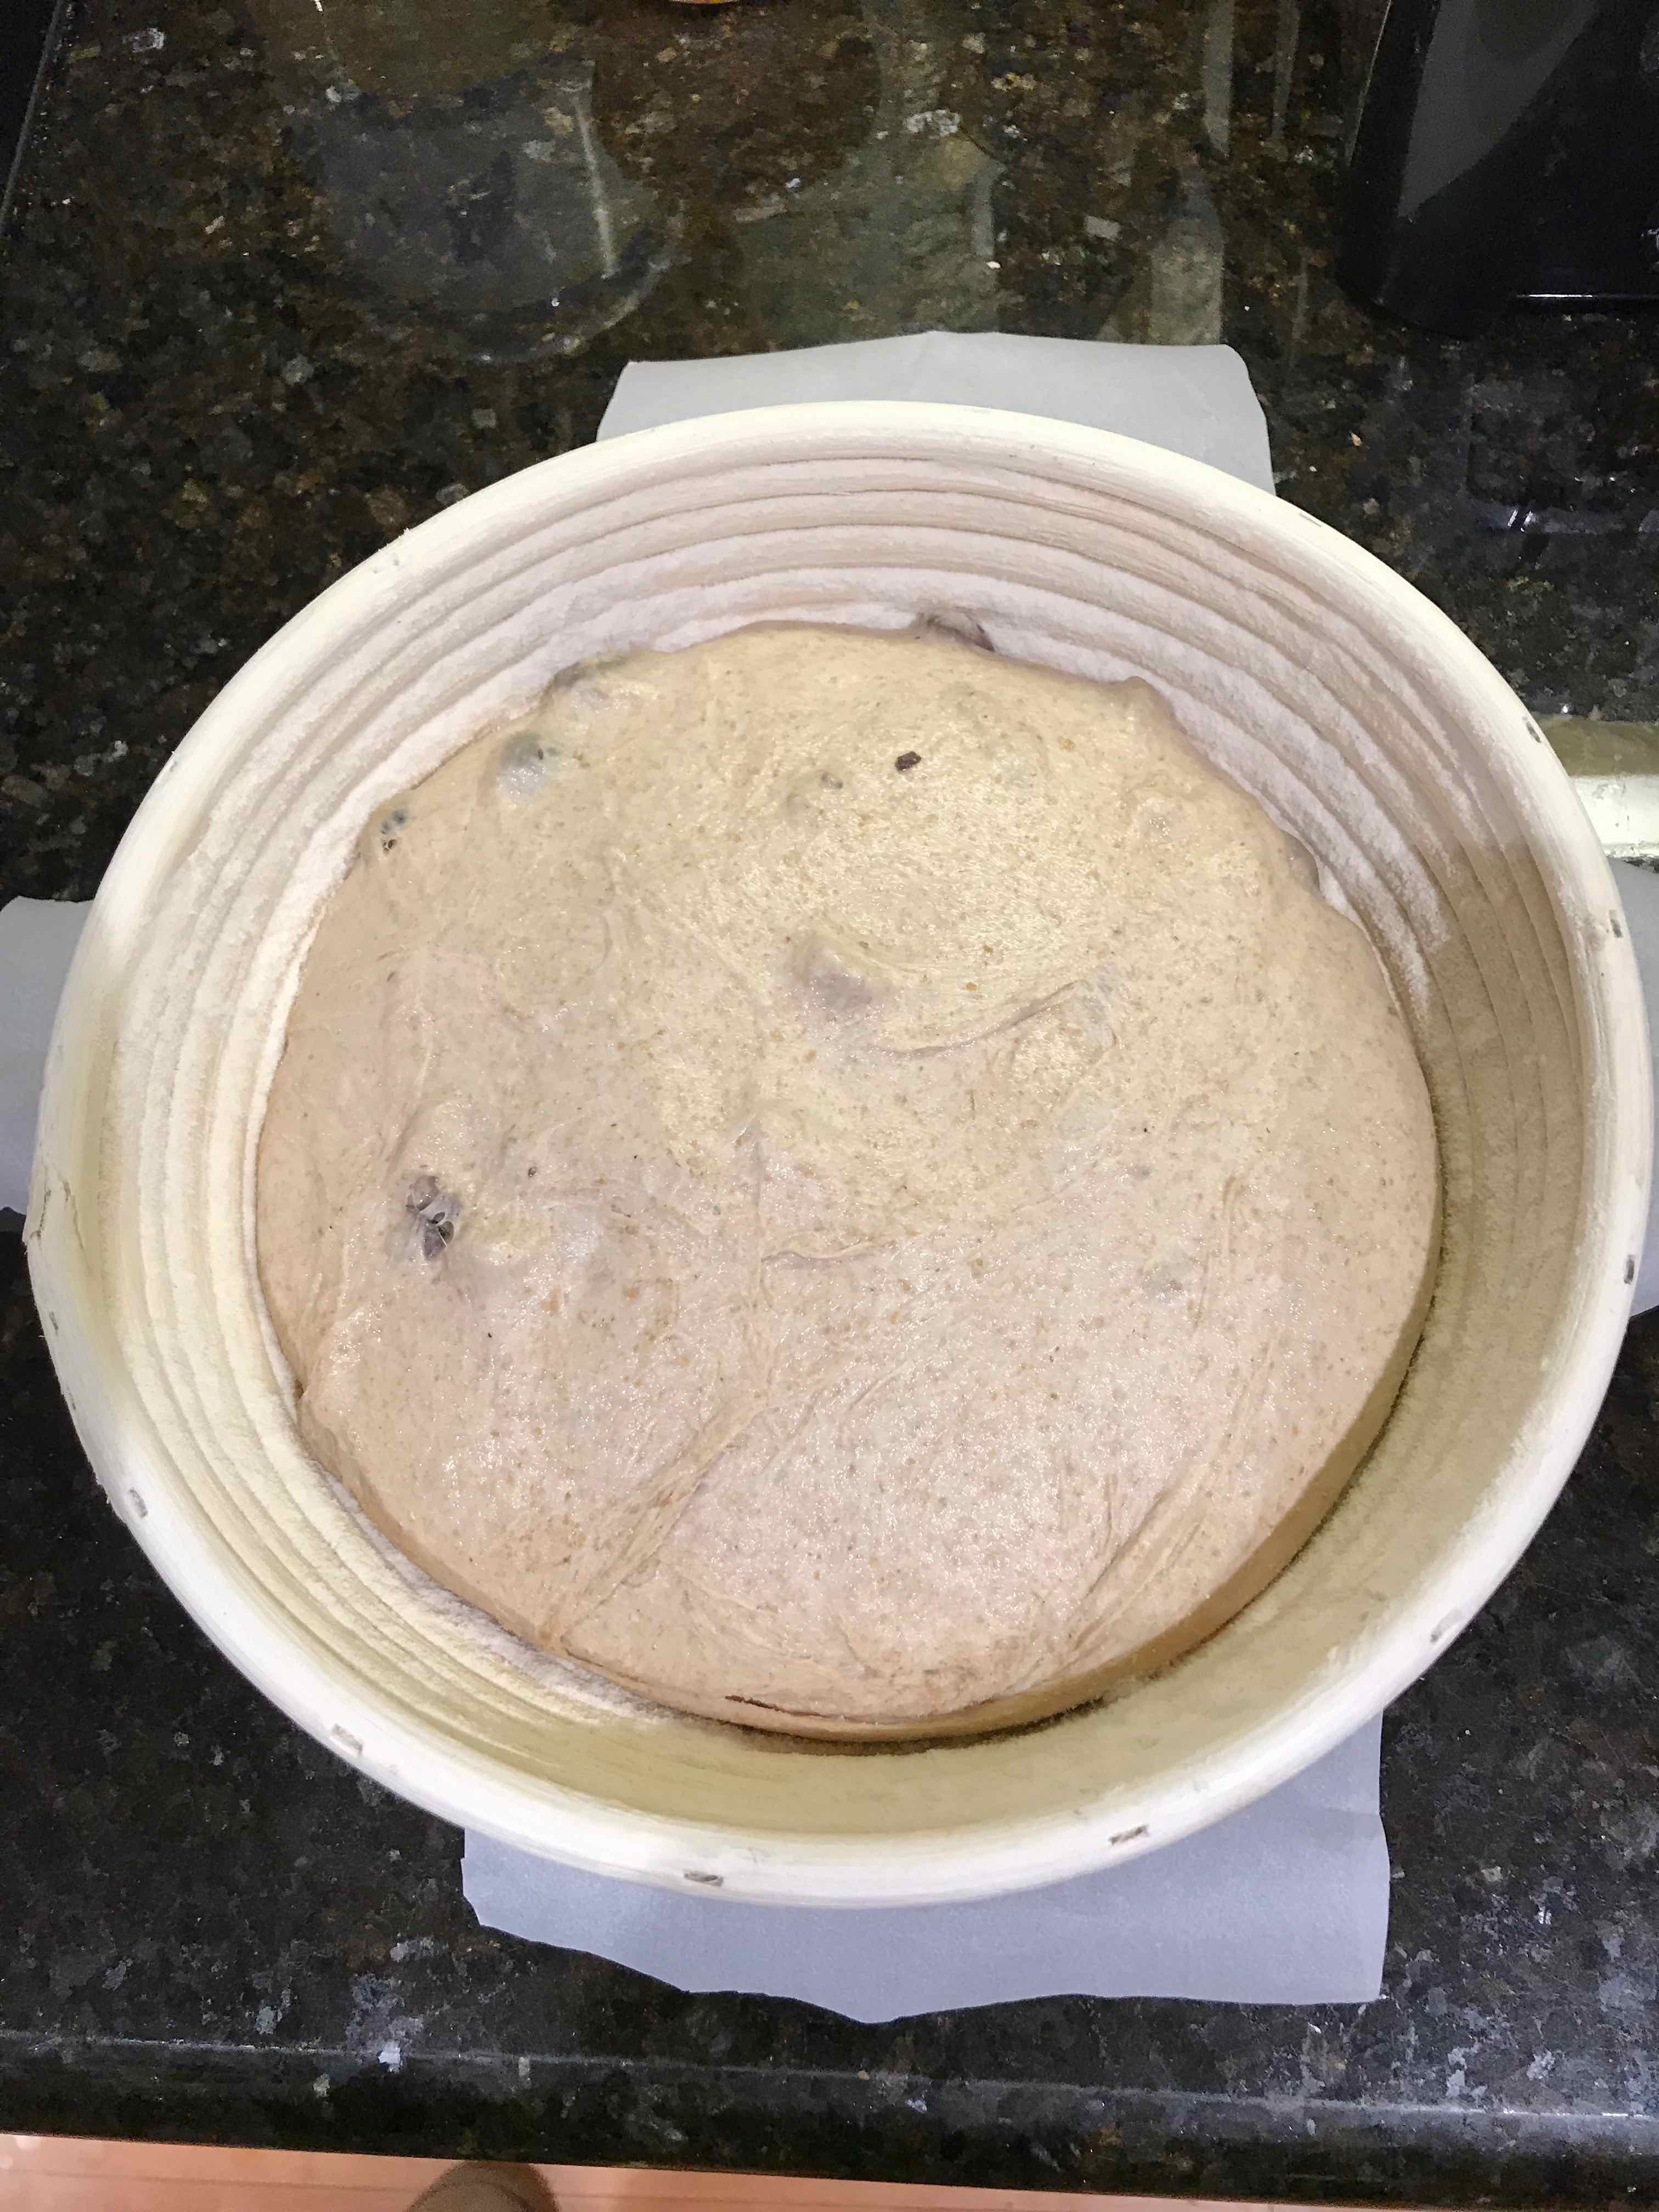
Oops, Sloppy Parchment Sling Placement, Just Before Scoring
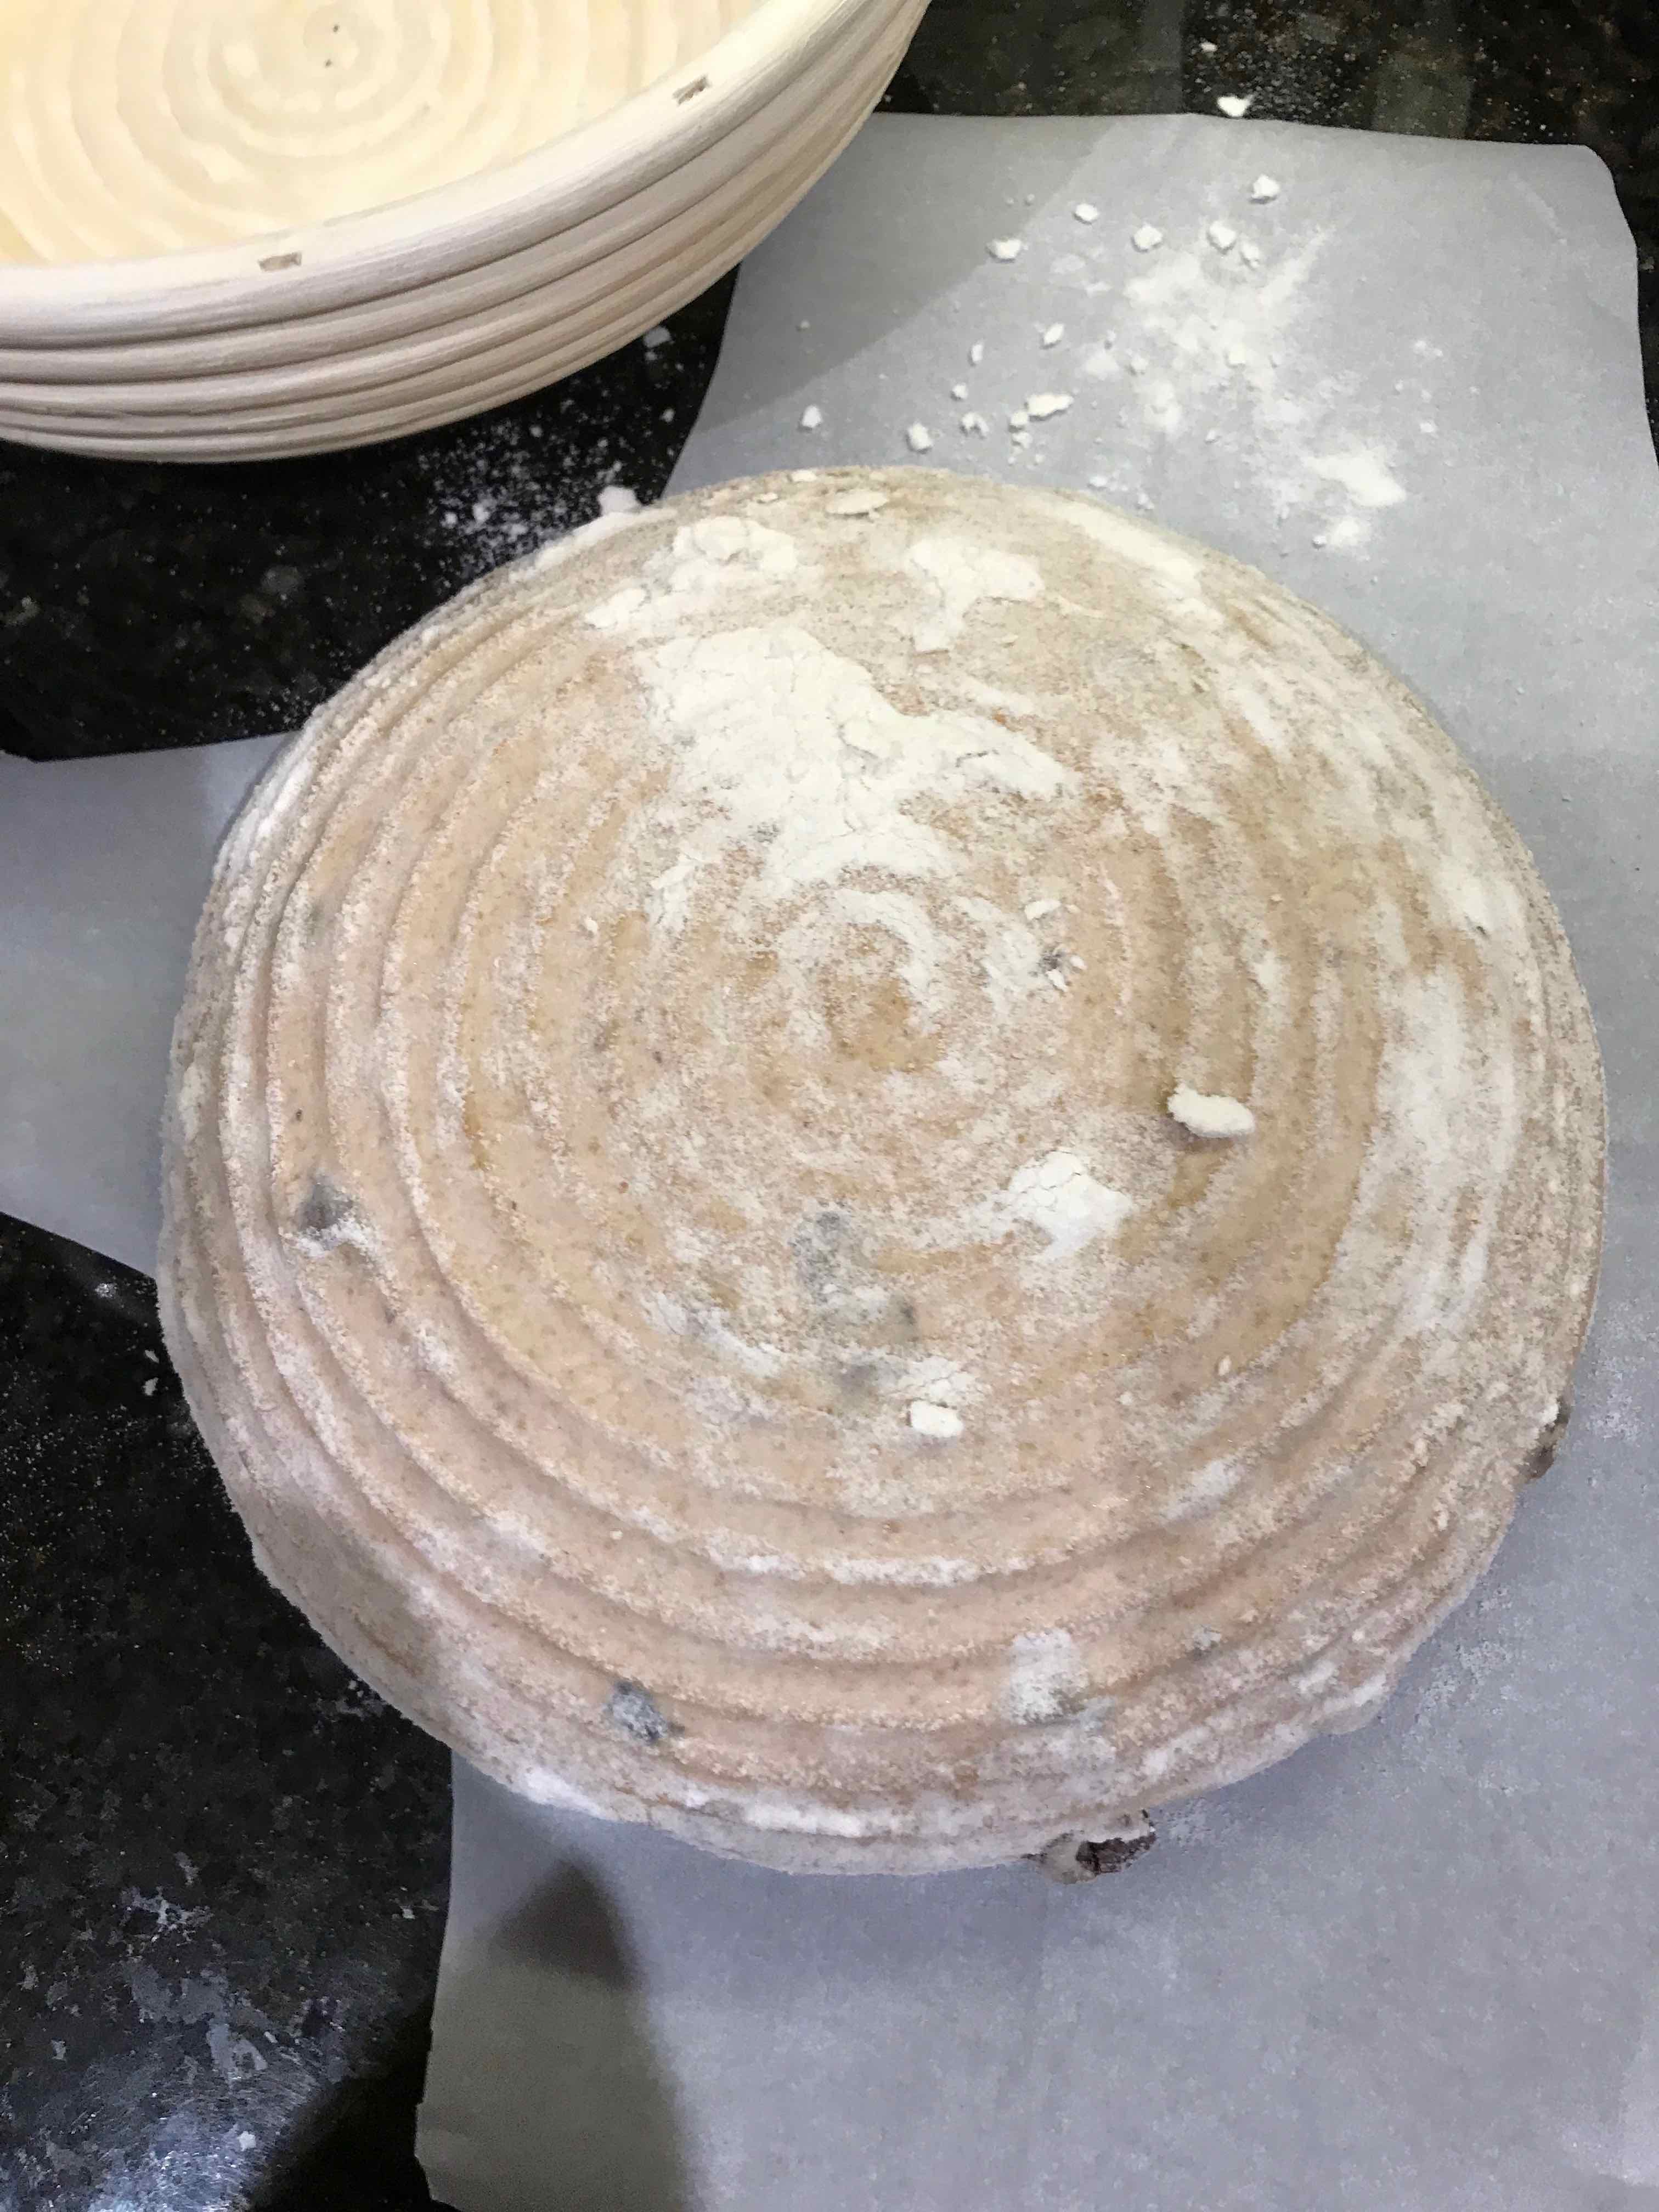
Sling Lowered Into The Dutch Oven
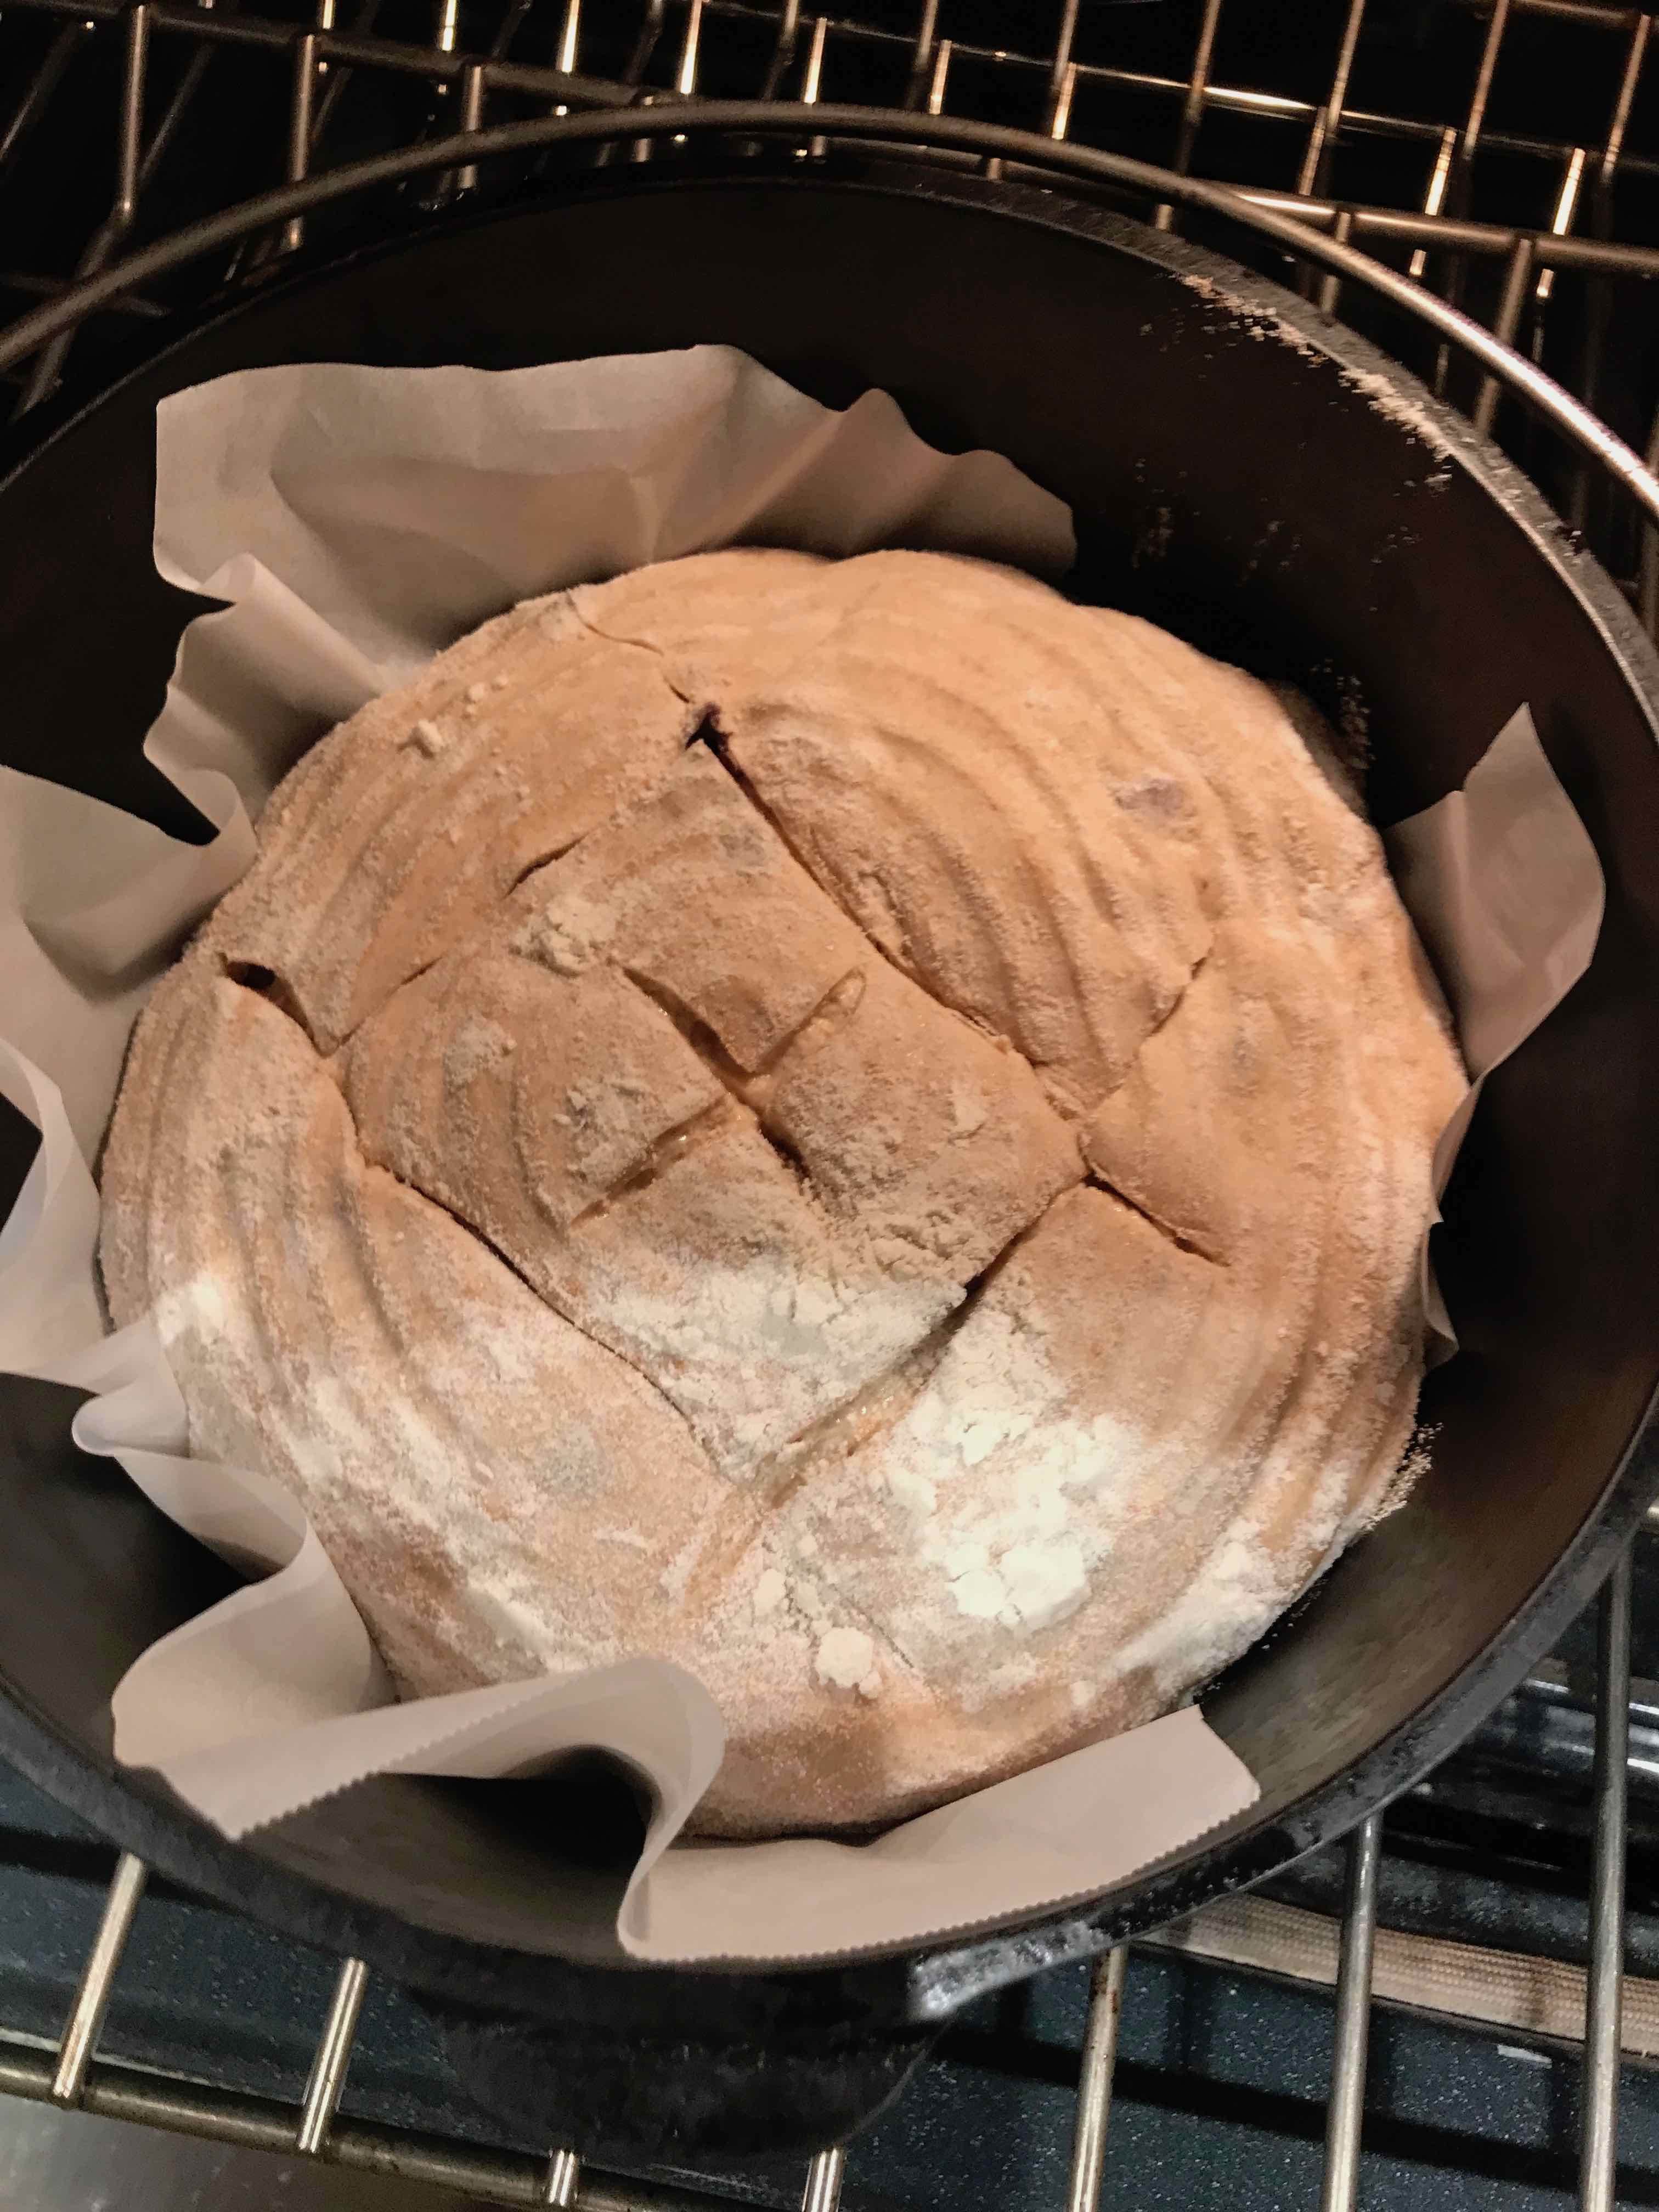
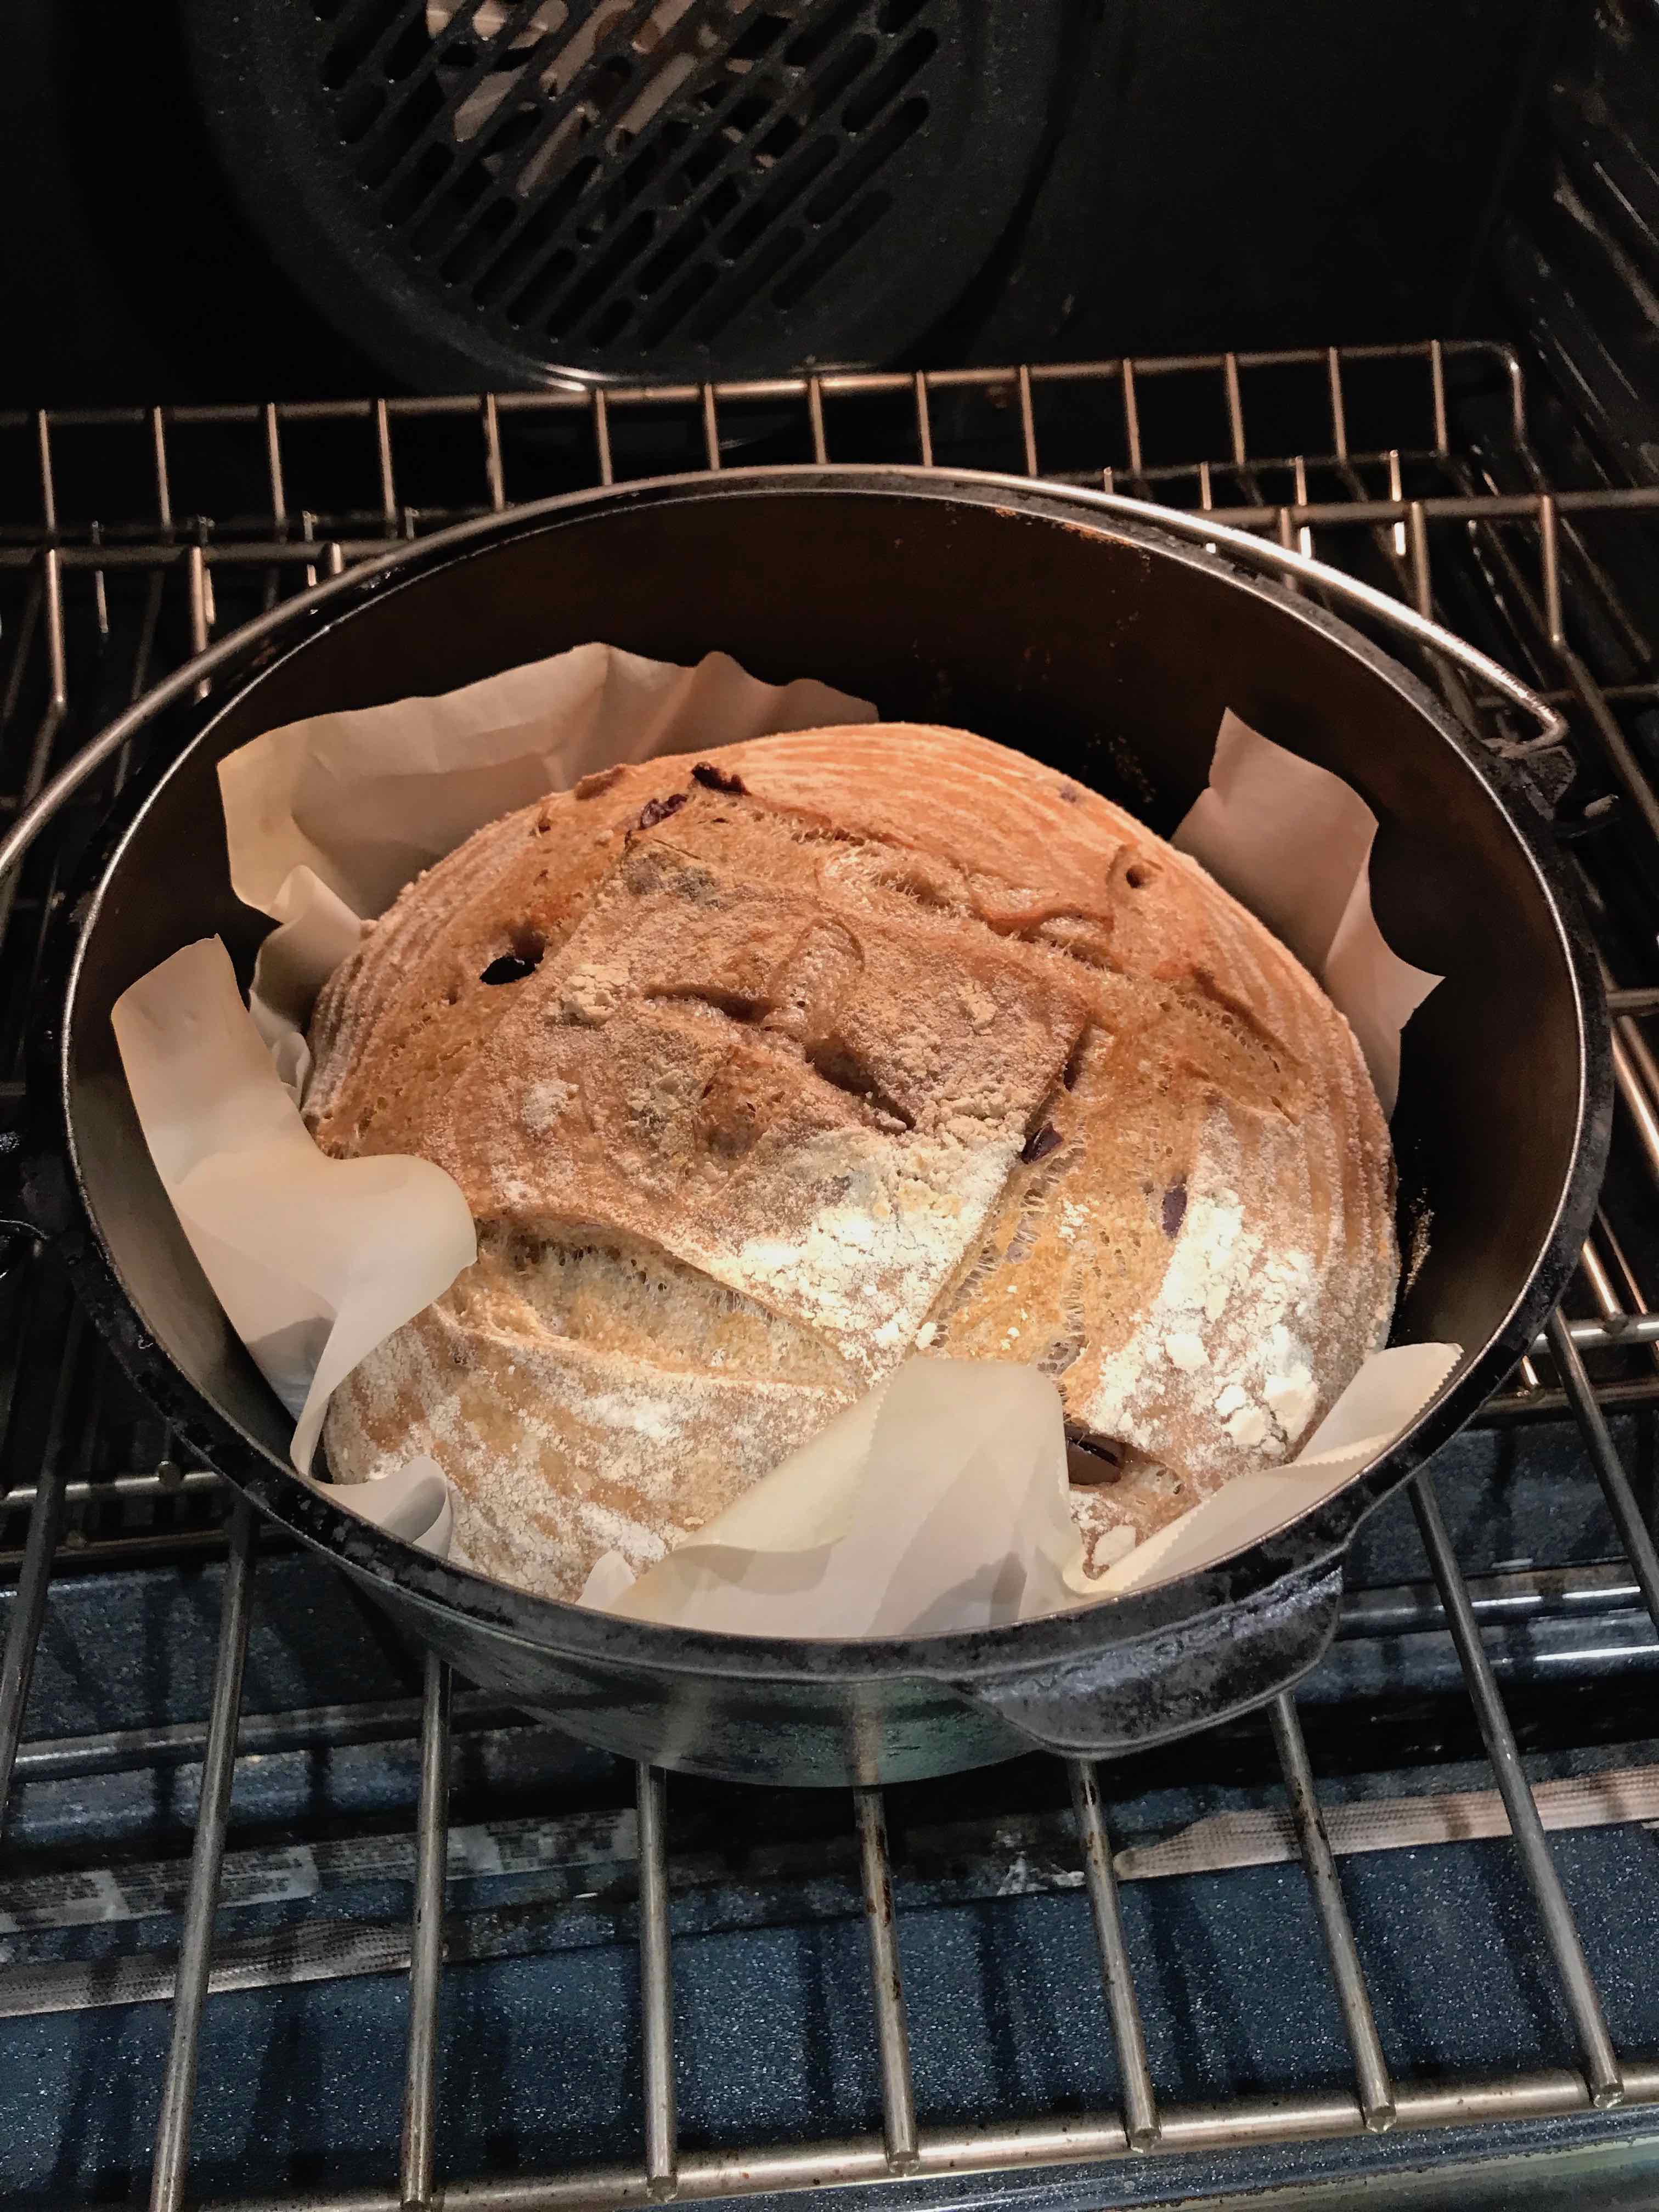
Lid Removed After 20 Minutes in the Dutch Oven
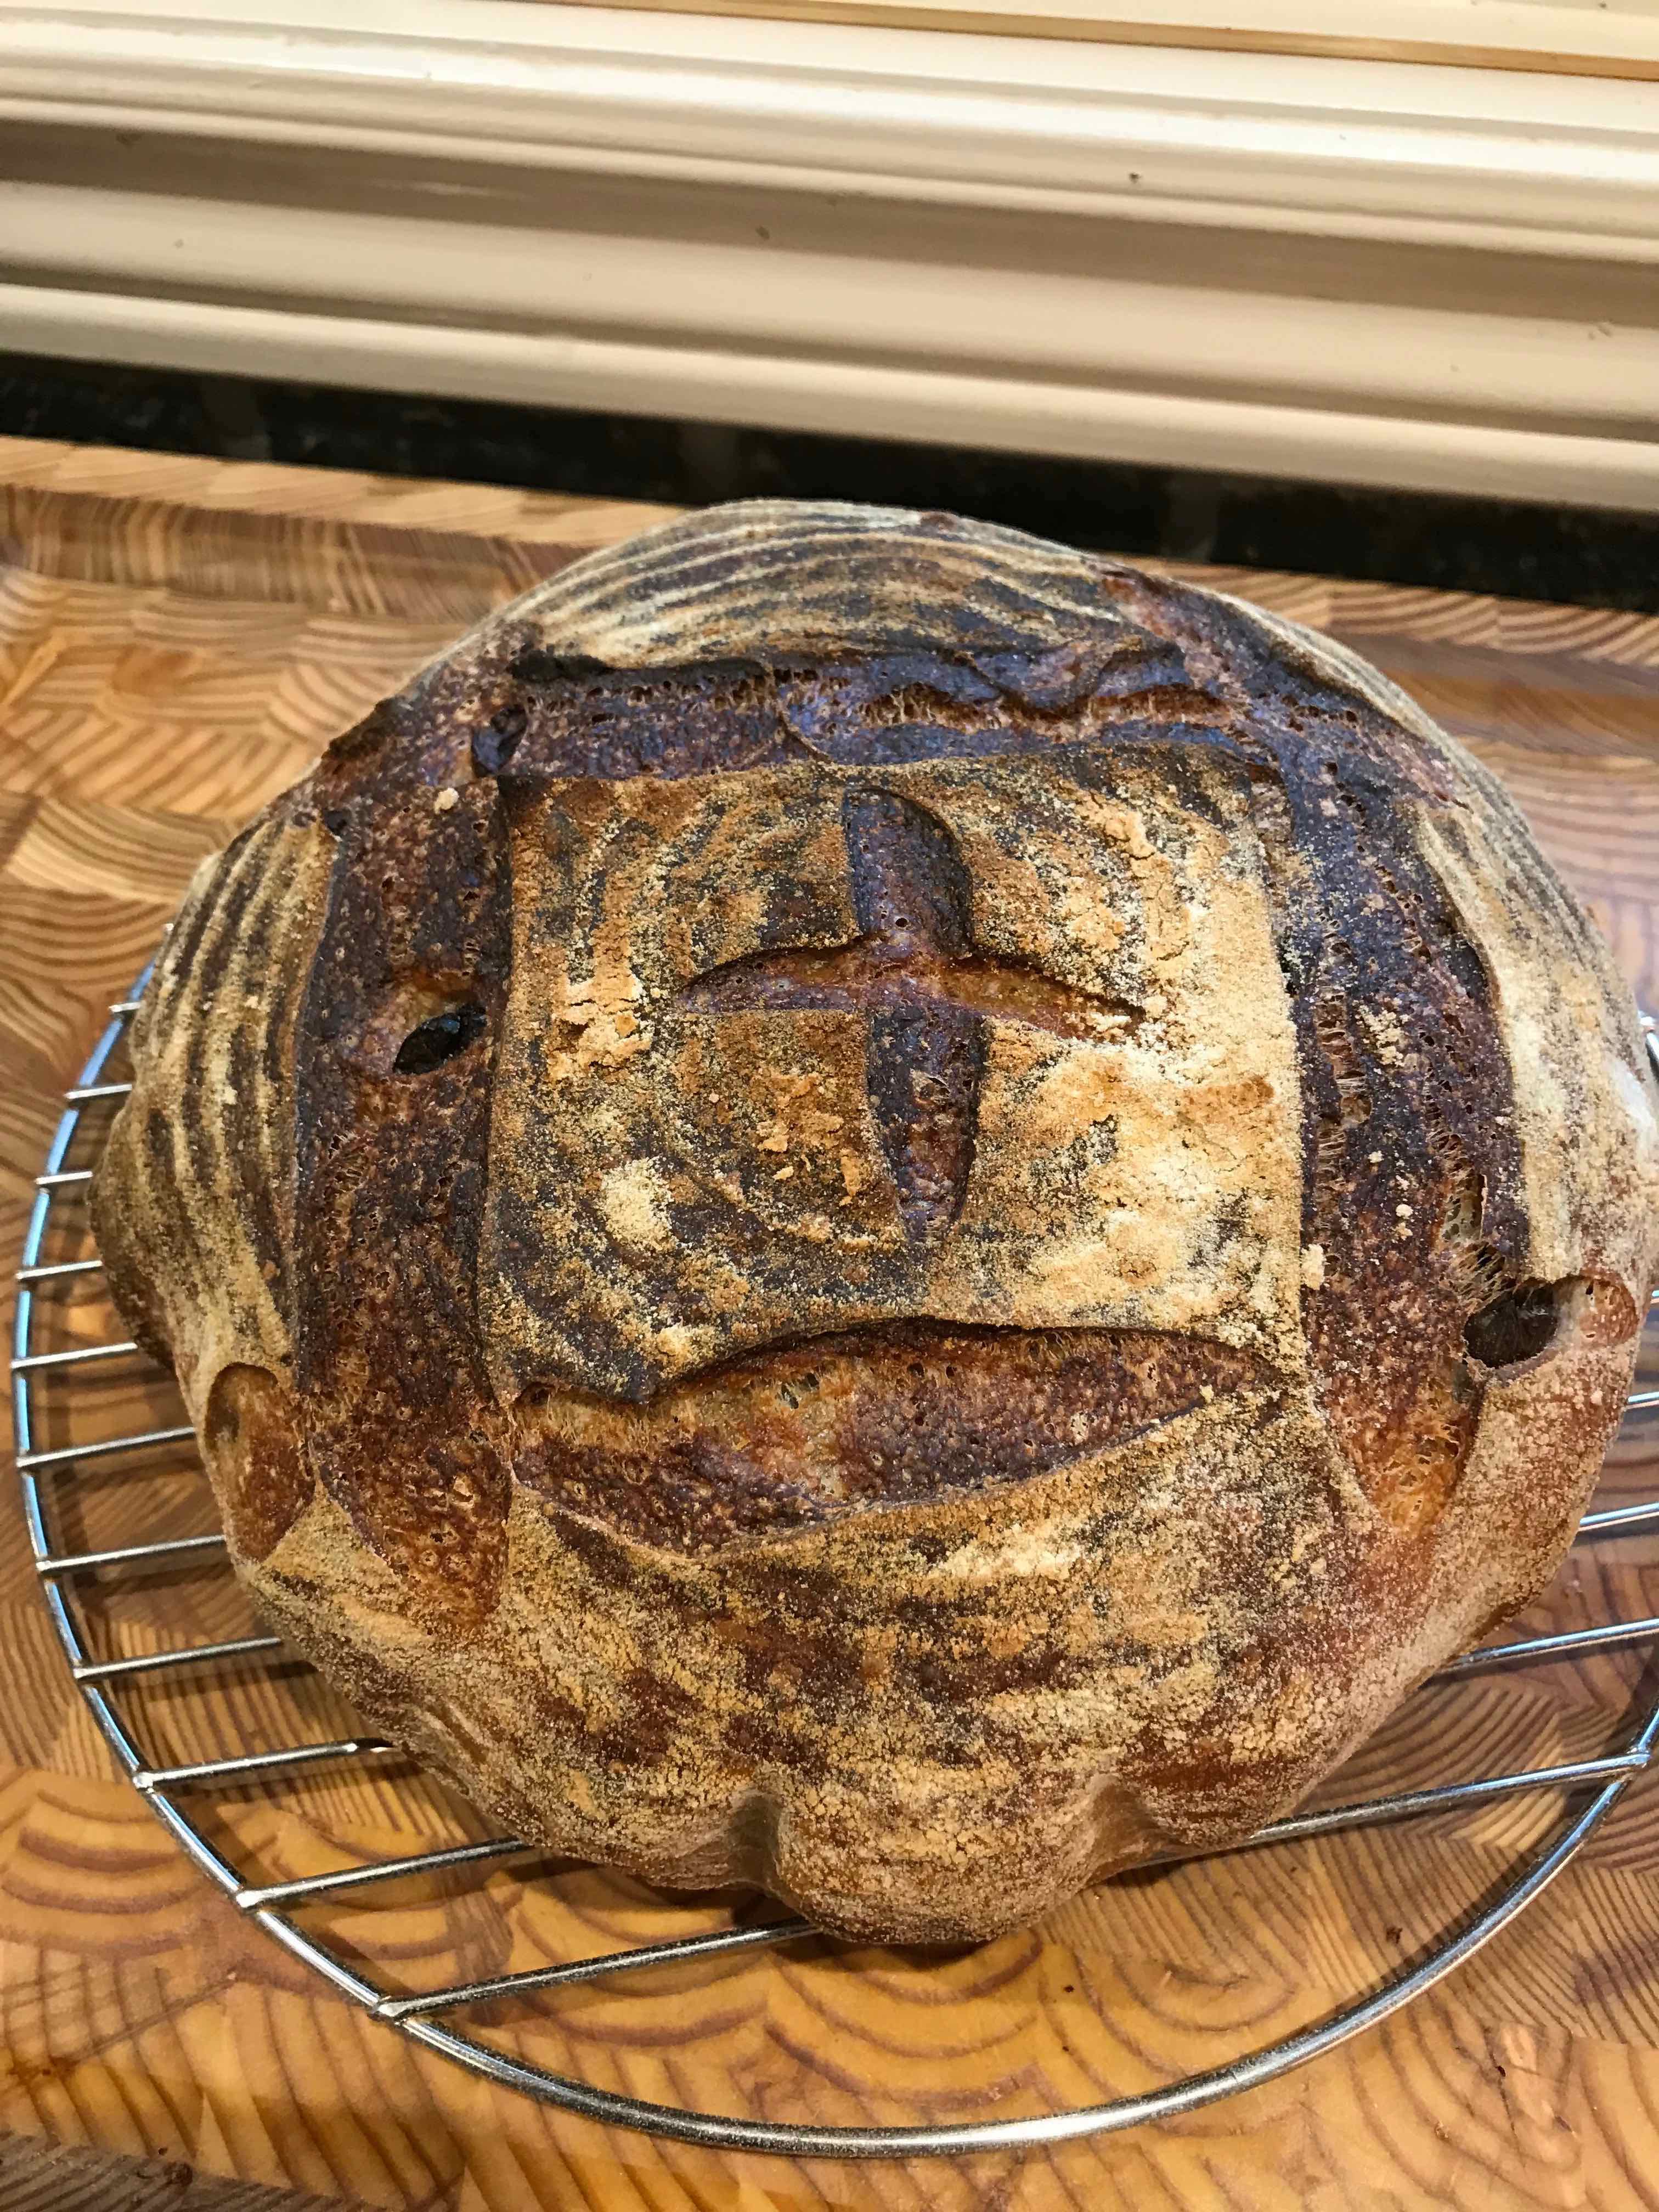
The Baked Boule
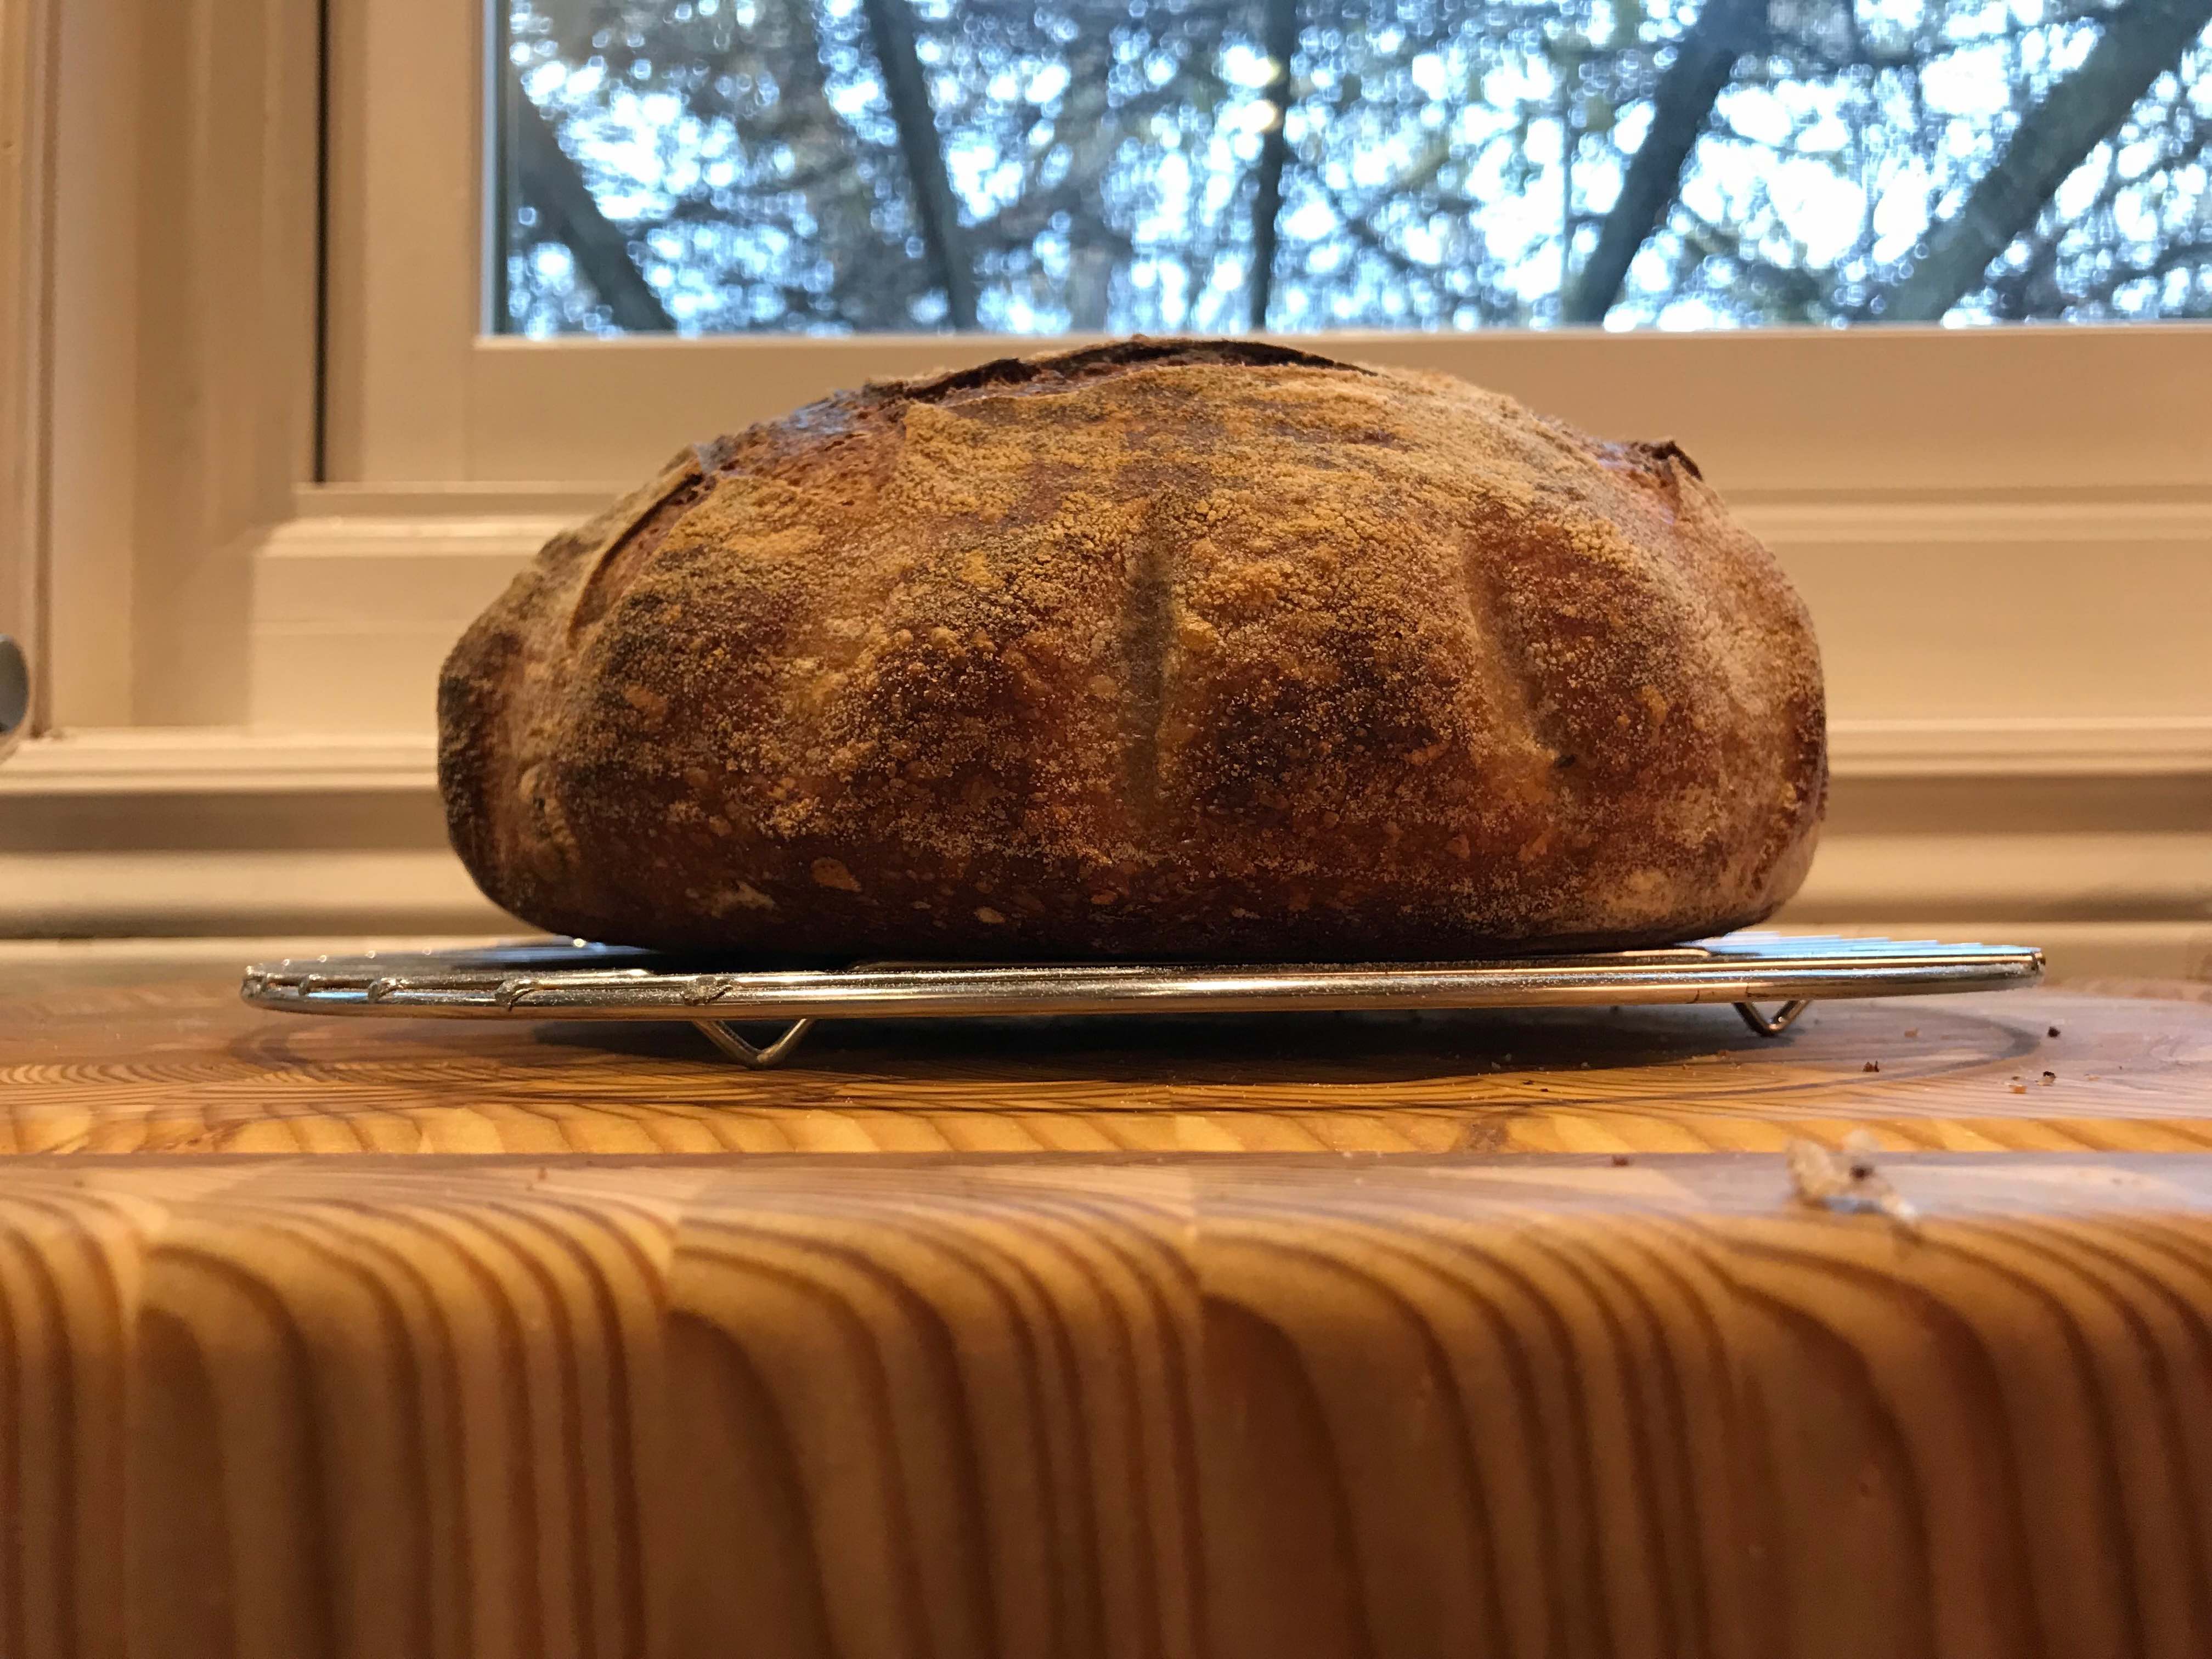
Cross-Section of The Baked Boule
Cross-Section of The Crumb
Some Useful Links
Footnotes
Oscar Wilde remarked “The only way to get rid of a temptation is to yield to it”, and I wholeheartedly subscribe to his sentiment.↩︎
While living in Florida a few decades ago, a friend and Luthier in Tampa, Jerry Goolsby, offered me the opportunity to visit his workshop on Sundays where he would assist me with the making of an acoustic guitar, and I immediately accepted. I purchased and digested books on guitar making and the one bit of advice was to never attempt a Florentine Cutaway for one’s first attempt at making an acoustic instrument—naturally we made just such a beast.↩︎
Proving (also called proofing or, less commonly, blooming), as the term is used by bakers, is the final rise of shaped bread dough before baking. It refers to a specific rest period within the more generalized process known as fermentation.↩︎
A wheat kernel is comprised of endosperm (approximately 83% of the kernel), bran (approximately 14.5% of the kernel), and the germ (approximately 2.5% of the kernel). The endosperm is the main source of energy for commercial white flour. It contains the greatest amount of carbohydrates, protein, and iron. It also contains some of the other B-vitamins as well. The bran is the outer skin of the edible kernel. It contains large amounts of B vitamins, some protein, trace minerals, phytochemicals, and dietary fibre. The germ is the sprouting section of the seed. It is usually separated during the milling process because it contains the most fat, and therefore has a shorter shelf life. It also contains a higher protein content, more B-vitamins (niacin, riboflavin, and thiamine), and iron.↩︎
While sleeping, Stanley Lambchop survived being crushed flat by a falling bulletin board. He makes the best of his altered state, and soon he is entering locked rooms by sliding under the door, being rolled up to go out to the park and playing with his younger brother by being used as a kite.↩︎
This also dovetails with my obsession on academic preproducibility, reproducibility, and replicability.↩︎
Levain is the French term for a mixture of flour and water that has been colonized by yeasts and bacteria.↩︎
A friend and mutual windsurfing addict in a past life, John LaCombe, who learned to brew beer from his father, once remarked “You know, the worst beer I have ever made at home is better than the best beer I can buy in a bar.” He introduced me to the craft of home brewing from scratch and I can confirm that the same applies to the bread you can bake at home.↩︎
During the autolyse, the flour absorbs the water, becoming fully hydrated. This activates enzymes in the flour that stimulate the proteins to start gluten development. At the same time, further enzymes are starting to break starch down into the simple sugars that will feed the yeasts during the bulk fermentation.↩︎
The functions of salt in baking include stabilizing the yeast fermentation rate, strengthening the dough, enhancing the flavor of the final product, and increasing dough mixing time.↩︎
Gluten is a substance present in wheat and other grains that is responsible for the elastic texture of dough. It is a mixture of two proteins, and is stored together with starch in the endosperm. Although gluten is, in fact, a mixture of hundreds of distinct proteins from the same family, it is mainly made from two different classes of proteins: gliadin, which gives bread the ability to rise during baking, and glutenin, which is responsible for dough’s elasticity.↩︎
The five steps involved in making sourdough bread are 1) the autolyse, 2) the bulk ferment, 3) proving in a banneton, 4) baking, and 5) cooling (often neglected).↩︎
As Emily Beuhler, author of Bread Science explains, oven-spring occurs primarily during the first ten minutes of baking. During these ten minutes, the yeasts—feeling the coming heat—speed up their fermentation and respiration, belching out a final burst of CO\(_2\). As that CO\(_2\) heats up, what was dissolved in our dough’s water comes out of solution. Like any gas, the CO\(_2\) in our dough expands as it heats up. This same process occurs to the ethanol created by fermentation and a portion of the water mixed into our dough—i.e., they evaporate and expand upon heating. Since these gases are trapped inside our dough by the gluten matrix we formed during our mixing and fermentation stages, as they expand, so does our bread. It’s this expansion that causes our dough to leap upwards and outwards while in the oven. This is what oven-spring is, and we want as much as we can get.↩︎